
Most homeowners assume that once a washer and dryer are stacked, they’re permanently joined. In reality, the answer is usually yes: a stackable washer and dryer can be separated without damaging either appliance. Whether you’re moving, rethinking your laundry layout, or simply prefer side-by-side units, separation is a common and doable task. However, the process involves more than just unbolting the units. It requires careful attention to plumbing, electrical connections, and the method used to secure the stack.
This guide explains how stackable units are constructed, why separation is possible, and the step-by-step process for safely disconnecting them. For more on this, see our guide on top 7 best compact stackable washer dryer.
 Image source: www.reddit.com
What Holds Stackable Washer and Dryer Units Together?
Stackable washer and dryer sets are secured using a combination of mechanical fasteners and, sometimes, manufacturer-specific stacking kits. Understanding these components is essential before attempting separation.
The Role of the Stacking Kit
Most manufacturers recommend or include a stacking kit when purchasing a washer-dryer pair. These kits typically include:
- Brackets or straps that latch the top of the washer to the bottom of the dryer
- Anti-tip brackets that anchor the dryer to the wall or floor
- Foam padding or gaskets that reduce vibration and noise between units
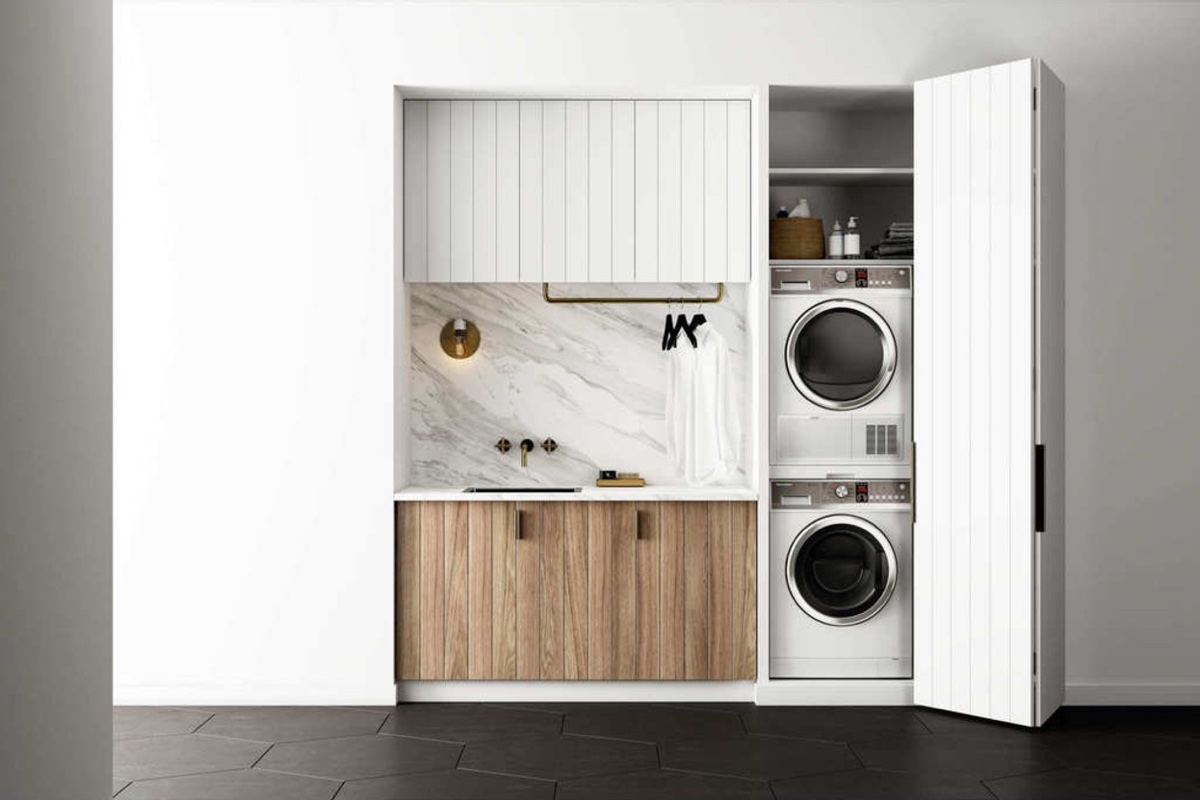 Image source: storables.com
These components ensure stability during operation, especially when the washer’s spin cycle generates significant movement. Removing them is the first step in separation.
Bolted vs. Clip-On Connections
- Bolted connections: Older or higher-end models often use bolts to fasten the dryer directly to the washer. These usually require a socket wrench or screwdriver to remove.
- Clip-on systems: Newer models may use plastic or metal clips that snap together. These can typically be released manually or with a firm tug.
⚠️ Important: Never force the units apart. Doing so can strip threading, crack plastic components, or damage internal wiring.
Why Separate a Stackable Washer and Dryer?
There are several practical reasons homeowners choose to separate their stackable units.
Space Optimization
Even though stacking saves floor space, some layouts benefit from side-by-side placement. For example:
- A wide laundry closet might accommodate both units without stacking
- Placing the dryer near an exterior wall can improve venting efficiency
- Side-by-side configurations allow easier access to controls and hinders
Easier Maintenance and Repairs
Accessing internal components—like the washer’s drain pump or the dryer’s lint screen housing—is far simpler when the units are separated. Many service technicians prefer working on standalone appliances for this reason.
Relocation
Moving to a new home? Separating your appliances gives you the flexibility to install them where plumbing and electrical connections are most convenient.
Noise and Vibration Control
Some users report increased noise transfer when appliances share a frame. Separating them and adding rubber pads or anti-vibration mounts can reduce disruptive movement.
Preparing for Separation
Before disassembling anything, take time to properly prepare the area. Rushing increases the risk of injury or property damage.
Turn Off Utilities
- Water Supply: Locate the shut-off valves behind the washer and turn both hot and cold water supplies clockwise until tight.
- Power: Pull the main plug from the outlet or switch off the circuit breaker dedicated to the appliances.
- Gas Line (if applicable): If your dryer is gas-powered, turn the gas valve perpendicular to the supply line to shut it off.
🔧 Tip: Have towels or a shallow pan ready to catch residual water when disconnecting hoses.
Clear the Area
Remove any items stored around or beneath the units. Ensure there’s enough clearance on all sides—at least 6 inches—to maneuver the appliances safely.
Gather Tools
Depending on your model, you may need:
| Tool | Purpose |
|---|---|
| Socket Wrench Set | Removing bolts between units |
| Screwdriver Set | Accessing panels or releasing clips |
| Pliers | Gripping hoses or disconnected parts |
| Level | Checking alignment after separation |
| Measuring Tape | Confirming fit in the intended location |
Always consult your user manual first. While generic guides help, your specific model may require unique steps or proprietary tools.
Steps to Separate a Stackable Washer and Dryer
Follow these detailed steps to safely disconnect your appliances.
Step 1: Remove Panels or Covers
Some units have protective panels screwed in place over the connection points. Remove these carefully to avoid losing screws or breaking plastic tabs.
Step 2: Loosen Mechanical Fasteners
Locate the stacking brackets or bolts connecting the washer and dryer. Depending on your setup:
- Use a socket wrench to loosen bolted connections
- Press or pry open clip-on mechanisms gently
- Take photos as reference—this helps if you decide to restack later
Step 3: Disconnect Electrical Connections
In some designs, especially those with smart interfaces or shared control boards, minor electrical connections exist between units. These are rare but present in certain newer models.
Disconnect carefully and note wire positions for reassembly.
Step 4: Detach Plumbing (If Connected)
A few high-efficiency stacked units route drain or recirculating lines through the stack. Though uncommon, check your manual for confirmation.
If present, clamp or pinch hoses before disconnecting to minimize spills.
Step 5: Carefully Lower the Dryer
With assistance:
- Slowly lift or lower the dryer using its handles or edge supports
- Place it on a flat surface covered with cardboard or padding
- Ensure the floor (or dolly) can support its weight—residential dryers range from 100–200 pounds
💡 Safety Note: Never attempt to separate units alone. Even compact dryers weigh over 100 pounds.
Step 6: Position Separately
Re-position each unit according to your desired layout. Ensure:
- Adequate clearance for airflow and maintenance access
- Level positioning to prevent rocking or tipping
- Secure connections to utilities
Reassembling or Using Separately
Once separated, decide whether to reinstall side-by-side or keep them permanently apart.
Side-by-Side Setup
This configuration requires:
- Longer vent hose for the dryer
- Extended water supply lines for the washer
- Possibly a countertop or shelf above for folding
Use rubber vibration pads underneath each unit to reduce movement and noise.
Restacking (Optional)
Many homeowners separate temporarily for moving or repairs and then reattach the units.
To restack:
- Align the washer and dryer precisely
- Reconnect stacking brackets or clips
- Reattach anti-tip straps to walls or cabinetry
- Test all connections and run a short cycle to verify function
✅ Best Practice: Keep stacking hardware organized in labeled bags taped to the appliance during storage.
When to Call a Professional
While separation is straightforward for most modern units, several situations warrant expert involvement:
| Scenario | Reason to Hire a Pro |
|---|---|
| Gas dryer connection | Risk of leaks or improper sealing |
| Shared electrical circuits | Requires certified electrician knowledge |
| Complex stacking kits | Proprietary locking mechanisms vary by brand |
| Moving heavy units frequently | Physical strain and liability risks |
For routine washer/dryer diagnostics or error code troubleshooting, explore our articles on LG dryer fault codes or washer and dryer CD error solutions.
Frequently Asked Questions About Separating Stackable Washers and Dryers
Are Stackable Washers and Dryers Bolted Together?
Yes, most stackable units are secured with bolts or clips. Some newer models use tool-free latching systems, but bolt-down methods remain standard for stability.
Can I Use Just the Dryer from a Stackable Pair?
Absolutely. Once separated, the dryer functions identically to a standalone unit—provided it has independent power and venting connections.
Will Separating My Appliances Void the Warranty?
Generally no—if you follow your manufacturer’s instructions. However, tampering with internal wiring or forcefully removing components could void coverage. Always review warranty terms before proceeding.
Do I Need Special Venting for a Standalone Dryer?
No special requirements beyond ensuring proper exhaust airflow. Any standard residential dryer ductwork works equally well whether previously stacked or originally sold standalone.
Final Thoughts
Yes, a stackable washer and dryer can be separated—but success depends on preparation, patience, and respect for your specific model's design. Whether you're optimizing space, upgrading your laundry room, or preparing for a move, understanding how these appliances connect empowers smarter decisions.
Take safety seriously, consult your user manual, and don’t hesitate to seek professional help when dealing with gas, electricity, or complex mechanical systems. With the right approach, separation enhances usability without sacrificing performance.
For additional guidance on maintaining your appliances post-separation, browse our LG dryer troubleshooting guides or learn more about identifying and interpreting diagnostic error codes.