
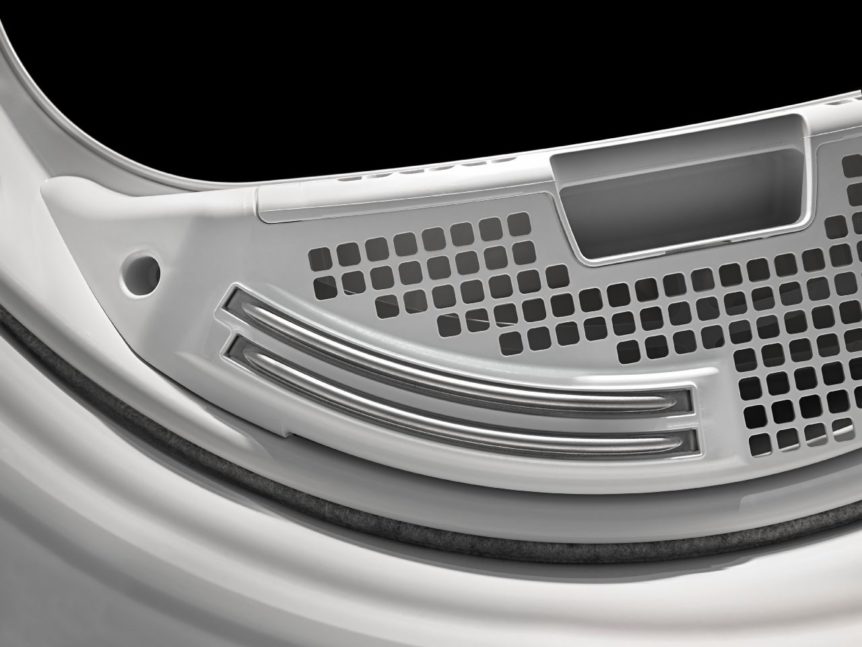
To replace the moisture sensor on a Whirlpool dryer, first unplug the dryer and locate the sensor near the dryer drum. Remove the screws holding the sensor in place and disconnect the wires.
Then, insert the new sensor in the same position, reconnect the wires, and secure it with the screws. Finally, plug the dryer back in and test the new sensor. Is your Whirlpool dryer’s moisture sensor malfunctioning? Learn how to replace it yourself and get your dryer working efficiently again.
This guide will walk you through the simple steps required to replace the moisture sensor on your Whirlpool dryer, saving you time and money on professional repairs. With just a few basic tools and the replacement sensor, you can easily complete this task and have your dryer back in working order in no time.

Credit: www.tampaapplianceparts.com
Testing The New Moisture Sensor
The moisture sensor in your Whirlpool dryer is a crucial component that helps to detect the level of moisture in your clothes and adjust the drying time accordingly. If your dryer is not drying your clothes properly or running longer than usual, it might be time to replace the moisture sensor. Once you have successfully replaced the sensor, follow these steps to test its functionality and ensure that your dryer is working efficiently.
Using The Dryer’s Diagnostic Mode
To begin testing the new moisture sensor, you need to access the diagnostic mode on your Whirlpool dryer. This mode allows you to run various tests to check the different components of your dryer, including the moisture sensor. Follow these steps to enter the diagnostic mode:
- Make sure the https://dryerenthusiast.com/can-you-lay-an-electric-dryer-on-its-side/dryer is powered off and unplugged from the electrical outlet.
- Press and hold the “Start” button while simultaneously pressing the “Power” button.
- Continue holding both buttons for about five seconds until the display lights up.
- Release the buttons and wait for the diagnostic mode to initialize.
Checking For Proper Functioning
Now that you are in the diagnostic mode, you can proceed to test the functionality of the moisture sensor:
- Select the “Moisture Sensor Test” option from the menu using the navigation buttons on your dryer’s control panel.
- Press the “Start” button to begin the test.
- Observe the display for any error codes or messages related to the moisture sensor.
- If no error codes are displayed, open the dryer door and place a damp, but not wet, cloth inside.
- Close the door and press the “Start” button again to resume the test.
- Wait for the test to complete and check the display for the result.
- If the moisture sensor is functioning properly, the display should show a successful completion message.
If you encounter any error codes or messages indicating a faulty moisture sensor, double-check the installation of the new sensor to ensure it is properly connected. If the issue persists, it may be necessary to seek professional assistance to troubleshoot and resolve the problem.
By testing the new moisture sensor using the dryer’s diagnostic mode, you can verify its proper functioning and ensure that your Whirlpool dryer continues to dry your clothes efficiently. Regular testing and maintenance of this essential component will help extend the lifespan of your dryer and prevent potential issues down the line.

Credit: m.youtube.com
Credit: ars.repair
Conclusion
Replacing the moisture sensor on your Whirlpool dryer is a simple task that can greatly improve its efficiency. By following the step-by-step guide outlined in this blog post, you can ensure that your dryer is functioning optimally and effectively drying your clothes.
Don’t let a faulty moisture sensor prevent you from enjoying fresh, dry laundry. Take action today and experience the difference it can make in your laundry routine!