
To uninstall a washer and dryer, first, turn off the electrical supply and water sources. Then, disconnect the hoses and drain any remaining water before removing the appliances from their designated space.
Washer and dryers are essential appliances in most households, but there may come a time when they need to be uninstalled. Whether you’re moving or simply replacing the appliances, knowing the proper steps to uninstall them is crucial. We will provide a concise guide on how to uninstall a washer and dryer efficiently.
By following these steps, you can safely disconnect and remove the appliances without causing any damage or accidents. So, let’s dive right in and understand the process of uninstalling a washer and dryer.
Preparing To Uninstall Washer And Dryer
To prepare for uninstalling your washer and dryer, make sure to disconnect the water and power supply, remove any attachments or accessories, and clear the surrounding area for easy access. Follow these steps to safely and efficiently remove your appliances.
Gathering The Necessary Tools And Equipment
Before proceeding with the uninstallation process, it’s important to gather all the necessary tools and equipment. Having everything at hand will help streamline the process and minimize any potential delays or interruptions. Here’s a list of the essential tools you’ll need:
- Adjustable wrench
- Screwdriver set
- Tape measure
- Pliers
- Utility knife
- Bucket or tray
- Protective gloves
- Eye protection
Ensuring Safety Precautions
Prioritizing safety is crucial when uninstalling a washer and dryer. Taking appropriate precautionary measures will help prevent accidents and injuries. Here are a few safety precautions to keep in mind:
- Disconnect the power supply: Ensure the washer and dryer are completely disconnected from any power sources before starting the uninstallation process. This will minimize the risk of electrical shocks or short circuits.
- Turn off the water supply: Locate the shut-off valve for the water supply lines connected to the washer. Turn off the valve to prevent any leaks or flooding during the uninstallation.
- Wear protective gear: Put on protective gloves and eye protection to shield yourself from any potential harm while handling tools or moving heavy appliances.
- Secure loose items: Remove any loose items from the washer and dryer, such as detergent bottles or clothing, to avoid accidents or damage during the uninstallation process.
- Clear the surrounding area: Ensure the space around the washer and dryer is clutter-free to provide a safe working environment. This includes removing any obstacles or tripping hazards.
Remember, properly preparing to uninstall your washer and dryer will not only ensure a smooth process but also promote safety. By gathering the necessary tools and equipment and adhering to safety precautions, you’ll be ready to proceed with the next steps in a hassle-free manner.
Disconnecting Power And Water Supply
To disconnect power and water supply before uninstalling a washer and dryer, locate the electrical outlet and unplug the appliances. Then, shut off the water valves behind the machines. These steps ensure a safe and successful removal process.
Turning Off The Power Source
Before uninstalling your washer and dryer, it is crucial to ensure the power supply is completely turned off. This step is important for safety reasons as working with electrical equipment requires caution. To turn off the power source:
- Locate the electrical outlet or circuit breaker that supplies power to your washer and dryer. It is usually located in the laundry room or utility area.
- If you find an electrical outlet, simply unplug the power cord to disconnect the supply.
- If your appliances are hard-wired into the electrical system, you need to turn off the circuit breaker assigned to them. Locate the corresponding circuit breaker in the electrical panel and turn it to the “Off” position.
By ensuring the power supply is disconnected, you reduce the risk of electric shocks or accidents while uninstalling your washer and dryer.
Shutting Off The Water Supply
Before removing your washer and dryer, it is important to shut off the water supply to avoid any potential leaks or water damage. Follow these steps to shut off the water supply:
- Locate the water shut-off valves behind or beside the appliances. These valves control the flow of water to the washer.
- Turn the valves clockwise until they are fully closed. This will stop the water supply to your washer.
- After closing the valves, it is recommended to run a short cycle on your washer to release any remaining water in the lines.
By shutting off the water supply, you minimize the risk of leaks and ensure a hassle-free uninstallation process.
Removing The Washer And Dryer
When it comes to uninstalling your washer and dryer, it’s important to follow the proper steps to ensure a smooth process. In this section, we will guide you through the essential tasks of emptying and cleaning the appliances, detaching the hoses and connections, and lifting and moving the appliances safely.
Emptying And Cleaning The Appliances
Before you begin the uninstallation process, you’ll need to empty and clean your washer and dryer. It’s crucial to remove any remaining water, detergent, or laundry items to prevent leaks or spills during transportation. Follow these simple steps:
- Start by removing any clothes or laundry items from both the washer and dryer.
- Check for any remaining water in the washer’s drum and empty it using the drain hose or by running a quick cycle without any clothes.
- Inspect the detergent dispenser trays and remove them for cleaning. Rinse them with warm, soapy water and dry them thoroughly before reattaching.
- Wipe down the interiors of both the washer and dryer with a damp cloth to remove any excess detergent or lint.
- Finally, give the exteriors of both appliances a thorough cleaning using a mild detergent and a soft cloth. Ensure they are completely dry before moving onto the next step.
Detaching The Hoses And Connections
Once you’ve emptied and cleaned the appliances, it’s time to detach the hoses and connections. This step is crucial to prevent any damage to the appliances or your home’s plumbing system. Follow these steps to safely remove the hoses and connections:
- Start by turning off the water supply valves that are connected to the washer. Usually, these valves are located near the back of the machine.
- Next, carefully disconnect the hoses from the water supply valves and the washer. It’s a good idea to have a towel ready to catch any residual water that may come out.
- Inspect the hoses for any signs of damage or wear. If you notice any, it’s recommended to replace them before reinstalling your appliances.
- Additionally, check the electrical connections and unplug the power cord from the outlet. If there are any gas connections, make sure to shut off the gas supply and disconnect the line.
- Label any wires or hoses that you disconnect to make reinstallation easier.
Lifting And Moving The Appliances Safely
Now that you’ve prepared your washer and dryer for removal, it’s time to safely lift and move them. This step requires proper lifting techniques and precautions to avoid injuries. Follow these guidelines:
- Ensure you have assistance when lifting the appliances as they can be heavy. Avoid attempting to lift them alone.
- Use proper lifting techniques by bending your knees, keeping your back straight, and lifting with your legs.
- If your appliances are stacked, carefully separate them using caution to prevent any damage.
- When moving the appliances, utilize a dolly or hand truck to aid in transportation. This will reduce strain on your back and make the process easier.
- When navigating stairs, take extra care and use additional helpers to assist in moving the appliances safely.
- Place your washer and dryer in a well-ventilated area with enough space for easy reinstallation.
By following these steps to remove your washer and dryer, you’ll ensure a hassle-free process without any damage to your appliances or your home. With proper care and attention, you’ll be ready to reinstall your appliances in your new location or replace them with upgraded models.
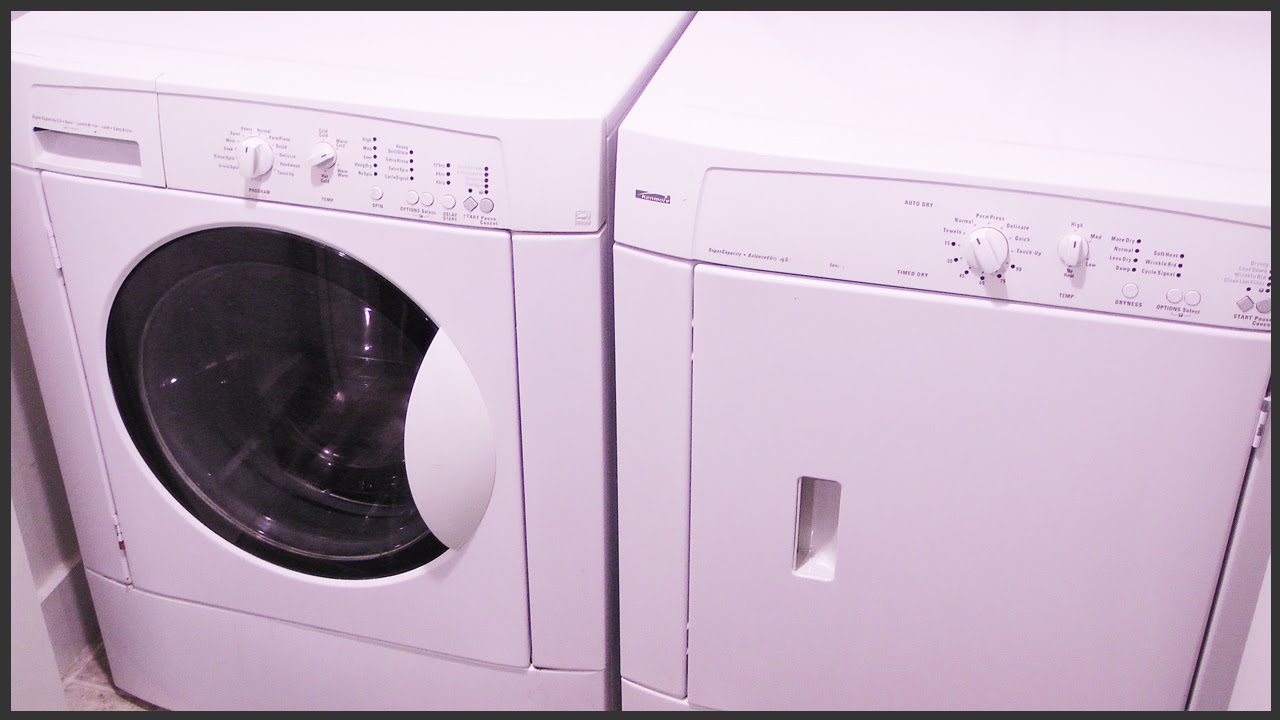
Credit: m.youtube.com
Cleaning And Patching Up The Space
Looking to uninstall your washer and dryer? Learn how to clean and patch up the space effortlessly for a fresh start. Find step-by-step instructions and helpful tips to make the process easier.
When it comes to uninstalling your washer and dryer, it’s not just about disconnecting the appliances. You also need to take care of the space behind them to ensure a clean and seamless transition. In this section, we will explore two important steps: cleaning the area behind the appliances and repairing any damages or holes that may be present.
Cleaning The Area Behind The Appliances
One of the most overlooked aspects of uninstalling a washer and dryer is the area behind them. Over time, dust, lint, and other debris can accumulate in this space, impacting the overall cleanliness of your laundry room. Taking the time to clean behind these appliances not only improves the aesthetics but also helps prevent potential fire hazards due to lint build-up.
To clean the area behind your washer and dryer, follow these simple steps:
- Start by unplugging both appliances to ensure safety.
- Move the washer and dryer away from the wall, giving you easier access to the space behind them.
- Use a vacuum cleaner with a crevice attachment to suck up any dust, lint, or dirt that has collected.
- Consider using a damp cloth to wipe down the area, removing any stubborn residue.
- If you notice any particularly stubborn stains or sticky residue, you can use a mild dish soap mixture to clean them away.
- Once the space is clean and dry, you can move on to the next step of repairing any damages or holes.
Repairing Any Damages Or Holes
During the process of uninstalling your washer and dryer, you may notice damages or holes that need to be addressed. These can occur due to rough handling, installation, or wear and tear. It’s essential to take the time to repair these issues to prevent any further damage or potential safety concerns.
To repair damages or holes in the space behind your appliances, consider the following steps:
- Inspect the area for any noticeable damages, such as cracks, dents, or holes.
- If you come across any small holes, you can use a putty knife and some spackle or quick-drying filler to patch them up.
- For more significant damages, you may need to consult a professional or consider replacing the affected area, such as drywall or flooring.
- After making the necessary repairs, allow the patching materials to dry completely before moving your washer and dryer back into place.
Taking the time to clean and patch up the space behind your washer and dryer not only improves the overall appearance of your laundry room but also ensures a safe and efficient transition. By following these steps, you can complete the uninstallation process with ease, leaving behind a clean and well-maintained space.
Finishing Up
When it comes to uninstalling your washer and dryer, you may have successfully disconnected all the necessary parts and are ready to move on to the final steps. In this section, we will guide you through organizing and storing the disconnected parts and properly disposing of the old appliances.
Organizing And Storing The Disconnected Parts
Before you start organizing and storing the disconnected parts of your washer and dryer, it’s important to gather all the necessary tools and supplies. This includes ziplock bags, plastic containers, or any other suitable storage options. Here’s what you need to do:
- Label each part: As you disconnect each part, make sure to label them using a permanent marker or adhesive labels. This will make it easier for you to identify and locate the parts when you need to reinstall the appliances.
- Group similar parts together: Sort the disconnected parts based on their functions and similarities. For example, place all hoses together, electrical wires together, and small screws and bolts together. This will help you keep everything organized and prevent any confusion later on.
- Securely store the parts: Once you have labeled and grouped the parts, place them in separate ziplock bags or containers. Make sure to seal them tightly to prevent any moisture or dust from entering. It’s also a good idea to keep all the parts in a single box or container so that they are easily accessible when you need them.
- Create an inventory list: To keep track of all the parts, create a simple inventory list. List down the name and the quantity of each part along with their corresponding labels. This will serve as a helpful reference in case you need to refer back to the list when reinstalling the appliances.
Properly Disposing Of The Old Appliances
Now that you have successfully uninstalled your washer and dryer, it’s important to properly dispose of the old appliances. Here are a few options for disposing of them:
- Donate or sell them: If your appliances are still in working condition, consider donating them to a local charity or selling them to someone in need. This not only helps others but also reduces waste.
- Recycle them: Contact your local recycling center to inquire about their policies on recycling old appliances. They may have specific guidelines on how to prepare the appliances for recycling and drop-off locations.
- Hire a professional junk removal service: If you don’t have the means to transport the appliances or if they are no longer in working condition, consider hiring a professional junk removal service. They will ensure that the appliances are disposed of properly and recycled, if possible.
Remember, properly disposing of your old appliances is not only environmentally responsible but also helps pave the way for newer models with improved efficiency and features.
Frequently Asked Questions For How To Uninstall Washer And Dryer
Is It Easy To Uninstall A Washing Machine?
Uninstalling a washing machine is fairly easy. Just disconnect the power and water supply, remove any attachments, and carefully lift it out.
What Do You Need To Do To Uninstall A Washing Machine?
To uninstall a washing machine, follow these steps: 1. Turn off the power supply and unplug the machine. 2. Disconnect the water supply hoses. 3. Remove the drain hose from the plumbing. 4. Use a wrench to loosen the bolts securing the machine to the floor. 5. Lift the machine with assistance and carefully transport it away.
How To Uninstall A Dryer?
To uninstall a dryer, first, disconnect the power supply and turn it off. Remove the vent hose and any screws holding it in place. Pull the dryer away from the wall and unplug it. Lift the top lid and unscrew the control panel. Disconnect the wiring harness and remove the dryer from its base.
How Do You Disconnect A Washer Dryer Combo?
Disconnecting a washer-dryer combo is easy. First, unplug the power cord. Then, turn off the water supply valves. Next, remove the hoses from the back of the unit. Finally, carefully slide the combo away from the wall, ensuring no connections are left.
How Do I Uninstall A Washer And Dryer Combo?
To uninstall a washer and dryer combo, first, turn off the power and water supply. Disconnect the hoses and unplug the cords. Then, remove any screws holding the units in place and carefully lift them out.
Conclusion
To sum up, uninstalling a washer and dryer may seem like a complex task, but with the right steps and precautions, it can be easily accomplished. By following the guidelines discussed in this blog post, you can safely and efficiently remove your washer and dryer, allowing you to make necessary repairs or upgrades.
Remember to always consult the manufacturer’s instructions and seek professional assistance if needed. Happy uninstalling!