
The Kenmore Series 700 dryer is a reliable workhorse in many households, but like any appliance, it can develop issues over time. Whether your dryer won't start, isn't heating properly, or is making strange noises, knowing how to troubleshoot these problems can save you hundreds of dollars in repair bills and hours of frustration.
Understanding Your Kenmore Series 700 Dryer
The Kenmore Series 700 offers both gas and electric models with advanced features like automatic moisture sensing, multiple heat settings, and electronic controls. Common model numbers include 110.73002102, 110.73004310, and similar variations. Before beginning any troubleshooting, locate your model number on the dryer's rating plate, usually found inside the door frame or on the back panel. For more on this, see our guide on lg dryer troubleshooting codes.
Most Kenmore Series 700 dryers share similar internal components and error codes, making troubleshooting relatively straightforward once you understand the basic systems. The key is to approach problems methodically, starting with the simplest checks before moving to more complex diagnostics.
Always disconnect power before attempting internal repairs on your dryer.
Dryer Won't Start: Power and Safety Checks
When your Kenmore Series 700 refuses to start, begin with these fundamental checks before diving into component testing. For more on this, see our guide on top 7 hair dryer under 50.
Verify Power Supply and Circuit Breakers
Electric models require 240 volts split across two 30-amp breakers, while gas models typically need 120 volts on a 15-amp circuit. Turn the dryer on and check if the circuit breakers have tripped. If they have, reset them firmly. For electric models, use a non-contact voltage tester to confirm power reaches the dryer receptacle.
Check the power cord connection at both the dryer and wall outlet. Loose connections are a common culprit, especially after moving the appliance. For 4-wire installations, ensure the neutral and ground wires are properly separated at the terminal block. For more on this, see our guide on lg dryer d80 code but no blockage.
Test Door Switch Functionality
The door switch is a small but critical safety component that prevents operation when the door is open. Close the door and press down firmly while attempting to start the dryer. If it starts intermittently, the door latch or strike plate may need adjustment.
Remove the two screws securing the switch to the frame and disconnect the wiring harness. Use a multimeter set to continuity mode – the switch should show continuity when pressed but open when released. Replace the switch if it fails either test.
Examine Control Panel Settings
Modern electronic controls can sometimes lock up. Perform a hard reset by unplugging the dryer for 5 minutes, then restoring power. Ensure the control lock feature isn't accidentally engaged – look for a lock icon on the display.
Check that the cycle selection matches your expectations. The Series 700 includes an eco-friendly setting that extends cycle times, which can confuse users expecting normal operation.
No Heat Issues: Diagnosing Heating System Problems
A dryer that runs but produces no heat requires immediate attention to heating components.
Check Power Supply and Thermal Fuses
Verify your electric dryer receives full 240 volts using a multimeter across the power terminals. A reading of only 120 volts indicates a missing hot leg, often from a blown household breaker.
Locate the thermal fuse on the blower housing (rear access panel). This safety device permanently opens when internal temperatures exceed safe limits. Test with a multimeter – no continuity means replacement is required. Always replace thermal fuses with OEM parts, never bypass them.
Test the Heating Circuit Components
Access heating elements by removing the rear panel. Electric models feature coiled nickel-chromium wire elements that should read 2,000-5,000 ohms resistance. Any reading under 1,000 ohms or infinite resistance indicates failure.
Test high-limit thermostats (located near the heating element) for continuity at room temperature. These should always show continuity. The operating thermostat, mounted on the blower housing, cycles heating during operation and typically shows continuity until activated.
Gas models use igniters instead of heating elements. Visual inspection often reveals cracked or discolored igniters requiring replacement. Listen for clicking sounds during startup – silence suggests igniter failure or flame sensor issues.
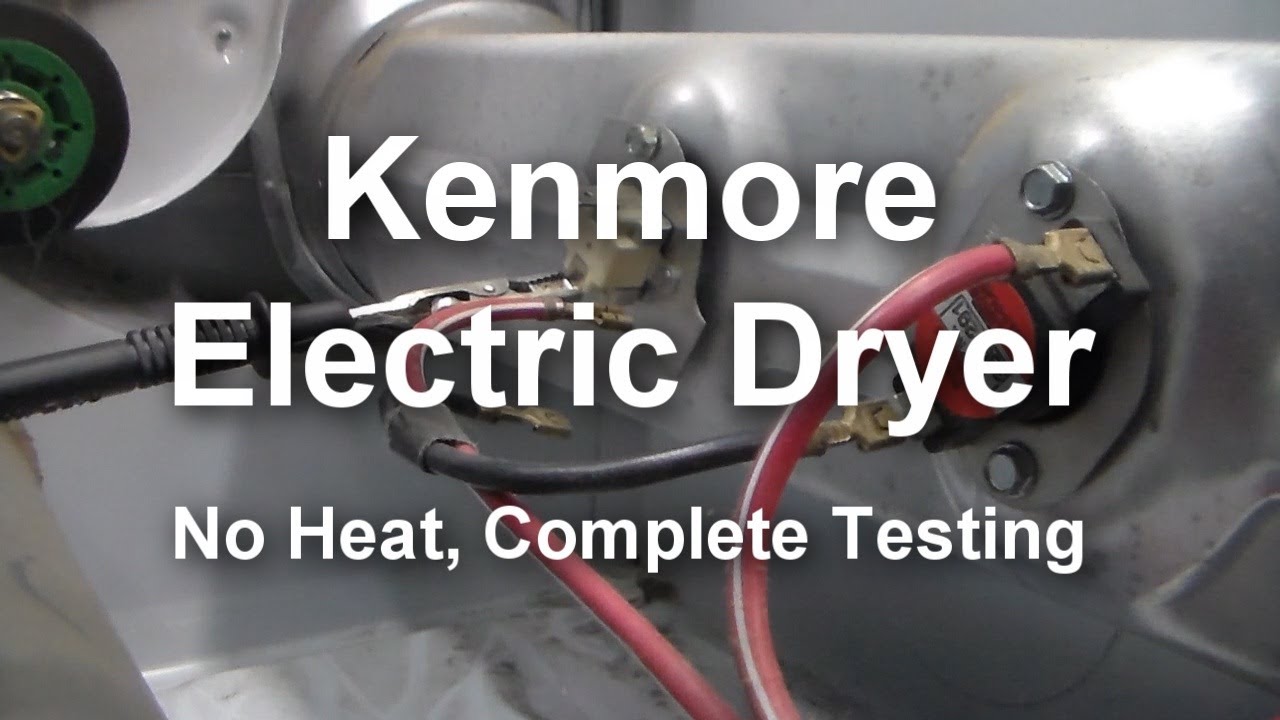
Testing heating components requires multimeter proficiency and proper safety procedures.
Drum Won't Tumble: Belt and Motor Diagnosis
When clothes remain damp despite running cycles, the drum may not be rotating properly.
Inspect Drive Belt Condition
Remove the back panel and rotate the drum manually. A properly tensioned belt should offer moderate resistance. Look for visible cracks, fraying, or missing ribs along the belt surface. Measure belt length – excessive stretching beyond specifications requires replacement.
The belt connects to the motor pulley and drum via a tensioner idler pulley. Check that the idler maintains proper tension against the belt. Worn idler pulleys create slack, causing slippage and poor tumbling action.
Evaluate Drum Support System
Rollers and glides support the drum's weight during rotation. Worn rollers produce noticeable noise and uneven drum movement. Lift the drum slightly and check for play or binding.
Inspect drum seals where the front panel meets the drum edge. Damaged seals allow hot air to escape, reducing drying efficiency. Replacement requires removing the front panel assembly.
Test Drive Motor Operation
Disconnect power and remove motor wires. Test motor windings for continuity between terminals and between each terminal and ground. Any ground continuity indicates internal damage requiring motor replacement.
Listen for unusual noises during operation – grinding suggests bearing wear, while humming without rotation points to seized bearings or capacitor failure.
Strange Noises and Vibration Issues
Unusual sounds often indicate mechanical wear that worsens without intervention.
Identify Noise Sources
Squealing typically originates from the belt tension system. Apply belt dressing to squeaky belts temporarily, but plan for replacement. Grinding or scraping sounds usually mean metal-on-metal contact from worn bearings.
Thumping during operation suggests drum misalignment or damaged support rollers. Banging noises often occur when foreign objects become trapped between the drum and housing.
Address Vibration Problems
Ensure the dryer sits level using adjustable front legs. Rock the unit side-to-side – no movement should occur. Check that all mounting bolts are tight and floor surfaces can support the appliance's weight.
Inspect shock absorbers (if equipped) for oil leakage or damage. These dampers control vibration and require replacement when compromised.
Extended Drying Times: Airflow and Sensor Troubleshooting
Clothes taking significantly longer than normal to dry usually indicates airflow restrictions.
Clean Ventilation System Thoroughly
Disconnect the exhaust hose and inspect for kinks, crushing, or blockages. Use a vent cleaning brush to remove lint buildup extending several feet into the wall ductwork. Many homeowners overlook this step, assuming external vent caps are sufficient.
Check exterior vent hood flappers move freely. Blocked vents prevent moist air expulsion, creating humidity that extends drying cycles.
Service Moisture Sensors
The Series 700 uses stainless steel moisture sensor strips positioned near the door. Clean with fine steel wool monthly – fabric softener residue insulates sensors, causing false readings.
Test sensor function by running timed cycles alongside automatic cycles. Significant timing differences suggest sensor malfunction requiring replacement.
Premature Cycling and Shutdown Problems
When dryers shut off before completing cycles, electronic or thermal issues are typically responsible.
Analyze Moisture Sensor Accuracy
Wipe sensor strips with isopropyl alcohol to remove buildup affecting readings. Test resistance between sensor contacts while holding wet cloth against them – readings should decrease dramatically compared to dry conditions.
Replace sensors showing inconsistent or no response to moisture changes.
Evaluate Temperature Control Components
Use infrared thermometers to monitor actual dryer temperatures during operation. Cycling thermostats should open around 180°F and close around 150°F. Deviations indicate faulty control.
Thermal cutoff fuses require replacement whenever continuity fails – never bypass these critical safety devices.
Overheating Protection and Prevention
Modern dryers incorporate multiple overheating safeguards that activate during dangerous conditions.
Monitor Operating Temperatures
Normal operating temperatures range 120-150°F internally. Consistently higher readings suggest control system failures or airflow restrictions requiring professional attention.
Prevent Component Failure
Regular maintenance prevents overheating scenarios. Replace worn belts immediately to prevent motor strain. Keep exterior vents clear seasonally, especially during high humidity months when moisture-laden air struggles to exit efficiently.
Burning Odors and Electrical Concerns
Any burning smell demands immediate attention and power disconnection.
Locate Odor Sources
Common causes include overheating motors, clogged lint accumulation near heating elements, or failing electrical connections. Inspect wiring harness connectors for discoloration or melting indications.
Address Safety Hazards
Never continue operating dryers emitting burning odors. Professional evaluation determines whether repairs are safe or replacement is advised.
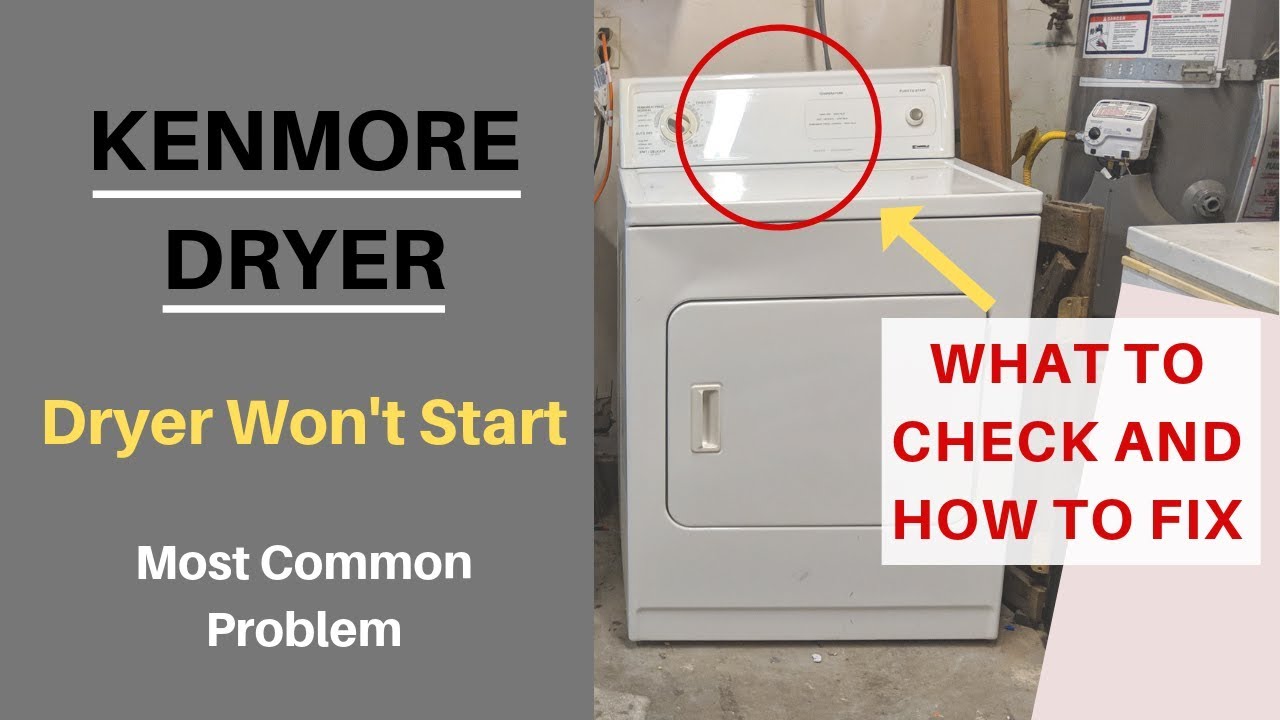
Electrical issues in dryers pose serious fire risks requiring professional diagnosis.
Maintenance Schedule and Prevention
Preventive maintenance extends Kenmore Series 700 lifespan significantly beyond typical expectations.
Weekly Tasks
Clean lint screen after every load. Wipe door seal edges to remove debris preventing proper closure.
Monthly Maintenance
Vacuum interior components accessible through rear panel. Check vent hose connections for looseness.
Annual Deep Cleaning
Professional vent cleaning removes stubborn lint deposits unreachable through routine maintenance. Lubricate drum rollers if applicable to your model.
For additional guidance on related appliance issues, explore our comprehensive resources covering various brands and models. Whether dealing with LG washer and dryer error codes or investigating faulty thermal cutoff systems, our technical articles provide detailed diagnostic procedures.
Frequently Asked Questions
How do I reset my Kenmore Series 700 dryer?
Unplug the dryer from the wall outlet for 5 minutes to clear electronic memory. Restore power and select a timed dry cycle to verify normal operation. Some models require pressing and holding specific button combinations – consult your manual for exact sequences.
Why does my Kenmore dryer take 3 hours to dry clothes?
Restricted airflow is the primary cause. Check the exhaust vent hose for kinks, clean the lint filter thoroughly, and vacuum the internal ductwork. If problems persist, the moisture sensor strips may require cleaning with fine steel wool to restore accuracy.
What does error code F23 mean on a Kenmore Series 700?
Error F23 indicates a door lock malfunction preventing startup. Check that the door closes fully and latches securely. Test the door switch for continuity and replace if faulty. In some cases, the control board itself may need professional evaluation.
Can I bypass the thermal fuse on my dryer?
Never bypass thermal fuses – they're critical safety devices preventing house fires. A blown thermal fuse indicates underlying airflow or heating problems that must be resolved. Replace fuses only after addressing root causes like clogged vents or failed heating elements.
How much does Kenmore dryer repair typically cost?
Basic repairs like belt or thermal fuse replacement cost $100-$200 including labor. Complex issues involving control boards or heating elements range $300-$500. Compare this against replacement costs – typically $500-$1,200 depending on model features and installation requirements.
Final Thoughts
Troubleshooting Kenmore Series 700 dryers becomes manageable when approached systematically. Start with simple visual inspections and basic electrical testing before progressing to complex component replacement. Always prioritize safety by disconnecting power and working in well-lit environments.
Professional assistance remains necessary for gas line work, major electrical issues, and warranty-covered repairs. However, routine maintenance and minor part replacements fall well within capable homeowner skill levels.
Regular upkeep prevents most common problems while ensuring optimal performance throughout your dryer's expected 10-15 year lifespan. When in doubt, consult official Kenmore documentation specific to your model number rather than relying on generic advice that may not apply accurately.
Remember that investing quality time in proper troubleshooting saves both money and inconvenience compared to premature appliance replacement. Keep this guide handy for future reference, and don't hesitate to seek professional help when electrical risks exceed comfort levels.