
Learning how to adjust a roll and lock tonneau cover starts with identifying your specific symptom. Most issues trace back to torsion spring tension or side rail alignment rather than broken parts. You can usually restore smooth operation with basic hand tools and thirty minutes of focused work.
Always disconnect the battery on A-Series electric models before touching any components.
Manufacturer specifications indicate clamp torque should stay between 10 and 15 ft-lbs to prevent track distortion. Exceeding this limit causes binding that mimics spring failure and voids warranty coverage. We will walk through each adjustment path so you fix the actual problem instead of guessing.
how to adjust a roll and lock tonneau cover
Adjusting a Roll-N-Lock cover requires diagnosing the specific symptom first. Tighten the torsion spring if retraction feels stiff or incomplete. Loosen mounting clamps to realign tracks if the cover binds or rubs.
Adjust latch strikers only after confirming proper tension and alignment. Always use silicone lubricant on seals during final testing.
Diagnose Your Roll-N-Lock Issue Before Touching a Wrench
Cover Won't Retract or Feels Stiff
Stiff retraction usually means insufficient torsion spring tension. The vinyl slats create drag when the counterbalance force drops below spec. Check for debris in the cassette housing before adjusting springs.
Clean guide blocks often resolve minor resistance without mechanical changes.
Cover Slams Shut or Unrolls Too Fast
Excessive speed indicates over-tensioned springs or worn dampeners. The stored energy exceeds what the friction brakes can safely manage. This condition risks finger injuries and damages the pull strap assembly.
Reduce spring tension in quarter-turn increments until descent slows.
Binding, Rubbing, or Crooked Movement
Misaligned side rails cause uneven tracking and premature wear. The cassette housing must sit parallel to the tailgate within 1/8 inch tolerance. Loose mounting clamps allow rails to shift during vehicle vibration.
Shimming the high side typically corrects crooked travel paths.
Latch Won’t Engage or Tailgate Gap Issues
Latch problems stem from poor seal compression or striker misalignment. The cover must fully seat against the bulkhead seal before latching. Gaps wider than 1/4 inch suggest incorrect canister positioning.
Adjust striker plates only after verifying track alignment is correct.
Step-by-Step Adjustments for Tension, Alignment, and Latching
Safety First: Managing Stored Spring Energy
Torsion springs store significant mechanical energy that releases violently if mishandled. Wear eye protection and keep fingers clear of winding cones during adjustment. Never remove the cassette end caps while springs remain under tension.
Disconnect the vehicle battery on A-Series models to prevent accidental motor activation.
Fixing Tension: Adjusting the Torsion Spring Assembly
Locate the winding cone on the cassette tube end opposite the motor. Insert the provided hex key into the adjustment port and turn clockwise to increase tension. Make quarter-turn adjustments only, then test retraction force after each change.
Count total turns to maintain symmetry if adjusting both sides.
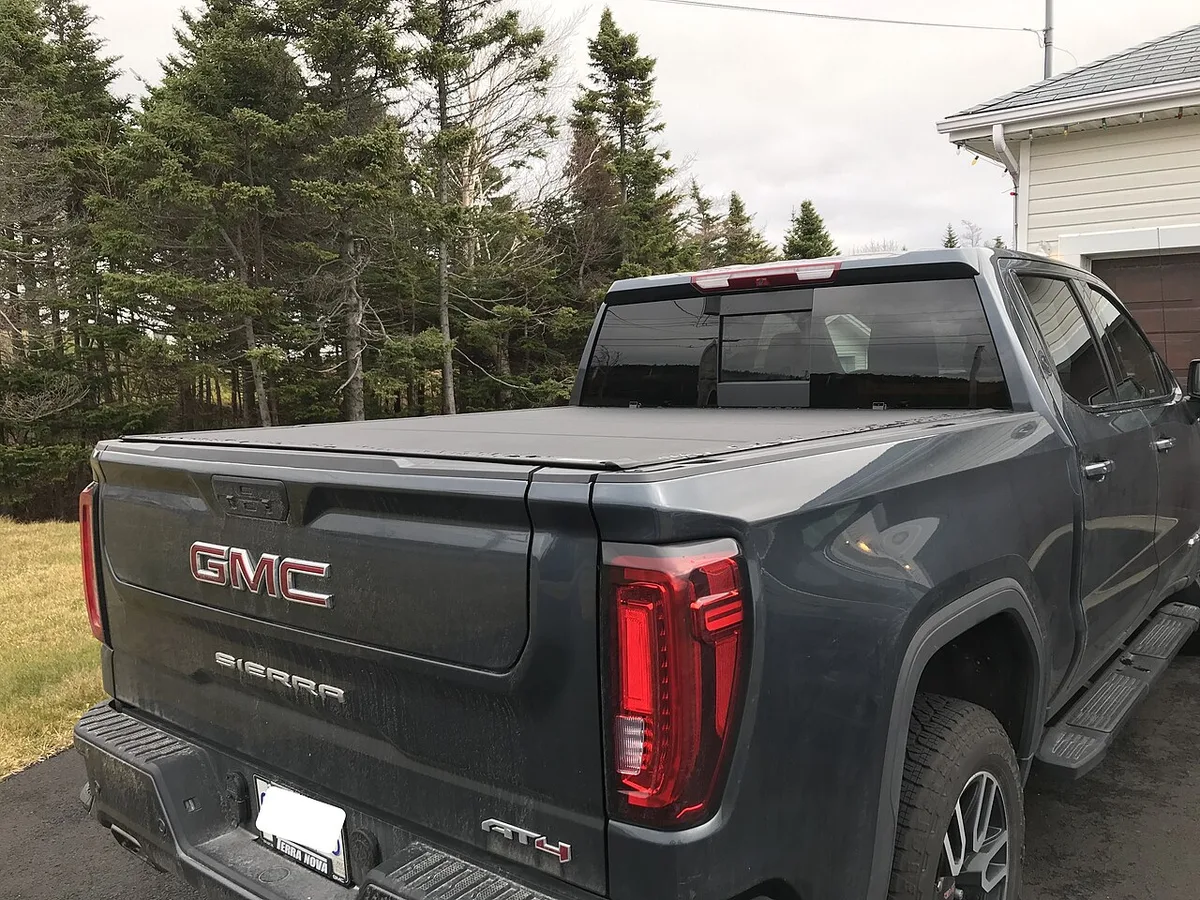
Image source: Wikimedia Commons / Haf4iu (CC BY-SA)
Correcting Alignment: Shimming and Repositioning Side Rails
Loosen all mounting clamps to hand-tight plus one-quarter turn. Measure the gap between cassette housing and bed rails at front, middle, and rear positions. Insert manufacturer-approved shims under low points until gaps equalize within 1/8 inch.
Retorque clamps to 10-15 ft-lbs in alternating sequence to prevent distortion.
Fine-Tuning Latches and Seal Compression
Test latch engagement by closing the cover slowly while observing striker contact. Loosen striker plate bolts and reposition until latches click positively without forcing. Compress bulb seals to 25-50% thickness for optimal weatherproofing without excess drag.
Apply silicone spray lubricant to vinyl surfaces after every adjustment session.
Common Adjustment Mistakes That Damage Roll-N-Lock Covers
Using Petroleum-Based Lubricants on Vinyl Seals
Petroleum distillates degrade vinyl and rubber compounds permanently. WD-40 and similar products cause seals to swell, crack, or lose elasticity. Use only silicone-based lubricants approved for automotive vinyl applications.
This mistake accounts for many premature seal failures we see in service records.
Over-Tightening Mounting Clamps Beyond Torque Specs
Excessive clamp pressure deforms aluminum side rails and creates binding points. The 10-15 ft-lb specification exists to maintain structural integrity under load. Use a calibrated torque wrench instead of guessing by feel.
Distorted rails require complete replacement since they cannot be straightened reliably.
Ignoring Drain Tube Routing During Reassembly
Pinched drain tubes cause water accumulation inside the cassette housing. Standing water corrodes spring assemblies and freezes solid in winter climates. Verify tube routing follows factory diagrams before tightening any clamps.
Clear drainage paths are essential for long-term mechanism reliability.
Forcing the Cassette Without Releasing Tension
Applying leverage against loaded springs risks catastrophic component failure. Always reduce spring tension before attempting cassette removal or repositioning. The torsion bar can snap or launch end caps at dangerous velocities.
Patience during disassembly prevents costly repairs and personal injury.
Roll-N-Lock Adjustment FAQs
How often should I lubricate and adjust my cover?
Lubricate vinyl slats and seals every three to six months depending on climate exposure. Check tension and alignment seasonally or whenever operation feels different. High-dust environments require more frequent cleaning and inspection cycles.
Regular maintenance extends component lifespan significantly compared to reactive repairs.
Can I adjust an A-Series electric cover manually if the motor fails?
Yes, A-Series models include a manual override crank for emergency operation. Locate the override port on the passenger-side cassette end cap. Turn the crank handle to retract or extend the cover without electrical power.
Restore motor function promptly since manual operation bypasses safety limit switches.
What tools do I actually need for these adjustments?
You need 4mm, 5mm, and 8mm hex keys plus a 10mm socket wrench. A calibrated torque wrench ensures clamp fasteners meet specification without damage. Silicone spray lubricant and clean microfiber cloths handle seal maintenance tasks.
Specialty spring winding tools come included with genuine Roll-N-Lock replacement kits.
When should I stop DIY adjustments and call a dealer?
Stop immediately if springs show visible cracks, kinks, or corrosion damage. Seek professional help when alignment issues persist after proper shimming procedures. Electrical faults in A-Series motors require diagnostic equipment most owners lack.
Warranty claims also require authorized dealer documentation to remain valid.