
Yes, a tonneau cover is removable on virtually every modern truck. The method and effort required depend entirely on your specific cover style. Soft covers typically detach in minutes without tools.
Hard shells often require two people and basic hand tools for safe removal.
Manufacturer specifications indicate most clamp-on systems use standard 1/4-inch hex hardware. Aggregate reviews report soft cover removal averages under five minutes while hard shells take thirty minutes or more. Understanding your mounting system prevents damage during the uninstall process.
This guide breaks down exactly what to expect based on your hardware type.
Is a Tonneau Cover Removable
Yes, a tonneau cover is removable. Most designs allow full detachment from the bed rails. Soft covers usually require no tools for removal.
Hard covers need wrenches and extra hands. Always check your specific mounting hardware first.
The Removal Decision Tree: Matching Your Hardware to the Right Method
Your removal path depends on three factors: cover material, mounting style, and frequency of access. If you have a soft roll-up with hook-and-loop strips, simply peel back the vinyl and unclip the tension arms. For tri-folds with clamps, loosen the thumb screws at each corner and lift the panels straight up.
Drill-in systems demand socket wrenches and careful bolt organization to avoid losing hardware inside the bed liner.
Image source: Wikimedia Commons / Brian Snelson from Hockley, Essex, England (CC BY)
Retractable covers sit at the opposite end of the spectrum. These units bolt directly into the bed and integrate with canister assemblies that cannot be quickly detached. If you only need occasional full-bed access, folding the cover toward the cab is faster than complete removal.
Reserve full uninstall for seasonal storage or major bed work. We break down truck bed maintenance routines elsewhere if you are planning deeper service.
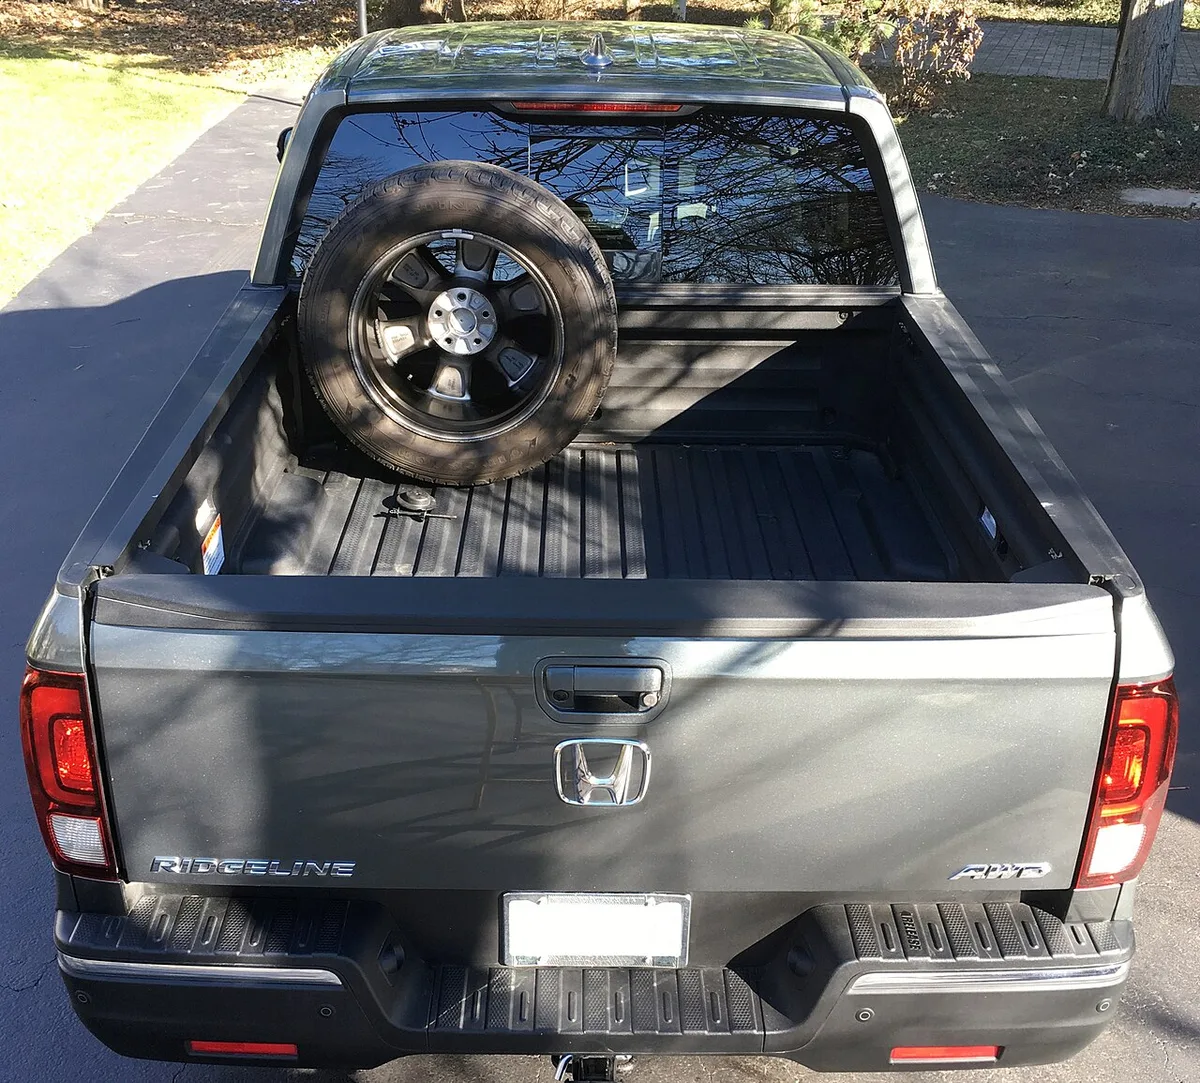
Image source: Wikimedia Commons / Dogs 2C (CC BY-SA)
| Cover Type | Tools Needed | Avg. Time | Helper Required |
|---|---|---|---|
| Soft Roll-Up | None | 2-5 min | No |
| Tri-Fold Clamp | Hex Key/Wrench | 10-15 min | Optional |
| One-Piece Shell | Socket Set | 30-45 min | Yes |
| Retractable | Full Tool Kit | 60+ min | Yes |
Step-by-Step Removal Workflow and Safety Checks by Cover Style
Safety comes before speed when removing heavy bed accessories. Per OSHA lifting guidelines, any object over 50 pounds requires mechanical assistance or a second person. Many one-piece fiberglass shells weigh between 70 and 90 pounds.
Attempting a solo lift risks back injury and severe damage to your truck’s tailgate or rear window.
Start by opening the tailgate fully and securing it in place. Disconnect any electrical harnesses for lighted covers before touching mounting hardware. Label all bolts and brackets as you remove them to simplify reinstallation later.
Place removed panels on blankets or foam pads rather than bare concrete to prevent scratching.
For clamp-on tri-folds, loosen the rear clamps first to release tension gradually. Support the panel weight as you work forward to prevent sudden drops. Soft covers should be rolled tightly and secured with built-in straps before lifting off the rails.
If hardware feels seized, apply penetrating oil and wait ten minutes rather than forcing stripped threads. Proper technique protects both you and the equipment.
Critical Variables: Rails, Wiring, and Weather Seals That Complicate the Job
Bed rail condition dictates how smoothly removal goes. Rust or corrosion on mounting points can fuse clamps permanently to the truck. Coastal salt exposure accelerates this degradation significantly.
Apply anti-seize compound during reassembly to prevent future issues. Inspect rail caps for cracks before reinstalling any cover system.
Image source: Wikimedia Commons / Brian Snelson from Hockley, Essex, England (CC BY)
Wiring harnesses add another layer of complexity. Electric retractable covers and LED-integrated lids require battery disconnection before removal. Trace all wire routing carefully to avoid pinching or tearing insulation.
Some models hide connectors beneath bed liners or inside fender wells. Missing these hidden connections leads to costly electrical repairs.
Weather seals also demand attention during uninstall. Adhesive-backed bulb seals often tear when pulled forcefully from cold metal. Use a plastic trim tool and gentle heat to soften stubborn adhesive residue.
Clean remaining glue with automotive-grade solvent before storing the cover. Damaged seals compromise waterproofing upon reinstallation. Check our guide on diagnostic trouble codes if electrical components behave unexpectedly after reconnecting.
Common Removal Mistakes and FAQs for Truck Bed Covers
Rushing the process causes the most frequent damage. Forcing stuck clamps strips aluminum threads instantly. Skipping the helper for heavy shells dents tailgates.
Losing small detent pins in grass or gravel delays reassembly for hours. Taking photos during disassembly creates a visual reference that beats memory alone.
Can I Remove My Tonneau Cover Alone?
Soft covers and lightweight tri-folds are manageable solo. One-piece hard shells and retractable systems absolutely require two people. Manufacturer specs list weights exceeding safe single-person limits.
Risking injury or truck damage isn't worth saving a friend's time. Always prioritize safety over convenience with heavy components.
Will Removing the Cover Void My Warranty?
Removing an aftermarket cover doesn't void your truck warranty. However, improper removal damaging bed rails or paint may not be covered. Keep documentation showing professional installation if applicable.
Follow manufacturer torque specs precisely during reinstallation. Warranty claims related to cover damage fall under the accessory maker, not the automaker.
How Do I Store a Removed Tonneau Cover?
Store soft covers rolled loosely in climate-controlled spaces. Avoid tight compression that creases vinyl permanently. Hard shells need vertical support against padded walls.
Never lean fiberglass panels flat on uneven surfaces. UV exposure degrades materials rapidly even indoors near windows.
What If Clamps Are Stuck or Stripped?
Apply penetrating oil and let it soak overnight. Use impact drivers cautiously on plastic thumb screws. Drilled-out fasteners require helicoil repair kits.
Replacement clamp kits are available from most manufacturers. Never substitute incorrect hardware sizes during emergency removal.
Does Frequent Removal Wear Out Mounting Points?
Clamp-on systems tolerate regular removal better than drill-in designs. Repeated tightening loosens bed rail integrity over years. Rotate clamp positions slightly during reinstallation to distribute wear.
Inspect mounting surfaces annually for stress fractures. Consider upgrading to quick-release hardware if weekly removal is necessary.