
Ever looked at a mirror and wondered how it’s made? Imagine the satisfaction of crafting one yourself!
Making a mirror might sound like a complex task, but with the right guidance, it can be a fun and rewarding experience. Why settle for store-bought when you can create a mirror that reflects your unique style? By making your own mirror, you not only get a custom piece but also a fascinating story to share.
Ready to unleash your creativity and learn the secrets of mirror-making? Dive in, and discover how simple and enjoyable it can be to make a mirror that’s truly yours.
Materials And Tools
Creating your own mirror can be a fulfilling project. Understanding the right materials and tools is essential. Each component plays a crucial role in the process. By gathering everything you need, you ensure smooth crafting. This section guides you through the essentials.
Glass Or Acrylic Sheet
The foundation of your mirror is a glass or acrylic sheet. Glass offers a clear, reflective surface. Acrylic is lightweight and shatterproof. Choose based on your safety and weight preferences.
Mirror Coating
Mirror coating creates the reflective surface. Silver nitrate or specialized sprays work well. Ensure the coating is even for the best reflection.
Backing Material
The backing provides support to the mirror. MDF or plywood sheets are common choices. They add strength and prevent warping.
Protective Gloves
Protective gloves keep your hands safe. Handling glass or chemicals can be risky. Ensure you wear them throughout the project.
Cutting Tools
Cutting tools are needed to shape your materials. A glass cutter or saw is essential. Choose tools based on the material you’re using.
Adhesive
Adhesive secures the mirror to the backing. Silicone glue or mirror adhesive works best. Ensure it’s suitable for both glass and backing material.
Measuring Tape
Accurate measurements are crucial for a perfect fit. Use a measuring tape to ensure precision. Double-check dimensions before cutting.
Cleaning Supplies
Cleaning supplies are vital for a clear finish. Use alcohol wipes or glass cleaner. Clean the surface thoroughly before applying the coating.
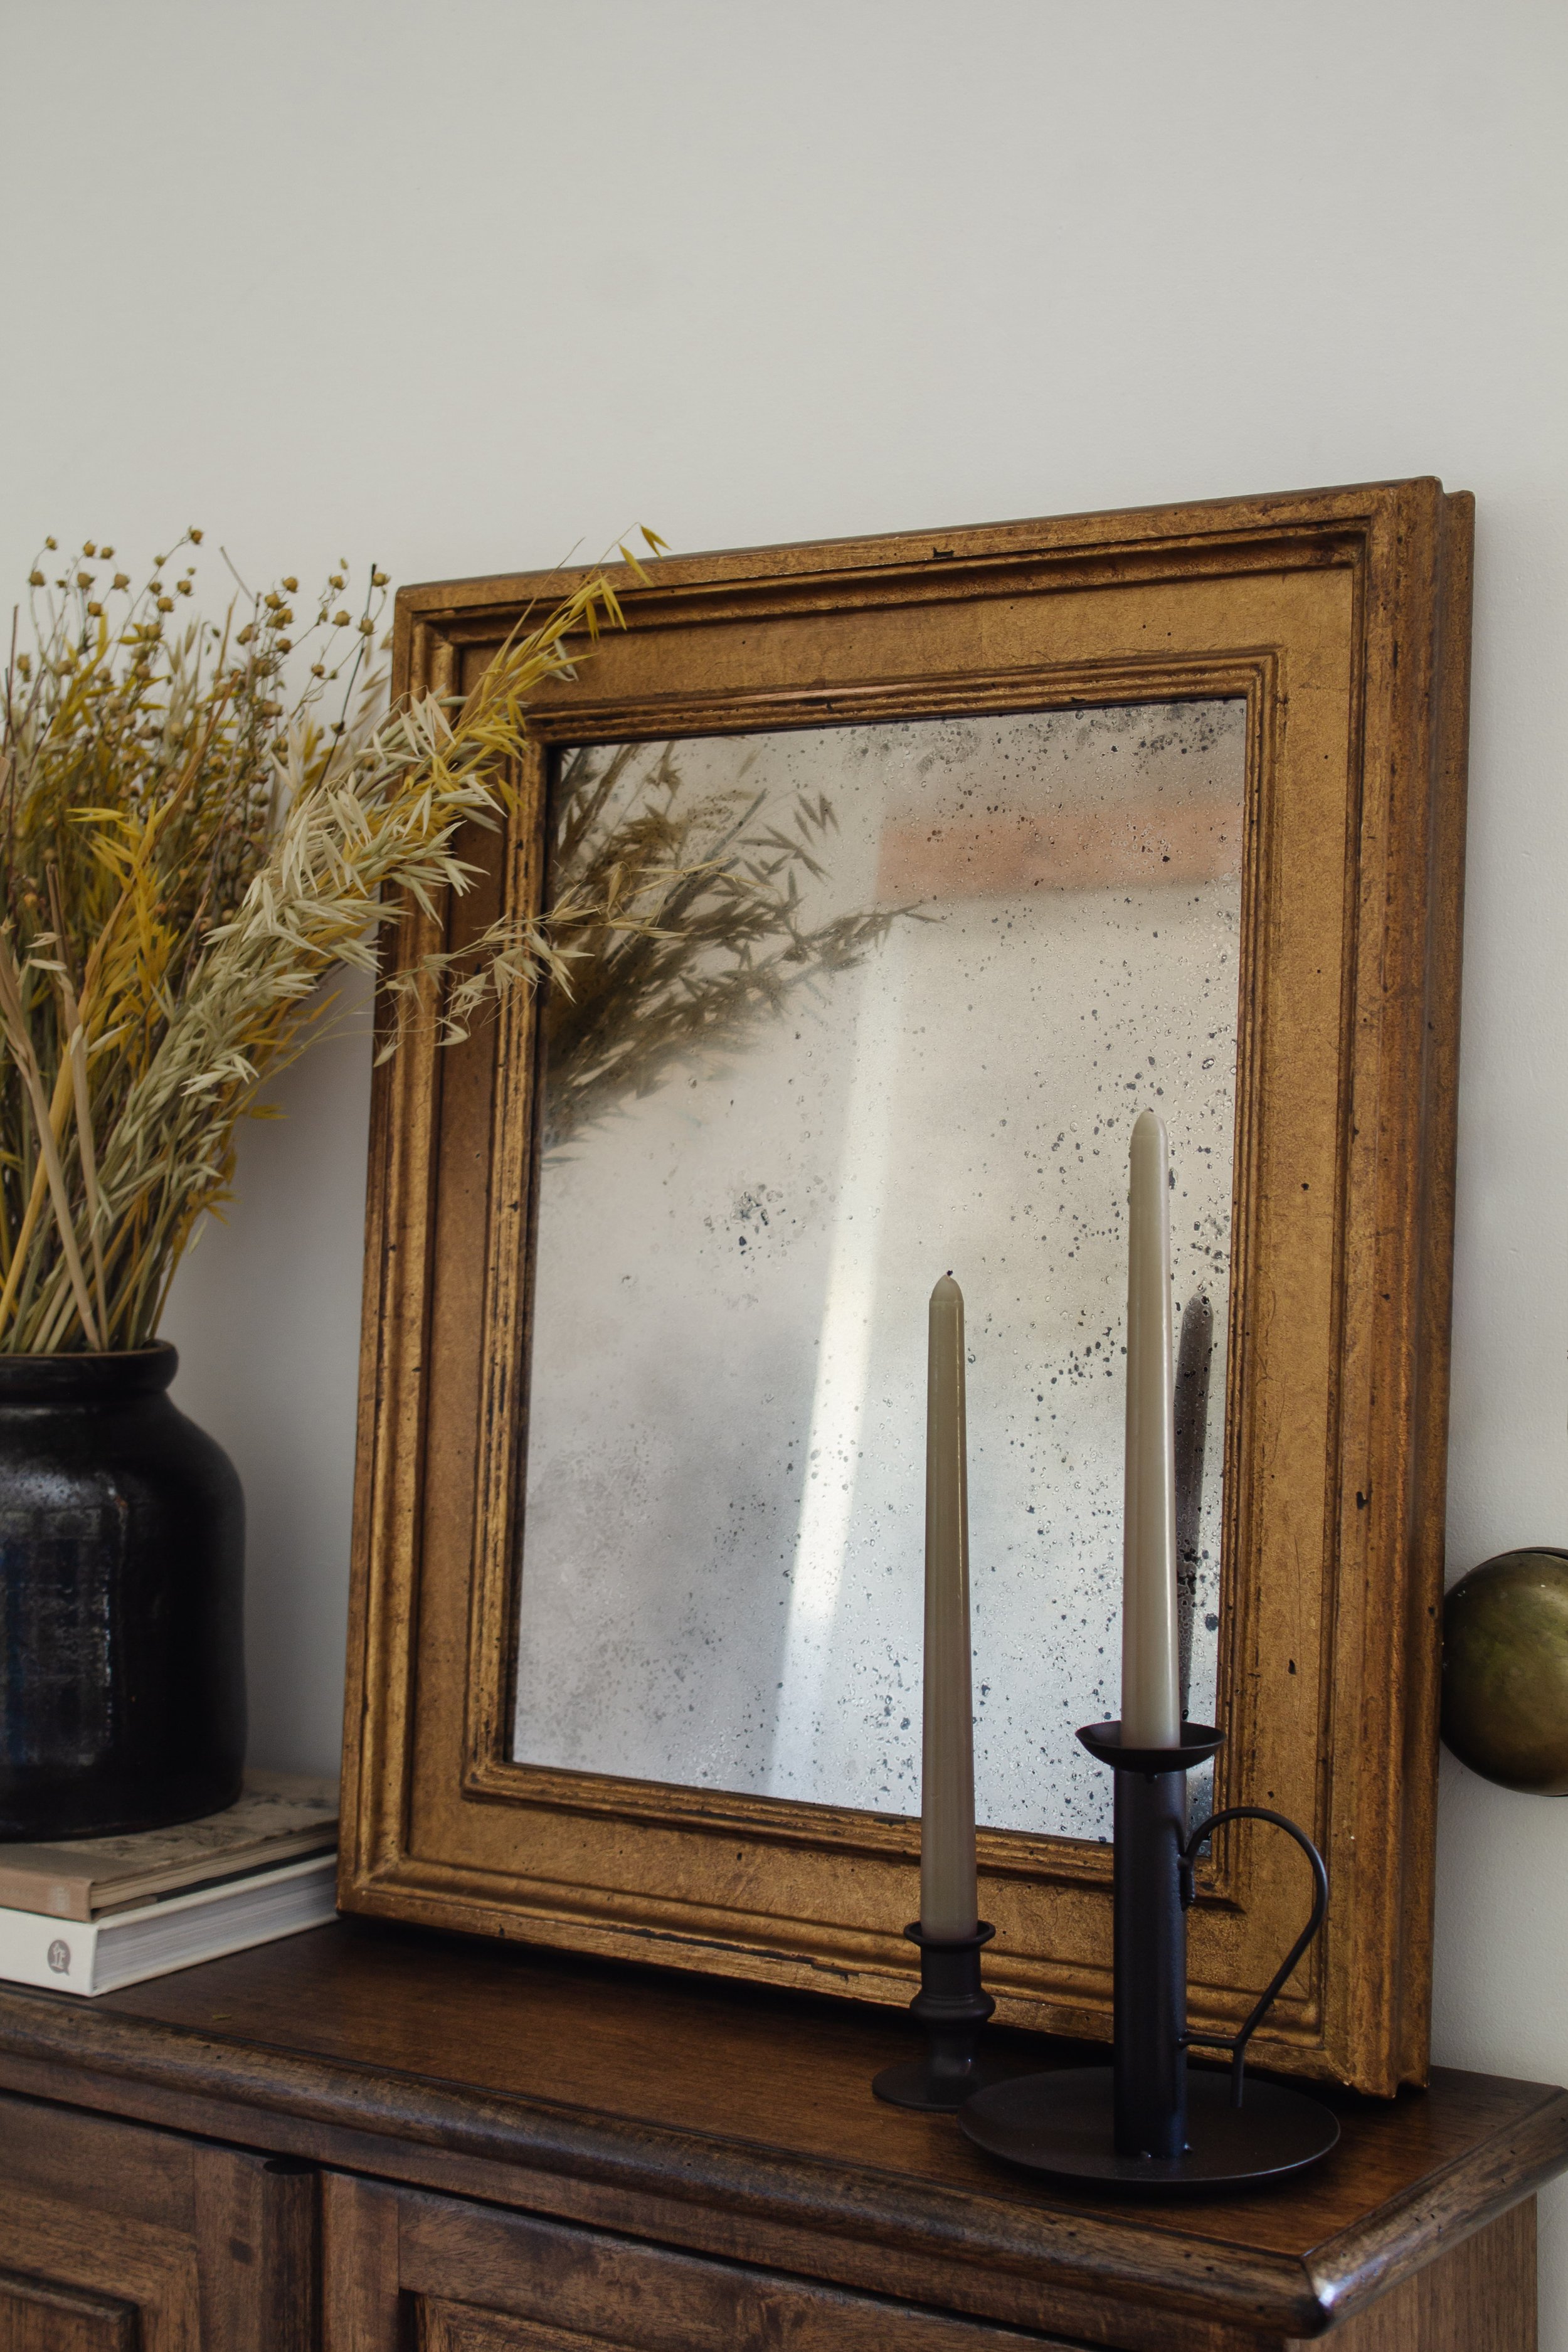
Credit: nadinestay.com
Step-by-step Process
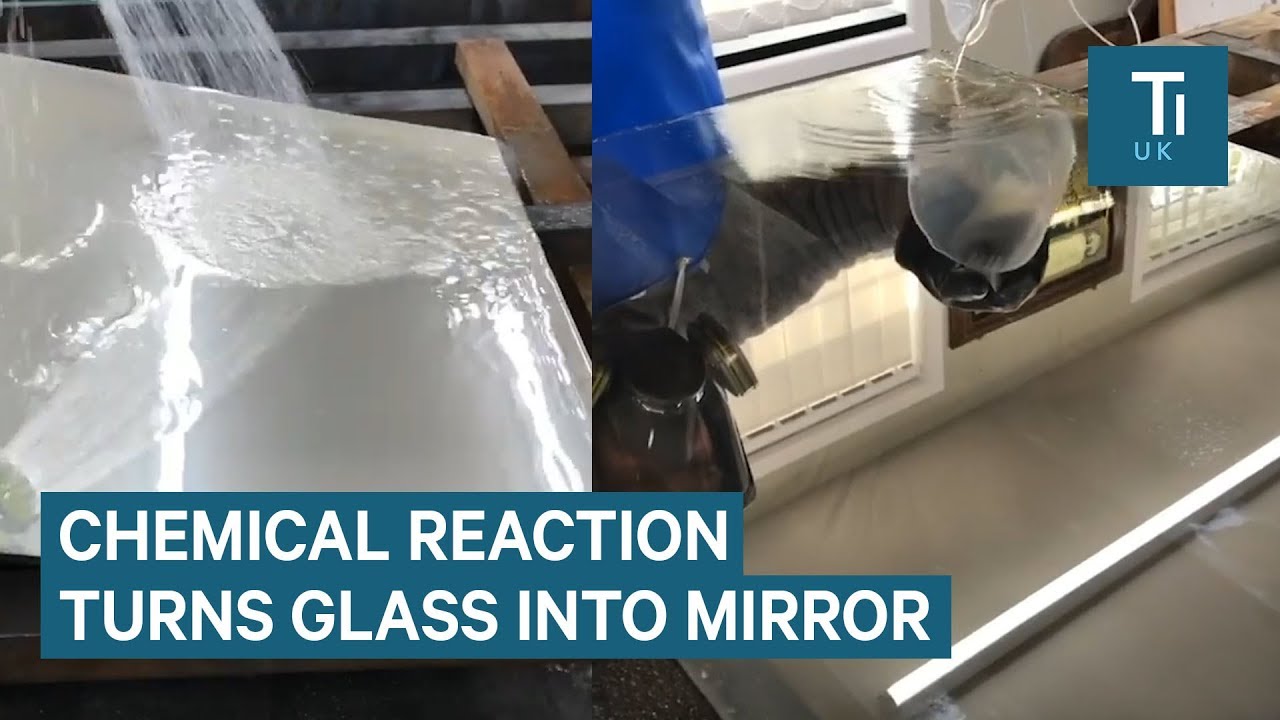
Crafting a mirror involves assembling glass and applying a reflective coating. Begin by cutting glass to your desired size. Next, evenly spread a thin layer of silver nitrate solution over the surface. Allow it to dry completely for a perfect reflection.
Creating a mirror at home can be an exciting project that adds a personal touch to your space. Imagine having a mirror that not only reflects your image but also your creativity. This step-by-step process will guide you through making your own mirror, ensuring you have everything you need to transform a simple glass pane into a reflective masterpiece. Whether you’re an avid DIY enthusiast or just looking for a fun weekend project, you’ll find this process straightforward and rewarding. Ready to get started?Gather Your Materials
First, ensure you have all the necessary materials. You will need a plain glass pane, silver nitrate, a reducing agent like glucose, distilled water, and a protective backing. Don’t forget safety gear: gloves and goggles are essential.Prepare The Glass
Start with a clean glass pane. Wash it with soap and water, then rinse thoroughly with distilled water. Dry it using a lint-free cloth. This ensures no residue interferes with the reflective coating.Mix Your Silver Solution
In a small container, mix silver nitrate with distilled water. Add the reducing agent to the solution. This combination will create a chemical reaction that forms the reflective layer on your glass.Apply The Reflective Coating
Carefully pour the silver solution over the glass surface. Tilt the glass to ensure even coverage. Watch as the silver coating begins to form, transforming your glass into a mirror.Seal And Protect
Once the coating dries, apply a protective backing. This prevents damage and extends the life of your mirror. Use a spray sealant or attach a solid backing for extra durability.Inspect Your Creation
Examine your mirror for any imperfections. You might notice some uneven areas. Don’t worry; these small quirks add character to your handmade creation.Display With Pride
Find the perfect spot for your new mirror. Whether it’s in your hallway or bedroom, let it reflect your personal style. How does it feel to see your reflection in something you crafted yourself? Creating a mirror at home is more than just a project; it’s an experience that allows you to put your skills to the test. Imagine telling your friends, “I made that!” Wouldn’t it be satisfying to see their surprise and admiration?Tips For Best Results
Creating a mirror at home can be a fun project. It requires some skills but offers great satisfaction. You can make a mirror that fits your style and needs. Here are some tips to get the best results.
Choose The Right Glass
Start by picking the right glass. The glass should be clear and free from bubbles. This ensures a smooth and reflective surface. Thicker glass is often more durable.
Prepare The Surface
Clean the glass thoroughly before applying any chemicals. Use a glass cleaner and a soft cloth. Any dirt can ruin the final look of your mirror.
Apply Mirror Solution Evenly
Use a spray bottle for the mirror solution. Apply it evenly across the glass. This helps in achieving a uniform reflection. Avoid spraying too much in one area.
Allow Proper Drying Time
Let the mirror solution dry completely. This can take several hours. Be patient for the best results. Rushing can lead to smudges and imperfections.
Seal The Back Of The Mirror
Seal the back with a protective coat. This prevents damage and corrosion. Use a sealant designed for mirrors. It keeps your mirror looking new longer.
Install With Care
Handle the mirror with care during installation. Use the right tools and support. This avoids any damage to the mirror or your wall. Secure it firmly to prevent accidents.

Credit: m.youtube.com
Credit: www.youtube.com
Conclusion
Creating your own mirror is a rewarding experience. You gain a unique piece for your home. The steps are simple and easy to follow. Gather your materials carefully. Ensure your workspace is clean and organized. Follow safety measures for best results.
Enjoy the process and learn as you go. Making a mirror can be a fun project. It adds a personal touch to any space. With patience, you’ll craft something beautiful. Try it and share your creation with others. Your homemade mirror will reflect your effort and creativity.