
Yes, you can paint a washer and dryer to give them a fresh new look. Transforming the appearance of your appliances with a coat of paint is a budget-friendly alternative to buying new ones.
By following a few simple steps and using the right materials, you can successfully paint your washer and dryer to match your desired aesthetic. Painting your appliances not only allows you to customize their appearance, but it also helps to prolong their lifespan and prevent rust or other damages.
Whether you want a sleek black finish or a bold pop of color, painting your washer and dryer can be a fun and rewarding DIY project.
Credit: ducttapeanddenim.com
Benefits Of Painting A Washer And Dryer
Painting a washer and dryer can have several benefits that can enhance their appearance, provide a cost-effective alternative to replacement, and allow for customization.
Enhances The Appearance
Painting your washer and dryer is a simple yet effective way to enhance the appearance of these appliances. With a fresh coat of paint, you can rejuvenate the look of your old and worn-out washer and dryer, making them look brand new. You can choose any color that matches your kitchen or laundry room decor, allowing you to create a seamless and cohesive aesthetic in your home.
Cost-effective Alternative To Replacement
Replacing a washer and dryer can be a costly investment. However, painting them offers a budget-friendly alternative that can save you a significant amount of money. Instead of spending a fortune on brand new appliances, you can transform your existing washer and dryer with a little paint and creativity. This cost-effective solution can help you achieve the desired look without breaking the bank.
Allows For Customization
Painting your washer and dryer also allows for customization. With various paint colors and finishes available, you can personalize your appliances to match your unique style and preferences. Whether you prefer a sleek and modern look or a more vibrant and bold design, painting offers endless possibilities for customization. You can even add patterns or stencils to create a one-of-a-kind look that reflects your personality.
In conclusion, painting your washer and dryer provides several benefits, including enhancing their appearance, serving as a cost-effective alternative to replacement, and allowing for customization. By giving your appliances a fresh coat of paint, you can breathe new life into them and create a personalized and aesthetically pleasing space in your home.
Preparation Steps Before Painting
Before painting a washer and dryer, it is essential to properly prepare the surfaces. Thoroughly clean the appliances, sand any rough areas, and apply a primer to ensure long-lasting and even paint coverage.
Preparing your washer and dryer for painting is a crucial step to ensure a smooth and long-lasting finish. By following the right preparation steps, you can achieve professional-looking results and transform the look of your appliances. In this section, we will discuss three important preparation steps: cleaning the washer and dryer, sanding and priming, and masking off areas.
Cleaning The Washer And Dryer
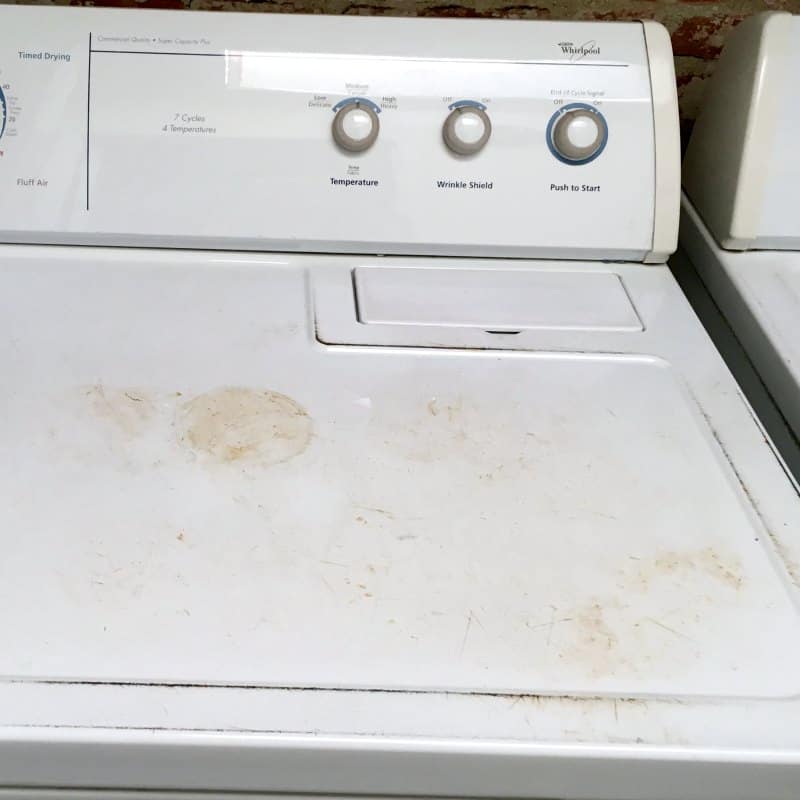
The first step in preparing your washer and dryer for painting is to give them a thorough cleaning. Start by removing any loose dirt or debris from the surfaces using a soft brush or cloth. You can also use a mild detergent solution to remove any stubborn stains or grime. Make sure to rinse off the detergent thoroughly and allow the appliances to dry completely before proceeding to the next step. Cleaning the surfaces will help the paint adhere better and ensure a smooth finish.
Sanding And Priming
Sanding the surfaces of your washer and dryer is an essential step in creating a smooth and even base for the paint. Use fine-grit sandpaper to lightly sand the surfaces, focusing on any rough areas or imperfections. Sanding will also help the primer adhere better to the surfaces and promote better paint adhesion. After sanding, wipe away any dust or residue using a clean cloth.
Once the surfaces are sanded, it’s time to apply a primer. A high-quality primer designed for metal surfaces will provide a strong base for the paint and improve the durability of the finish. Use a brush or roller to apply an even coat of primer to the washer and dryer, making sure to cover all surfaces. Allow the primer to dry completely according to the manufacturer’s instructions before moving on to the next step.
Masking Off Areas
When painting your washer and dryer, it’s important to protect any areas that you don’t want to be painted. This includes knobs, control panels, and any other parts that should remain the original color. To do this, use painter’s tape to mask off these areas. Carefully apply the tape around the edges of these parts, ensuring a tight seal to prevent any paint from seeping underneath. Take your time to ensure that all the areas are properly masked off before moving on to the painting step.
By following these three preparation steps – cleaning the washer and dryer, sanding and priming, and masking off areas – you’re well on your way to achieving a professional-looking paint job. These steps will help create a smooth and durable finish, ensuring that your painted washer and dryer will look great for years to come. Now that your appliances are prepped and ready, it’s time to move on to the exciting part – painting!
Steps To Paint A Washer And Dryer
If you’re tired of the dull appearance of your washer and dryer, one way to give them a fresh new look is by giving them a paint job. With a few simple steps, you can transform your appliances into a statement piece in your laundry room. In this post, we’ll discuss the necessary steps to paint a washer and dryer, including choosing the right paint, applying the base coat, adding the final coat, and ensuring proper drying and curing time. Let’s get started!
Choosing The Right Paint
When it comes to painting your washer and dryer, it’s important to choose the right type of paint that can withstand heat and moisture. Look for enamel-based paints designed specifically for appliances or heat-resistant spray paints. These paints provide superior adhesion and durability, ensuring a long-lasting finish.
Applying The Base Coat
Before you start painting, it’s essential to prepare the surface of your appliances properly. Start by cleaning the washer and dryer thoroughly with soap and water to remove any dirt, grease, or stains. Once they’re clean and dry, apply a coat of metal primer designed for use on appliances. This primer will help the paint adhere to the surface and prevent any rust or corrosion.
Pro tip:
-
Choose a primer and paint that are the same brand and compatible with each other to ensure optimal results.
-
If your washer and dryer have any areas with chipped paint or rust, sand them down and apply a rust-inhibiting primer before painting.
Adding The Final Coat
Once the primer has dried completely, it’s time to apply the final coat of paint. Using a paintbrush or a high-quality foam or roller brush, apply the enamel-based or heat-resistant paint evenly across the surface of your appliances. Make sure to follow the manufacturer’s instructions regarding drying time between coats, as well as the number of coats recommended. Be patient and allow the paint to dry thoroughly before moving on to the next step.
Drying And Curing Time
After applying the final coat, it’s crucial to allow sufficient drying and curing time for the paint to fully set and harden. This process ensures that the paint will be resistant to chipping, peeling, and other forms of damage. Refer to the paint manufacturer’s recommendations for specific drying and curing times, and avoid using your washer and dryer until they are completely dry and cured.
Note:
-
Avoid placing any objects on the painted surfaces until the paint is fully cured to prevent any marks or imprints.
-
If you’re unable to find appliance-specific paints, consult with a paint professional for alternative suggestions and advice.

Credit: m.youtube.com
Frequently Asked Questions Of Can You Paint A Washer And Dryer
What Can I Use To Paint My Washer And Dryer?
You can use a high-quality appliance paint specifically designed for metal surfaces to paint your washer and dryer.
Can I Change The Color Of My Washer And Dryer?
Yes, you can change the color of your washer and dryer. It is possible to paint them or use removable vinyl wraps to give them a new look. However, make sure to follow the manufacturer’s instructions and use appropriate materials to ensure proper functioning and durability of the appliances.
How Do I Change The Look Of My Washer And Dryer?
To change the look of your washer and dryer, consider using removable vinyl decals or magnetic covers. These options are easy to apply and remove without damaging the appliances. You can find a variety of designs and patterns online or in home improvement stores to suit your style.
What Kind Of Paint Do You Use On Appliances?
You can use appliance spray paint specially made for appliances to achieve a durable and long-lasting finish.
Can You Paint A Washer And Dryer?
Yes, you can paint a washer and dryer, but it is important to use the right type of paint and prepare the surfaces properly for the best results.
Conclusion
Painting a washer and dryer can be a budget-friendly way to revamp the look of your laundry area. By following the proper steps and using the right materials, you can achieve a fresh and updated appearance without purchasing new appliances.
Remember to clean and prep the surfaces, choose the right paint, and apply multiple thin coats for a long-lasting finish. Ultimately, with a little creativity and some DIY skills, you can transform your washer and dryer into stylish focal points in your home.