
Have you ever found yourself wandering through the aisles of Ikea, marveling at the sleek design and affordable price tags, only to wonder if you could add a personal touch to that perfect piece of furniture? You’re not alone.
Many Ikea enthusiasts like you have asked, “Can I restain Ikea furniture to better fit my style? ” The good news is, the answer is often yes! But before you grab your brush and stain, there are a few things you should know.
Imagine transforming that plain table into a rich, warm centerpiece for your living room or giving those simple chairs a fresh, vibrant look that screams personality. The possibilities are endless! But the process can be tricky, and doing it wrong might lead to disappointment. This article will guide you through the steps, pitfalls, and tips to ensure your restaining project is a stunning success. So, if you’re ready to unlock the secrets of customizing Ikea furniture, keep reading to discover how you can make your furniture truly yours.
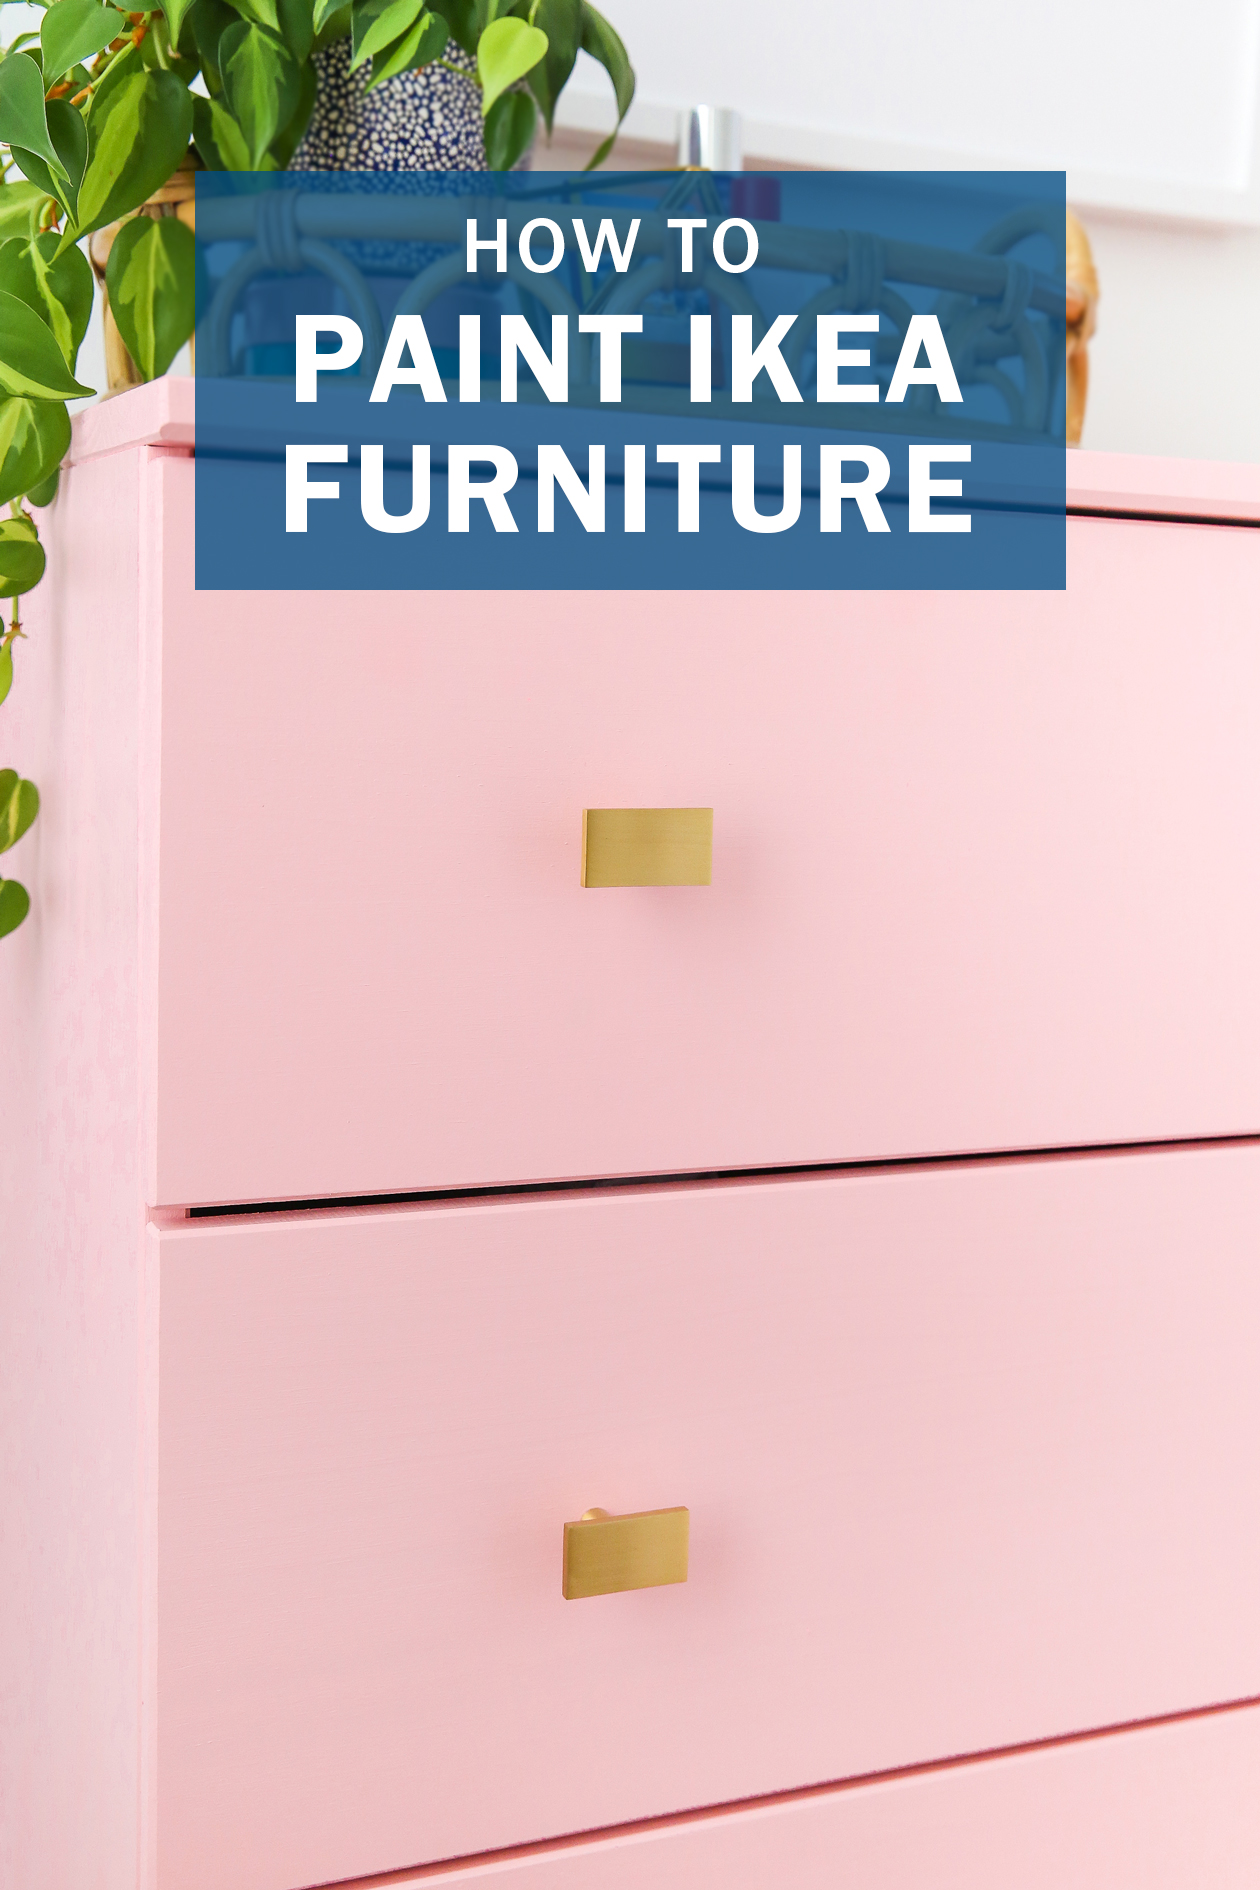
Credit: thecraftedlife.com
Preparing Ikea Furniture For Staining
Transforming Ikea furniture with a fresh stain is possible. Start by sanding the surface to remove old finishes. Then, apply the new stain evenly for a consistent look.
Embarking on a project to restain Ikea furniture is an exciting journey that can breathe new life into pieces you already own. However, preparation is key to achieving a flawless finish that you’ll be proud to showcase. Properly prepping your furniture ensures the stain adheres beautifully, enhancing the color and longevity of your piece. Here’s a step-by-step guide to prepare your Ikea furniture for staining, ensuring your project is both successful and satisfying.Understanding The Material
Ikea furniture often uses a variety of materials, including solid wood, veneer, and particleboard. Recognize what material you’re working with to tailor your approach. Solid wood pieces can be sanded more aggressively, while veneer requires gentle handling to avoid damage.Gathering Your Tools
Preparation is impossible without the right tools. You’ll need sandpaper of various grits, a sanding block, tack cloths, and a good quality primer. Consider investing in a power sander if you’re tackling a larger piece.Disassembling The Furniture
Before you begin, take your furniture apart to make sanding and staining easier. Remove drawers, doors, and any hardware. Keep screws and small parts in labeled bags to avoid confusion later.Cleaning The Surface
Dirt and grime can interfere with the stain. Use a damp cloth to wipe down all surfaces, ensuring they are free from dust and oils. For stubborn spots, a mild detergent can help, but ensure everything is dry before moving on.Sanding The Surface
Sanding is crucial for a smooth finish. Start with a coarse grit to remove the top layer, then gradually move to finer grits. Sand in the direction of the grain for the best results and be sure to remove any remaining finish entirely.Removing Dust And Debris
After sanding, dust particles can ruin your stain job. Use a tack cloth to wipe away all dust, paying attention to corners and crevices. Consider vacuuming the area to ensure a clean workspace.Applying A Primer
Priming is optional but highly recommended, especially for lighter stains. A primer can help the stain adhere better and create a more even appearance. Apply a thin coat and let it dry completely before proceeding.Evaluating Your Work
Before moving to staining, evaluate the surface thoroughly. Is it smooth and clean? Any rough spots or dust can affect the final look. Take your time to perfect the preparation, as it sets the foundation for a stunning finish. By meticulously preparing your Ikea furniture, you set yourself up for success. Are you ready to transform your space with a new stain? Let’s get started!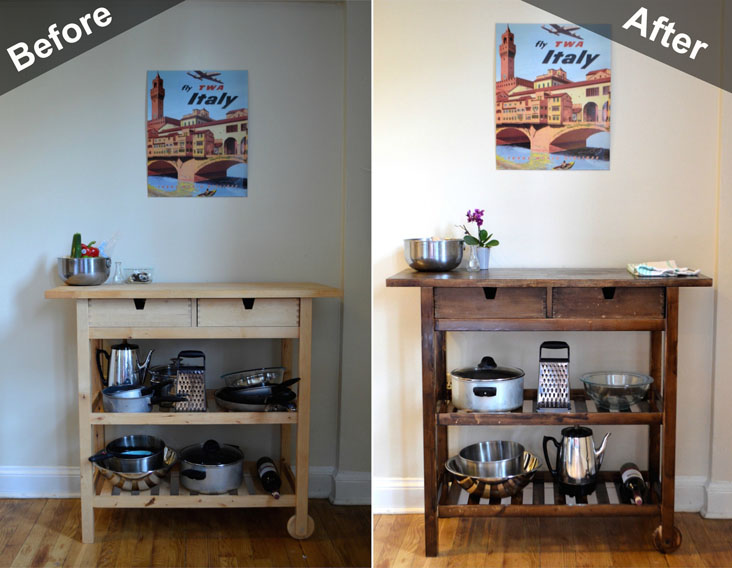
Credit: www.forrent.com
Choosing The Right Stain
Restaining Ikea furniture can give it a fresh and unique look. Choosing the right stain is crucial for achieving the desired outcome. Different stains offer varied finishes and durability. Some stains highlight the natural grain, while others provide a solid color. Picking the perfect stain can transform your Ikea furniture into something special.
Understanding Stain Types
There are many types of stains available for wood furniture. Water-based stains dry quickly and are easy to clean. Oil-based stains penetrate deeply and offer rich color. Gel stains are thicker and provide an even finish. Each type has its advantages and disadvantages. Consider your needs and preferences before making a choice.
Matching Stain To Wood Type
Different woods react differently to stains. Softwoods like pine absorb stains more unevenly. Hardwoods like oak take stains more uniformly. Ikea furniture often uses particleboard or MDF. These materials may require special primers for staining. Test the stain on a hidden area first. This helps ensure the right match for your furniture.
Considering Color Options
Stains come in a range of colors. Light stains highlight the wood grain and texture. Dark stains offer a modern, sleek appearance. Neutral tones blend well with existing decor. Bright colors add personality and flair. Think about the room’s color scheme. Choose a stain that complements your space.
Checking Durability And Finish
Durability is important for frequently used furniture. Some stains offer better resistance to scratches and wear. Semi-transparent stains show the wood grain and offer protection. Solid stains cover the wood entirely and provide a uniform look. Finishes like matte or glossy can change the appearance. Consider the furniture’s use and location for the best choice.
Staining Techniques And Tips
Staining your Ikea furniture can be a rewarding project that adds a personal touch and breathes new life into your home decor. Whether you’re a DIY enthusiast or a first-timer, understanding the right techniques and tips can make the process smoother and the results stunning. I’ve had my fair share of both successes and mishaps with furniture staining, and I’ll share what I’ve learned along the way.
Preparing Your Furniture
Preparation is key to successful staining. Start by gently sanding the surface of your Ikea furniture. This removes the existing finish and helps the new stain adhere better. Use medium-grit sandpaper for the initial sanding, followed by a finer grit to smooth it out.
Don’t skip the step of cleaning your furniture thoroughly after sanding. Dust and debris can ruin the final look. A damp cloth can do wonders in picking up those pesky particles.
Picking the right stain can be a game-changer. Consider the existing decor and the vibe you want to create. Oil-based stains are durable and provide a rich finish, while water-based stains are easier to clean up and offer a lighter tone.
Test the stain on a small, hidden section of your furniture to see how it interacts with the wood. This small step can save you from unwanted surprises.
Application Techniques
Applying the stain evenly is crucial. Use a brush or a clean cloth, depending on the look you aim to achieve. Brushes can create a more textured appearance, while cloths offer a smoother finish.
Apply the stain in the direction of the wood grain. This enhances the natural patterns and avoids streaks. Don’t rush; take your time to ensure even coverage.
Drying And Finishing
Patience is your best friend during the drying process. Allow the stain to dry completely before applying a sealant or finish. This step not only protects your hard work but also adds a polished look.
Consider a polyurethane finish for added durability, especially if the furniture piece is in a high-traffic area. A well-finished piece can withstand years of use.
Common Mistakes To Avoid
One common mistake is not sanding enough. Insufficient sanding can result in uneven stain absorption. Make sure you sand thoroughly.
Another pitfall is applying too much stain at once. Layer it gradually for a more controlled outcome. It’s easier to add than to subtract.
Are you ready to transform your Ikea furniture with your newfound staining skills? What color will you choose for your next project? Dive into the world of staining and enjoy the sense of accomplishment that comes with creating something uniquely yours. Happy staining!

Credit: lemonandbloom.com
Conclusion
Restaining Ikea furniture is possible and rewarding. It gives old pieces new life. With basic tools, anyone can do it. Sanding and choosing the right stain are key steps. Take your time and follow instructions. It’s a simple way to refresh your home decor.
Plus, it’s budget-friendly. Ikea pieces are versatile and adapt well to new looks. Personalize your space with colors and finishes. Enjoy the creative process and the outcome. You’ll appreciate the transformation. Restaining is a great DIY project for anyone. Give it a try and see the difference it makes.