
To troubleshoot your Dr Brown sterilizer and dryer, check the water level, ensure proper placement of bottles, and inspect the heating element. Dr Brown sterilizers and dryers are excellent for busy mothers who want to sterilize baby bottles quickly and efficiently.
However, like all electronics, sterilizers can sometimes malfunction. The most common causes of malfunction are low water levels, incorrectly placed bottles, and damaged heating elements. Luckily, these problems are easy to fix if you know what to look for. This article will guide you through some of the most common issues and their solutions.
So, let’s get started!
Not Turning On
If your Dr Brown sterilizer and dryer is not turning on, there are a few things to check. First, ensure that it’s plugged in and the outlet is working. If that doesn’t help, try resetting it or checking the fuse.
If the issue persists, contact the manufacturer for troubleshooting.
If your Dr Brown Sterilizer and Dryer is not turning on, it can be frustrating, especially when you need to sterilize your baby’s bottles. However, there are a few things you can do to troubleshoot the problem. Follow the steps below to determine the cause of the issue and fix it.Check Power Source
The first step to take when your Dr Brown Sterilizer and Dryer is not turning on is to check the power source. Ensure that the power outlet is working correctly by plugging in another gadget and testing it. If the outlet is not working, switch on the circuit breaker that powers the outlet.Inspect Power Cord
If the power source is working fine, the next thing you need to do is check the power cord. Inspect the cord for any signs of damage, such as cuts, frays, or exposed wires. If you notice any of these signs, you need to replace the cord. Also, ensure that the cord is firmly connected to both the sterilizer and the power outlet.Reset The Sterilizer
If both the power source and cord are okay, try resetting the sterilizer. To do this, unplug the unit from the power outlet for a few minutes, then plug it back in and try turning it on. If the sterilizer fails to turn on, try using a different outlet or plugging in another gadget to the same outlet to determine if it’s an electrical problem.Contact Customer Support
If none of the above steps work, contact the Dr Brown customer support team for further assistance. They can diagnose the problem, provide more troubleshooting tips, or arrange for a repair or replacement. In conclusion, a Dr Brown Sterilizer and Dryer not turning on can be frustrating, but with these troubleshooting tips, you’ll be able to identify the issue and resolve it quickly. Remember to always follow the manufacturer’s instructions to maximize the performance of your sterilizer and ensure it lasts longer.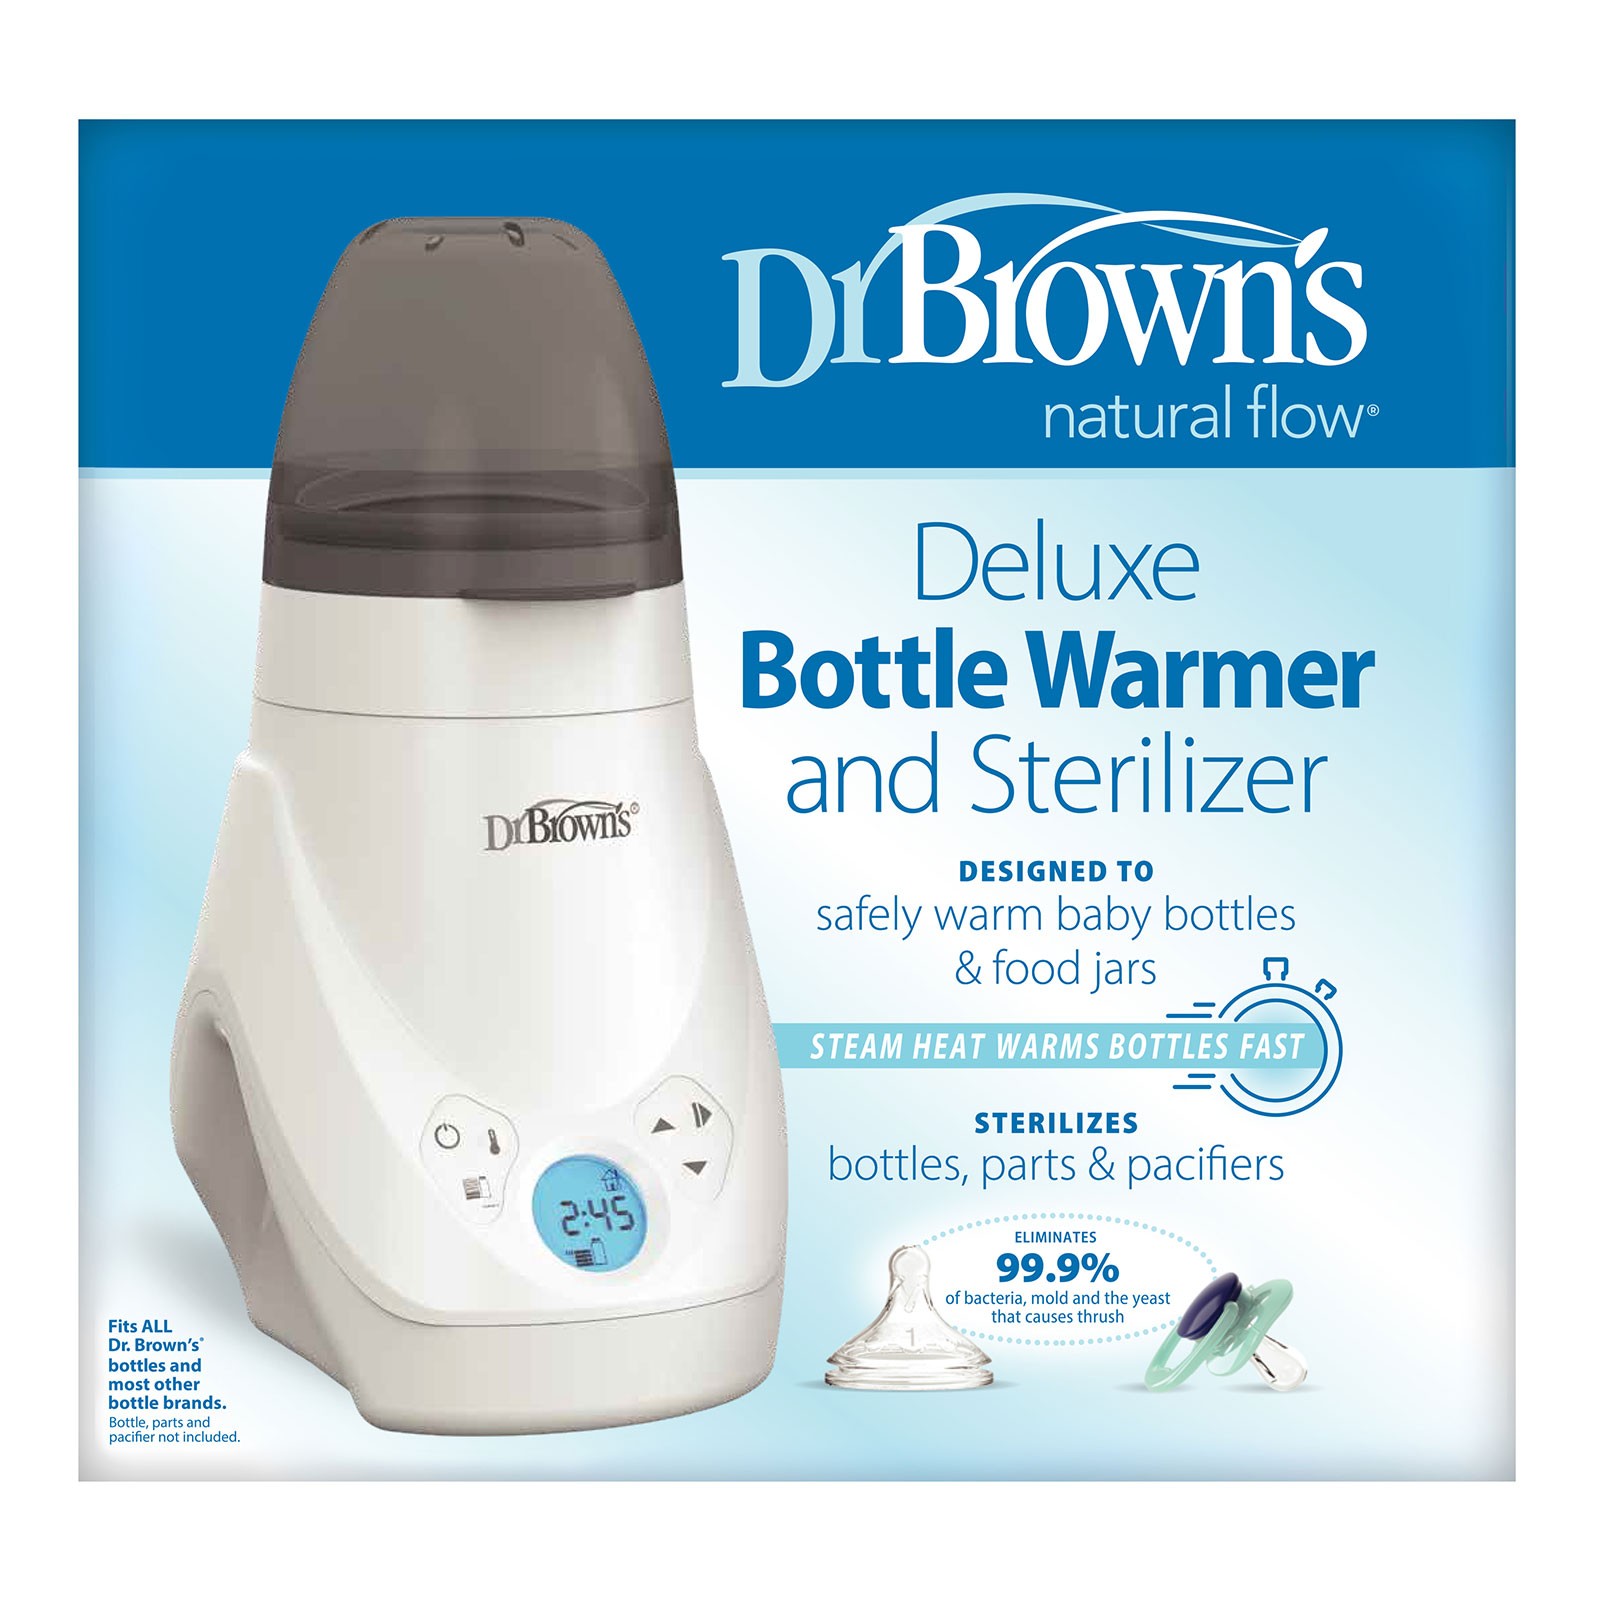
Credit: www.drbrownsbaby.com
Not Sterilizing
If your Dr Brown sterilizer and dryer is not sterilizing, it can be a real concern for you as it defeats the primary purpose of owning the product. But there’s no need to panic. Often, the solution to this problem may be simple, and you can easily troubleshoot it at home. In this post, we will guide you through some of the most common reasons why your Dr Brown sterilizer and dryer may stop sterilizing and how you can fix the problem.
Check Water Level
Sometimes, low water levels in the sterilizer device can prevent it from sterilizing. In such a scenario, you need to ensure that the water level is appropriate before starting the sterilization cycle. The water level must be above the minimum fill line and not exceed the maximum fill line. If the water level is not right, the sterilizer may not work as expected.
Clean Heating Plate
Another common reason for your sterilizer not to work may be a dirty or damaged heating plate. In such a situation, you should clean the heating plate by wiping it with a clean cloth. Ensure that there’s no debris or residue on the heating plate before cleaning it. If the heating plate remains dirty or damaged, you may need to replace it or seek professional help to fix it.
Keep in mind that these are just some of the troubleshooting tips you can try if your Dr Brown sterilizer and dryer is not sterilizing. If the problem persists despite trying these solutions, you may need to contact the manufacturer or seek help from a professional technician to fix the device.
Not Drying
In the world of baby feeding, Dr Brown’s sterilizer is a popular appliance that efficiently sterilizes and dries bottles and other feeding equipment. However, some users may experience problems with the dryer function. When the sterilizer’s dryer does not seem to be effectively drying the items, it can become frustrating for parents. Here are some troubleshooting tips to help address this issue:
Make Sure There Is Enough Water In The Tank
The sterilizer and dryer require water to create steam that sterilizes and dries the bottles. Therefore, if the water level in the tank is inadequate, the dryer may not effectively function. To avoid this issue, ensure that the water level is within the appropriate range before starting the sterilization cycle. Follow these steps to check and refill the water tank:
| Step | Action |
|---|---|
| Step 1. | Unplug the sterilizer and dryer from the power source. |
| Step 2. | Remove the water tank from the base. |
| Step 3. | Check the water level in the tank. If it is too low, refill it to the appropriate level. |
| Step 4. | Reinsert the tank into the sterilizer and dryer base. |
| Step 5. | Plug the machine back into the power source. |
Clean Drying Unit
If the water level in the tank is sufficient and the dryer still does not effectively dry the bottles, the drying unit may be dirty and need cleaning. Follow these steps to clean the drying unit:
- Unplug the sterilizer and dryer from the power source.
- Remove the basket from the sterilizer and dryer base.
- Remove the drying tray from the basket.
- Wipe the drying tray and basket with a damp cloth.
- Use a toothbrush or soft-bristled brush to clean the heating element carefully.
- Reassemble the sterilizer and dryer and plug it back into the power source.
After cleaning the drying unit and refilling the water tank, restart the sterilization cycle. If these troubleshooting tips do not resolve the issue, contact Dr Brown’s customer service for further assistance.
Credit: www.bestbuy.com
Not Completing Cycle
If your Dr Brown sterilizer and dryer is not completing its cycle, it can create a huge inconvenience for parents. The sterilizer and dryer work together to ensure the bottles, pacifiers, and other baby items are sterilized and dried properly. If the sterilizer does not complete the cycle, all the items in the sterilizer may not be properly sanitized, which can lead to infections and illnesses.
Check For Error Messages
The first thing to do when the sterilizer and dryer is not completing its cycle is to check for error messages. Sometimes, the sterilizer may display an error message, indicating the issue. To check for error messages, follow these steps:
- Turn off the sterilizer and dryer
- Unplug the sterilizer and dryer from the power source
- Wait for a few minutes
- Plug the sterilizer and dryer back in
- Turn on the sterilizer and dryer
- Check for error messages on the display screen
If there is an error message, consult the user manual for troubleshooting steps.
Reset The Sterilizer
If there are no error messages, the next step is to reset the sterilizer. Follow these steps to reset the sterilizer:
| Steps | Description |
|---|---|
| 1 | Turn off the sterilizer and dryer |
| 2 | Unplug the sterilizer and dryer from the power source |
| 3 | Remove all the items from the sterilizer |
| 4 | Fill the sterilizer with water up to the “max” level |
| 5 | Add a few drops of white vinegar to the water |
| 6 | Plug the sterilizer and dryer back in |
| 7 | Turn on the sterilizer and dryer |
The sterilizer should now complete its cycle without any issues. If the problem persists, contact the customer support for further assistance.
By following these troubleshooting steps, you can ensure that your Dr Brown sterilizer and dryer completes its cycle properly, providing a safe and hygienic environment for your baby’s items.
Leaking Water
If you are experiencing water leakage with your Dr Brown Sterilizer and Dryer, there could be several reasons behind it. It is important to identify and fix the issue as soon as possible to ensure the proper functioning of your machine and to prevent any damage.
Check Water Tank For Cracks
The first thing you need to do is to check the water tank for any cracks or damages. This could be the main cause of the leakage. If there are any cracks, you must replace the tank. You can get a replacement tank from the manufacturer or authorized dealer.
Inspect Valves And Seals
If there are no visible cracks or damages to the water tank, the next step is to inspect the valves and seals. Faulty valves or seals can also lead to water leakage. Check the valve and seal properly and make sure they are not worn out, damaged or broken. In case of any damage, replace the valve or seal as soon as possible.
Check For Proper Placement
Make sure that the sterilizer and dryer is placed on a level surface. If it is on an uneven surface, the water may not be draining out properly, leading to leakage. Also, make sure that the tank is properly placed and secured, and that the lid is closed tightly.
Other Possible Solutions
Here are some additional troubleshooting steps you can take if the above-mentioned solutions do not work:
- Reset the sterilizer and dryer
- Ensure the machine is properly cleaned
- Inspect the internal components for any damage, corrosion or buildup and clean or replace if needed.
By following these steps, you can easily troubleshoot water leakage in your Dr Brown Sterilizer and Dryer and ensure its proper functioning.
Strange Noises
If you hear strange noises coming from your Dr Brown sterilizer and dryer, it could indicate a problem. Check the water level, power source, and ensure it’s not overloaded. Contact customer service if the issue persists.
Strange noises coming from your Dr Brown sterilizer and dryer can be concerning, but they don’t always indicate a major issue. Before you call in a professional for help, there are a few things you can do to eliminate the source of the sound. Here are some troubleshooting tips to get your unit back to its normal, quiet operation:Ensure The Unit Is On A Flat Surface
The first thing to check is whether the sterilizer and dryer is sitting on a flat surface. Uneven surfaces can cause it to wobble and emit strange noises. If you find that it’s not level, then adjust the feet of the sterilizer to make it balanced.Check For Obstructions
It’s not uncommon for sterilizers to make noises when there’s a blockage. To avoid this, make sure that you’ve removed all the water from the unit before you start the sterilization process. Also, check to see if any items are blocking the vents or spray openings and remove them if present.Use Distilled Water
Using distilled water is essential for the proper functioning of the sterilizer and dryer. If you’re not using distilled water, it may be the reason behind strange noises. Mineral buildup in the heating element can cause sounds that might seem alarming. Regular cleaning with a vinegar solution can also help remove mineral buildup.Replace Broken Parts
If you have tried all of the above troubleshooting steps and the strange noises still persist, then it’s time to examine the unit’s parts. If you notice any visible damage, such as cracks or warps, then you can replace the part to fix the unit’s functioning. If you encounter any issues while trying to troubleshoot your Dr Brown sterilizer and dryer, don’t hesitate to reach out to a professional. It’s always better to be safe than sorry when it comes to your baby’s health and safety. By following these tips, you can eliminate any strange noises and get your sterilizer and dryer up and running again in no time.Unit Has A Foul Odor
A Dr Brown Sterilizer and Dryer is an essential appliance to keep baby bottles and other accessories clean and sanitized. However, if the unit has a foul odor, it defeats the purpose of having the appliance. Often, the cause of the foul smell is due to the accumulation of bacteria or mold inside the unit.
Check For Visible Mold Or Mildew
If the unit has a foul odor, the first step is to check for any visible mold or mildew inside the appliance. A buildup of mold and mildew can cause an unpleasant smell, which can permeate the sterilized items and render them unsafe for use. If you see any visible mold or mildew, it is essential to clean it immediately to prevent any further spread.
Clean The Removable Parts
The next step is to clean the removable parts of the Dr Brown Sterilizer and Dryer. Start by disconnecting the appliance from the power source. Remove the water reservoir, bottle racks, and other removable parts, if any. Use warm soapy water and a brush to clean each part thoroughly. Rinse the parts with water and let them dry completely before placing them back inside the unit.
- Check for visible mold or mildew inside the appliance.
- Disconnect the appliance from the power source.
- Remove the water reservoir, bottle racks, and other removable parts.
- Use warm soap water and a brush to clean each part thoroughly.
- Rinse the parts with water and let them dry completely before placing them back inside the unit.
It is essential to clean all the removable parts regularly to prevent the buildup of bacteria inside the unit. If the foul smell persists even after cleaning the removable parts, contact the manufacturer or a professional technician for further troubleshooting.
Maintenance And Care
Maintenance and care for your Dr. Brown sterilizer and dryer is essential to ensure that it lasts for a long time and works effectively. Proper care and maintenance of the sterilizer and dryer will help keep it clean, healthy, and sanitized.
Cleaning Instructions
- After each use, unplug the unit and allow it to cool completely before cleaning.
- Wipe the unit with a soft, damp cloth to remove any residue.
- Clean the inside of the unit with a mixture of water and mild soap or vinegar.
- Use only soft, non-abrasive cloths or sponges to avoid damaging the unit.
- Rinse the unit thoroughly with clean water after cleaning.
- Allow the unit to dry completely before using it again.
Replacing Parts
If you notice any signs of damage to your sterilizer and dryer, you may need to replace some parts. Here are some parts that you may need to replace and how to do it:
| Part | How to Replace |
|---|---|
| Heating Element | Contact Dr. Brown’s customer support for assistance. |
| Water Reservoir | Order a replacement online or through Dr. Brown’s customer support and follow the instructions provided. |
| Drying Racks | Order a replacement online or through Dr. Brown’s customer support and follow the instructions provided. |
| Power Cord | Contact Dr. Brown’s customer support for assistance. |
Regular maintenance and care of your Dr. Brown sterilizer and dryer will keep it functioning well and prolong its life. By following the cleaning instructions and replacing parts as necessary, you can keep your sterilizer and dryer in tip-top shape.

Credit: www.amazon.com
Conclusion
After troubleshooting, we can conclude that the Dr Brown Sterilizer and Dryer is an efficient tool for all parents. Although some problems may arise, such as power outage or excessive steam that can be resolved with cleanups and replacements of worn-out parts.
By following the guidelines and taking the recommended safety measures, the device can serve you optimally. Therefore, it is recommended for sanitizing and drying baby bottles and accessories, and we hope this blog post helped with any troubleshooting issues.