
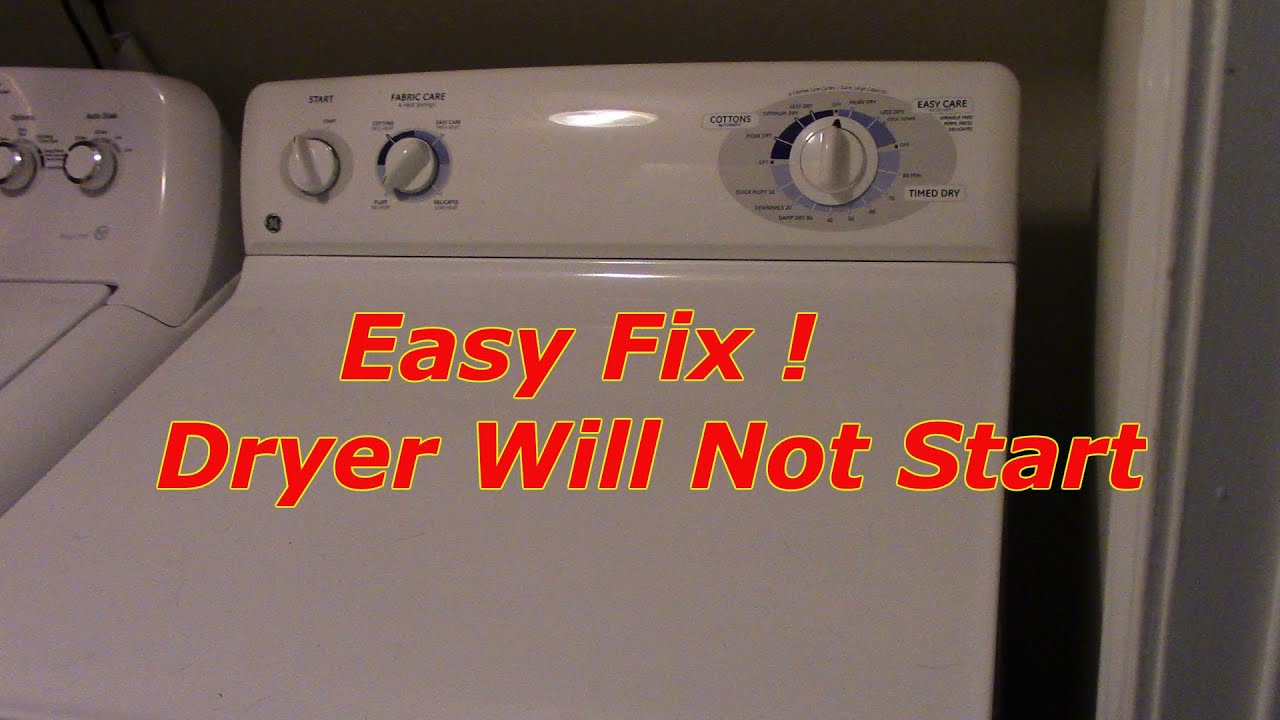
If your GE dryer does not start its cycle, it could be due to a faulty door switch or a tripped thermal fuse. Check these components before troubleshooting further.
A door switch senses whether the dryer door is closed or not, preventing the appliance from running if it is open. A thermal fuse is a safety device that trips if the temperature inside the dryer gets too high. If any of these parts are malfunctioning, the dryer will not start its cycle, and you will need to replace them.
Other possible causes may include a broken belt, faulty motor, or a defective timer switch. We will guide you on how to troubleshoot and fix your GE dryer not starting cycle issue.

Credit: www.maughansterappliancerepair.com
Check The Power Source
If your GE dryer is not starting cycle, the first place to check is the power source. Before assuming that there is a major issue, you should ensure that the dryer is receiving power from the outlet. The power source problem may seem obvious, but it is a common reason for GE dryer not starting the cycle.
Outlet Inspection
The first step you should take is to examine the power cord and the outlet. You want to ensure that the power cord is plugged in properly, and the wall receptacle is providing sufficient power. If there is no power in the outlet, you can test it using another appliance or light fixture. Turn off the breaker that supplies power to the dryer and then connect the test equipment.
Circuit Breaker Inspection
The circuit breaker is essential for your dryer to start. It is responsible for supplying power to the dryer. In some cases, the circuit breaker may trip, and this may cause your GE dryer not to start cycle. You should identify the source of the problem by unplugging the dryer from the outlet and resetting the breaker. If the breaker trips again, you may need to replace it.
If you realize that the outlet and circuit breaker are not the reasons for the problem, there may be a more complex issue in your dryer. In this case, it may be necessary to call a professional repair service to diagnose and solve the issue.
| Things to Check | What to Do |
|---|---|
| Power cord and outlet | Ensure that power cord is securely plugged in the outlet. |
| Power outage | Check your home’s electrical panel for tripped breakers or blown fuses. |
| Circuit breaker | Unplug dryer and reset the breaker. |
| Internal fuses | Call a professional to check internal fuses. |
By following these tips, you can check the power source and quickly identify and solve the problem. Regular maintenance of your GE dryer can help prevent power source problems from occurring in the future.
Check The Start Switch
To troubleshoot a GE dryer not starting cycle, check the start switch. Ensure that it is properly depressed and that the dryer is receiving power. In some cases, the start switch may need to be replaced.
GE is a renowned brand that offers reliable and top-quality home appliances; however, any electronic device needs proper maintenance and occasional repairs. One common issue that you may face with your GE dryer is when it fails to start. This problem can be frustrating, especially if you’re dealing with a big load of laundry. If your GE dryer won’t start, one reason could be the issue with the start switch. Here’s how you can troubleshoot your GE dryer.Locating The Start Switch
Before you dive into replacing the start switch, it’s crucial to verify that the switch is the root cause of the problem. To do this, you need to locate the switch on your GE dryer. The start switch is usually found on the control panel, often near the timer. Once you locate it, check if the button feels loose or flimsy when you press it. If it does, then the start switch may be defective.Confirming The Failure Of The Start Switch
To determine if the start switch is faulty, you can conduct a simple test with a multimeter. A multimeter can check the continuity of the switch’s electrical contacts and will indicate no continuity, meaning that the switch is not functioning correctly. If the switch is displaying no continuity, then it needs to be replaced.Replacing The Start Switch
The good news is that replacing the start switch is not an arduous task – you can do it yourself with some basic tools. First, unplug your GE dryer from the power source before proceeding. Next, carefully detach the wires connecting to the switch and unscrew the old switch from the control panel. Replace the old switch with a new one and ensure the wires are correctly attached. Finally, plug your dryer back into the power source and turn it on to test the switch. In Conclusion: If your GE dryer isn’t starting, don’t panic – it may be a simple issue that you can fix yourself. Checking the start switch is just one of the steps you can take to troubleshoot your GE dryer. If the problem persists, you may need to call a professional.Check The Door Switch
To troubleshoot a GE dryer not starting cycle, checking the door switch is crucial. If the switch is faulty or broken, it’ll prevent the dryer from starting the cycle. Testing the door switch with a multimeter is the best way to detect the issue.
If you own a GE dryer and it’s not starting cycle, the top reason could be a faulty door switch. The door switch is a safety feature that prevents the dryer from turning on when the door is open. This article will guide you on how to check, confirm the failure of, and replace the door switch.Locating The Door Switch
The door switch is usually located on the dryer door frame. To locate the switch, open the dryer door and look for a small protruding button or lever. This button/lever is the door switch that activates when the door is closed, allowing the dryer to start. Read the dryer’s manual to pinpoint the exact location of the door switch.Confirming The Failure Of The Door Switch
If you suspect the door switch to be defective, the first thing to check is the switch’s continuity with a multimeter. A faulty door switch will not have a continuity reading when the door is closed. To test the switch, remove the wires attached to it and use a multimeter to check its continuity when the door is open and closed. If there is no continuity when the door is closed, the door switch is faulty, and it needs to be replaced immediately.Replacing The Door Switch
Replacing the door switch is relatively easy and requires minimal technical expertise. To begin, unplug the dryer from the power source and remove the screws holding the switch in place. Next, disconnect the wires from the old switch and attach them to the new one. Then, attach the new switch to the dryer’s door frame and tighten the screws. Once done, plug the dryer back in and test the switch’s functionality by closing the door and starting the cycle. In conclusion, the door switch plays an important role in allowing the dryer to start. If your GE dryer is not starting cycle, check the door switch first. This article has guided you in locating the switch, confirming its failure, and replacing it. Remember to always unplug the dryer from the power source when working with electrical components and follow the manufacturer’s instructions.Check The Thermal Fuse
One possible response: To troubleshoot a GE dryer not starting its cycle, one step is to check the thermal fuse. This safety device can blow if the dryer overheats or experiences a power surge, preventing the machine from turning on. Use a multimeter to test the fuse for continuity and replace it if needed.
If your GE dryer won’t start, it could be due to a malfunctioning thermal fuse. This small component is designed to protect the dryer from overheating and can cause the machine to shut off if it detects high temperatures. Here’s what you need to do to check the thermal fuse.Locating The Thermal Fuse
First, you’ll need to locate the thermal fuse. The location of the thermal fuse can vary depending on the model of your GE dryer. However, it’s usually found on the blower housing or the dryer’s heat source. Check the user manual or the manufacturer’s website for your dryer’s specific instructions.Confirming The Failure Of The Thermal Fuse
To confirm if the thermal fuse is the issue, you’ll need to perform a continuity test using a multimeter. Start by unplugging the dryer and removing the back panel to access the thermal fuse. Then, set the multimeter to the continuity mode and place the probes on either side of the fuse. If the multimeter doesn’t beep, the thermal fuse has failed and needs to be replaced. Alternatively, you can inspect the thermal fuse for any signs of physical damage. A blown thermal fuse will have a broken wire or a blackened center.Replacing The Thermal Fuse
If the thermal fuse is confirmed to be the issue, you’ll need to replace it. Start by ordering a replacement thermal fuse that’s recommended for your dryer’s make and model. Then, remove the faulty fuse and install the new one in its place. Once installed, replace the back panel and plug the dryer back in. Turn the power on and test if the dryer will start its cycle. If it starts, the issue has been resolved. If not, you may need to contact a professional to troubleshoot further. In conclusion, checking the thermal fuse is a quick and easy fix for a GE dryer that won’t start. By following the steps above, you can determine if this is the issue and replace the fuse as needed.Check The High-limit Thermostat
The high-limit thermostat is a crucial component of a GE dryer. Without the high-limit thermostat functioning correctly, the dryer may not even start the cycle. Therefore, it is essential to check the high-limit thermostat if a GE dryer is not starting the cycle. Here’s what you need to know.
Locating The High-limit Thermostat
The high-limit thermostat is usually located on the heating element on the back of the dryer or on the blower housing. Consult your owner’s manual to locate it accurately. Once you’ve found it, you can start testing it to see if it’s the cause of the problem.
Confirming The Failure Of The High-limit Thermostat
Before replacing the high-limit thermostat, you need to confirm that it is the problem. To do this, you will need a multimeter, which will allow you to test the thermostat’s continuity. First, unplug the dryer from the wall to avoid electrical shocks. Next, remove the wires from the high-limit thermostat and test the continuity with the multimeter. If there is no continuity, the thermostat has failed, and you will need to replace it.
Replacing The High-limit Thermostat
Replacing the high-limit thermostat requires a bit of technical knowledge, but it is not an overly difficult process. First, acquire a new high-limit thermostat from a reputable supplier or the manufacturer. Then, remove the old thermostat carefully, taking note of the wires’ position and how they fit. Finally, attach the new high-limit thermostat using the wires’ color codes to ensure they go in the right place. Once the new thermostat is in place, you can plugin the dryer and test it.
In conclusion, if a GE dryer isn’t starting its cycle, it could be due to a failed high-limit thermostat. Luckily, checking and replacing the high-limit thermostat is a relatively easy process. By following the steps outlined in this article, you can troubleshoot the problem and get your dryer working again in no time.
Credit: www.youtube.com
Check The Cycling Thermostat
One potential solution for a ge dryer not starting cycle is checking the cycling thermostat. This can be done by testing the thermostat for continuity using a multimeter and replacing it if necessary, allowing the dryer to function properly.
If your GE dryer is not starting properly, the cycling thermostat is one of the components you should investigate. The cycling thermostat is responsible for regulating the temperature inside the dryer. If this component is malfunctioning, it can cause your dryer not to start. In this section, we will take you through the steps to check the cycling thermostat, confirm its failure, and replace it if necessary.Locating The Cycling Thermostat
Before we can start checking the cycling thermostat, we need to locate it. The cycling thermostat is typically located on the blower housing or exhaust vent. To locate it, follow these simple steps:- Unplug the dryer from the power source to prevent electric shock
- Remove the back panel of the dryer
- Locate the cycling thermostat on the blower housing or exhaust vent
Confirming The Failure Of The Cycling Thermostat
Once you have located the cycling thermostat, you can start checking it for failure. To do this, you will need a multimeter. Here are the steps to confirm the failure of the cycling thermostat:- Disconnect the two wires from the thermostat
- Set your multimeter to the ohms resistance setting
- Place one probe on each of the thermostat’s terminals
- If the multimeter reads infinite resistance, the thermostat has failed and needs to be replaced
Replacing The Cycling Thermostat
If you have identified that the cycling thermostat has failed, you will need to replace it. Here are the steps to do this:- Order a replacement cycling thermostat for your specific dryer model
- Disconnect the wires from the failed thermostat
- Remove the screws holding the thermostat in place
- Install the new thermostat and secure it with screws
- Reconnect the wires to the new thermostat
Check The Drive Belt
To diagnose why your GE dryer isn’t starting, one of the first things to check is the drive belt. A loose or broken belt can prohibit proper function and cause the cycle to fail. Keep an eye out for frayed or damaged sections that should be replaced.
A dryer that refuses to start its cycle can be frustrating. One of the primary reasons for such a problem could be a broken or worn-out drive belt. A drive belt is an essential part of a dryer that connects the motor to the drum. When this belt fails, the dryer drum won’t spin, resulting in your dryer refusing to initiate the cycle. In this article, we’ll be discussing how to check your dryer’s drive belt, confirm if it has failed, and replace it accordingly.Locating The Drive Belt
The location of a dryer’s drive belt often varies depending on the make and model of the machine. However, most dryers’ drive belts are easily accessible when you remove the front or back panel. To locate the drive belt, unplug the dryer from its power source and remove the front panel. For safety purposes, you may also need to detach the unit’s venting system before removing the front panel.Confirming The Failure Of The Drive Belt
If you’ve located the drive belt, then the next step is to check if it is the source of the problem. A failed drive belt usually has a visual cue such as cracks, wear and tear, or even broken pieces of the belt. An easy way to confirm if the drive belt has failed is to reach your hand into the machine’s drum and try to spin it manually. A working belt should be firm and tight, spinning the drum without any hassle. However, if the belt is loose, has cracks, or has separated, then it’s time to replace it.Replacing The Drive Belt
Replacing a dryer’s drive belt is a task that might seem difficult at first glance, but the process is relatively straightforward. Once you’ve confirmed that the drive belt needs replacement, order the right replacement part online or from a local store. Next, remove the front panel and drum to access the drive belt. Slide the new belt over the drum and loop it around the motor pulley. Rotate the drum slowly to ensure the belt fits perfectly. In conclusion, checking your dryer’s drive belt is a simple process that needs to be done first when your dryer refuses to start its cycle. Remember to unplug the dryer from its power source before inspecting any parts. Confirm if the drive belt is the problem by doing a visual check and replace it if it’s necessary.
Credit: m.youtube.com
Call A Professional
If your GE dryer isn’t starting the cycle, seek help from a professional technician. With their expertise, they can accurately diagnose and solve the issue, ensuring that your dryer is working seamlessly again.
When your GE dryer won’t start its cycle, it can be frustrating and inconvenient. Luckily, many issues causing this problem are often easy to troubleshoot and fix. However, if your dryer is still not starting, it might be time to call a professional. Here are some situations when calling a professional is necessary.When To Call A Professional
- If you’ve checked the power source, and the dryer still isn’t starting.
- If you’ve checked the door switch, and the dryer still isn’t starting.
- If none of the troubleshooting solutions are working.
- If your dryer makes strange noises before stopping or shows any other signs of damage.
What To Expect From A Professional
When you decide to call a professional to fix your GE dryer, expect them to do the following:- Conduct a thorough diagnosis of the problem and confirm the issue.
- Provide you with an accurate estimate of the costs and time it will take to fix the problem.
- Explain the repair process in detail, so you know what they will be doing.
- Fix the problem within the estimated time.
Finding A Reputable Professional
When you’re looking to hire a professional to fix your GE dryer, it’s essential to find someone experienced and reputable. Here are some tips on how to find a professional who fits the bill:- Ask friends and family if they have any recommendations. Word of mouth is a reliable way to find a trustworthy professional.
- Search online for professionals in your area and read reviews from previous clients.
- Check if the professional is licensed, insured, and certified to work with GE appliances.
- Contact the professional and ask for references from previous clients.
Conclusion
To sum up, a GE Dryer not starting cycle can be frustrating, but there could be a variety of reasons why this is happening. You can troubleshoot the issue by checking the power source, examining the start switch, and evaluating the door switch to ensure they are all working correctly.
If all else fails, calling a licensed technician will help you quickly resolve the problem and have your dryer up and running in no time. Remember to regularly maintain your dryer to avoid any unexpected issues down the line.