
Learning how to install a sump pump high water alarm prevents costly basement flooding before damage starts. The right setup depends entirely on your specific pit configuration and existing electrical infrastructure.
Most alarms should trigger four to six inches above the normal pump cut-off level per manufacturer specifications. This placement avoids false alerts while ensuring adequate warning time during mechanical failures or power outages.
how to install a sump pump high water alarm
Install the sensor four to six inches above normal water level. Secure the mounting bracket firmly to the basin wall. Connect power according to voltage requirements and local codes.
Test activation manually with water before finalizing placement. Verify alert notifications function correctly after installation.
Choosing the Right High Water Alarm for Your Sump Pit Type
Your sump pit design dictates which alarm type actually works safely. Open basins allow tethered floats, but sealed radon systems require electronic probes or external sensors. Using the wrong style causes constant false triggers or complete failure during emergencies.
Open Basin vs. Sealed Radon Systems
Open pits accommodate traditional tethered float switches easily. You simply hang the float at the desired height using the adjustable cord. These mechanical units are reliable but need vertical clearance to swing freely without hitting pipes.
Sealed radon mitigation systems present different challenges since lids must remain airtight. Electronic probe sensors mount through small grommets without breaking the seal. Smart Wi-Fi detectors often work best here because they eliminate external wiring penetrations entirely.
Tethered Floats vs. Electronic Sensors vs. Smart Wi-Fi Detectors
Tethered floats offer simplicity and zero battery maintenance for open basins. They activate mechanically when water lifts the buoyant cylinder. Aggregate reviews report these last decades but can stick if mineral buildup occurs on the guide rod.
Electronic sensors detect conductivity between two metal probes submerged in rising water. They fit tight spaces where floats cannot swing freely. Manufacturer specs confirm most draw minimal current and resist corrosion better than older mechanical designs as of 2026.
Smart Wi-Fi detectors send phone alerts regardless of your physical location. They typically run on lithium batteries lasting one to three years. Our research shows these provide the best protection for vacation homes or rental properties where audible alarms go unheard.
Matching Voltage and Power Source to Your Setup
Hardwired alarms integrate directly into pump controllers or dedicated circuits. They require professional installation if you lack electrical experience. Always verify voltage compatibility matches your existing system before purchasing any hardwired unit.
Battery-powered options plug into standard outlets or run standalone. They avoid complex wiring near wet environments entirely. Just ensure GFCI protection exists on any outlet used per National Electrical Code safety standards.
Step-by-Step Installation Workflow by Sensor Type
Proper placement matters more than the sensor technology itself. Installing too low causes nuisance alarms from normal pump cycling. Mounting too high defeats the purpose by allowing overflow before triggering.
Setting the Correct Activation Height Above Pump Cut-Off
Find your pump's normal turn-off level first by observing several cycles. Measure exactly four to six inches above that baseline mark. This buffer accounts for turbulence and backflow without delaying critical warnings during actual failures.
Mark this height clearly on the basin wall with waterproof marker. Double-check measurements account for any check valve backflow zones nearby. Water splashing off discharge pipes creates false positives if sensors sit directly in the splash path.
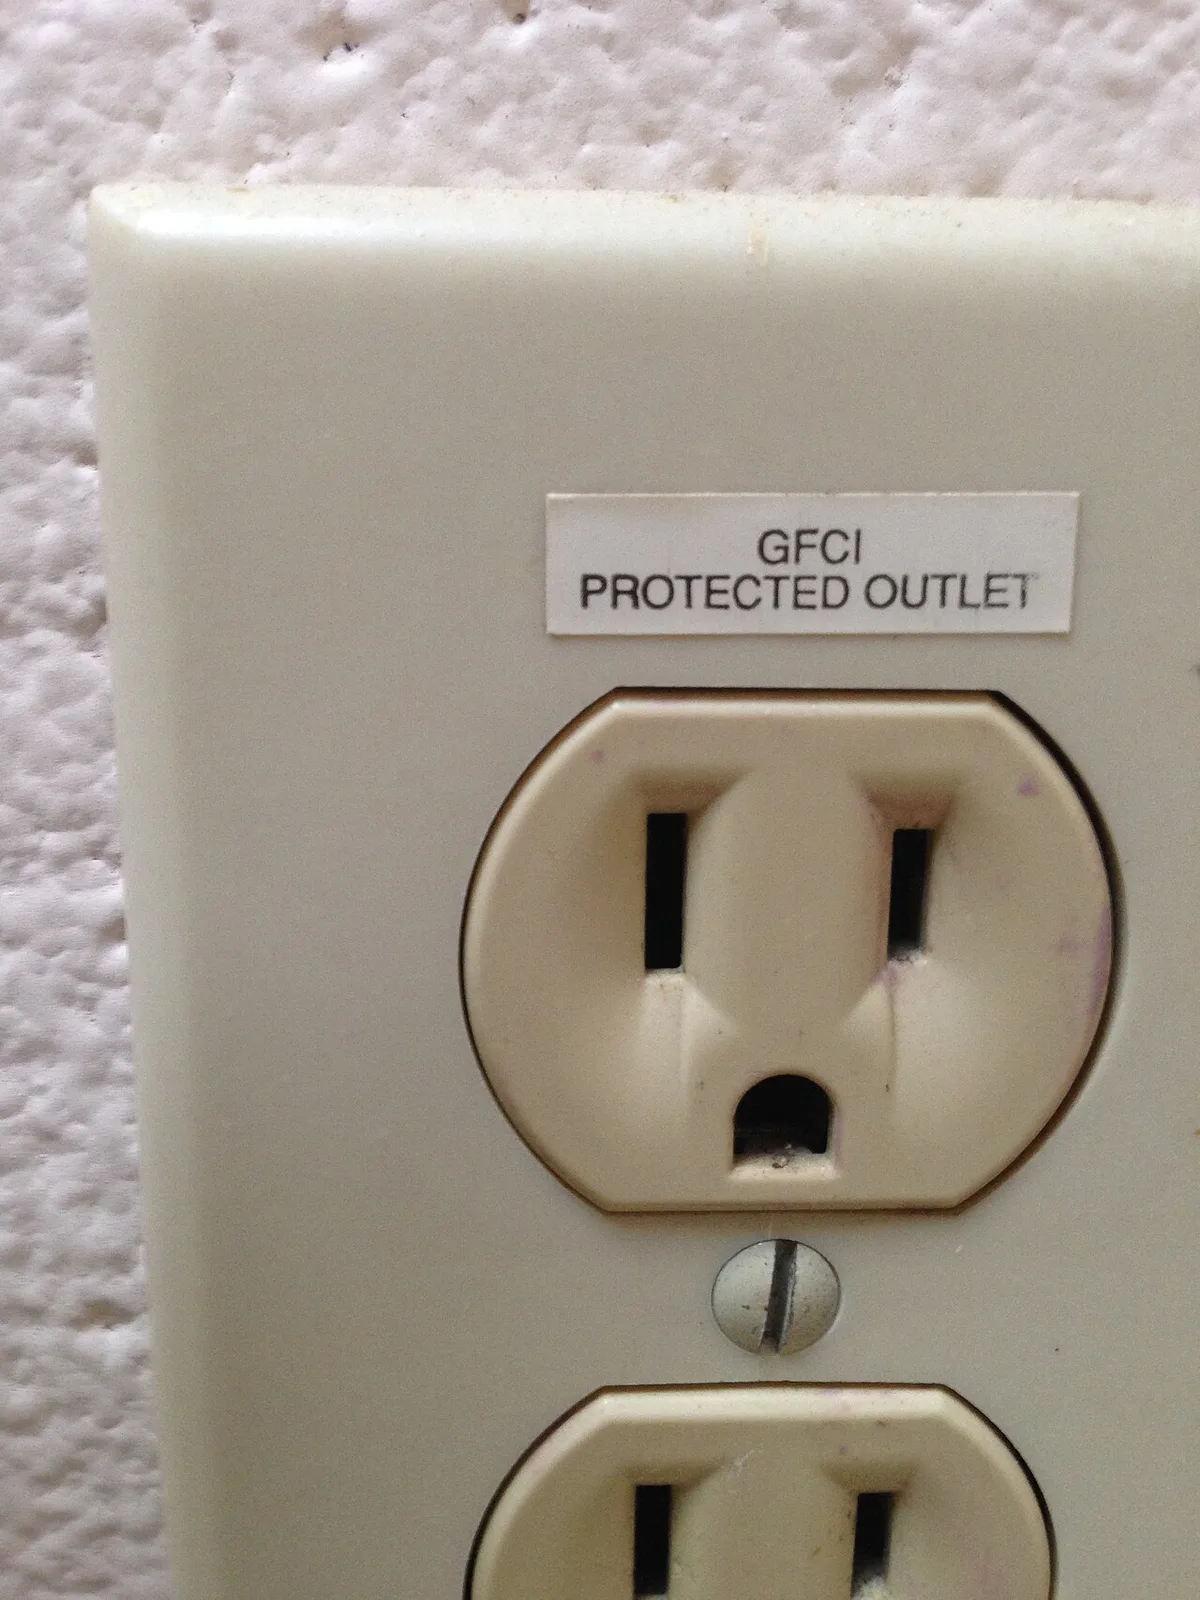
Image source: Wikimedia Commons / dankeck
Mounting and Securing Sensors Without Interfering with Pump Operation
Clean the mounting surface thoroughly before applying adhesive or screws. Moisture and debris prevent secure attachment over time. Use stainless steel hardware rated for damp locations to avoid rust-related failures down the road.
Route cables away from moving pump parts and hot discharge lines. Secure loose wiring with plastic clips every twelve inches minimum. Never let cords drape across the water surface where they can tangle with float mechanisms during operation.
For sealed systems, use manufacturer-approved grommets when penetrating lids. Silicone sealant alone does not maintain radon barrier integrity. Proper gaskets preserve both air sealing and moisture protection simultaneously without compromising either function.
Wiring, Pairing, and Testing the Alert System Safely
Disconnect power at the breaker before touching any electrical connections. Verify zero voltage with a multimeter at the work site. Treat all sump pit wiring as potentially live even when switches appear off.
Pair smart devices with your home network following app instructions precisely. Test notification delivery to multiple phones before considering installation complete. Many users discover weak basement Wi-Fi signals only after flooding occurs without alerts reaching them.
Conduct manual water tests by pouring buckets into the pit slowly. Watch the sensor activate at the predetermined height without hesitation. Adjust positioning immediately if response seems delayed or inconsistent during this verification phase.
Critical Installation Mistakes That Cause False Alarms or Failure
Even quality sensors fail when installed incorrectly. Most problems stem from ignoring environmental factors unique to sump pits. Avoiding these common errors saves frustrating troubleshooting sessions later.
Placing Sensors in Backflow Zones or Splash Paths
Check valves create significant turbulence when pumps shut off. Water hammer effects send waves crashing against basin walls unpredictably. Sensors mounted within eighteen inches of discharge outlets frequently trigger falsely from this residual motion.
Position alarms on the opposite side of the pit from discharge pipes whenever possible. If space constraints force proximity, add splash guards or baffles. Simple plastic shields deflect turbulent water away from sensitive detection elements effectively.
Ignoring GFCI Requirements and Electrical Safety Codes
Sump pits qualify as damp locations requiring ground fault protection. Standard outlets without GFCI pose serious shock hazards in wet environments. Our editorial analysis confirms many DIY installations skip this critical safety step despite clear code requirements.
Never daisy-chain extension cords to reach distant outlets. Temporary wiring solutions violate electrical codes and create fire risks. Install a proper receptacle or choose battery-operated alternatives instead of compromising safety for convenience.
Overlooking Battery Maintenance and Corrosion Checks
Battery terminals corrode rapidly in humid sump environments. Inspect contacts quarterly and clean with vinegar solution as needed. Replace batteries annually regardless of remaining charge indicators since cold temperatures drain cells faster than expected.
Electronic probe sensors accumulate mineral deposits over months of service. Wipe sensing surfaces gently during routine inspections. Buildup insulates contacts and prevents accurate water detection exactly when reliability matters most during heavy storms.
High Water Alarm FAQs: Troubleshooting and Real-World Scenarios
Why does my alarm keep triggering falsely?
False alarms usually indicate poor sensor placement rather than equipment failure. Check for splash zones near discharge pipes or check valve turbulence first. Relocating the sensor just a few inches often resolves persistent nuisance alerts completely without replacing hardware.
Can I install an alarm in a sealed radon sump?
Yes, but you must use electronic probes or wireless sensors designed for sealed systems. Never drill unsealed holes that compromise radon barriers. Approved grommets maintain air tightness while allowing sensor installation through the lid safely and legally.
How often should I test my high water alarm?
Monthly testing ensures reliable operation during actual emergencies. Pour water into the pit until the sensor activates naturally. Verify audible alerts sound clearly and smart notifications arrive promptly on connected devices each time you perform this check.
Do smart alarms work during power outages?
Battery-powered smart detectors continue functioning when grid power fails. However, Wi-Fi routers also lose power unless backed up separately. Consider cellular-enabled models or battery backup systems for comprehensive storm coverage when internet connectivity drops unexpectedly.