
Do you want your lawn to look special? Lawn striping gives it a neat pattern. It makes your grass look neat and tidy. You can make your own lawn striping roller. It’s not hard. Let’s learn how.
What is Lawn Striping?
Lawn striping is a pattern on your grass. It looks like stripes. You see it on baseball fields. You see it on golf courses. It’s very pretty. You can make these patterns on your lawn too.
Credit: www.youtube.com
Why Use a Lawn Striping Roller?
A lawn striping roller helps make the grass bend. This bending shows light differently. It creates the stripe effect. With a roller, you can easily make stripes. It makes your lawn look great.
Materials You Need
- Plastic pipe (about 4 inches wide)
- Some sand or concrete mix
- Two end caps for the pipe
- A long metal rod (fits inside the pipe)
- Two brackets for the rod
- Bolts and screws
- Wrench and screwdriver
These items are easy to find. You can get them at a hardware store. They are not very expensive.
Step-by-Step Guide
Now, let’s make the roller. Follow these steps.
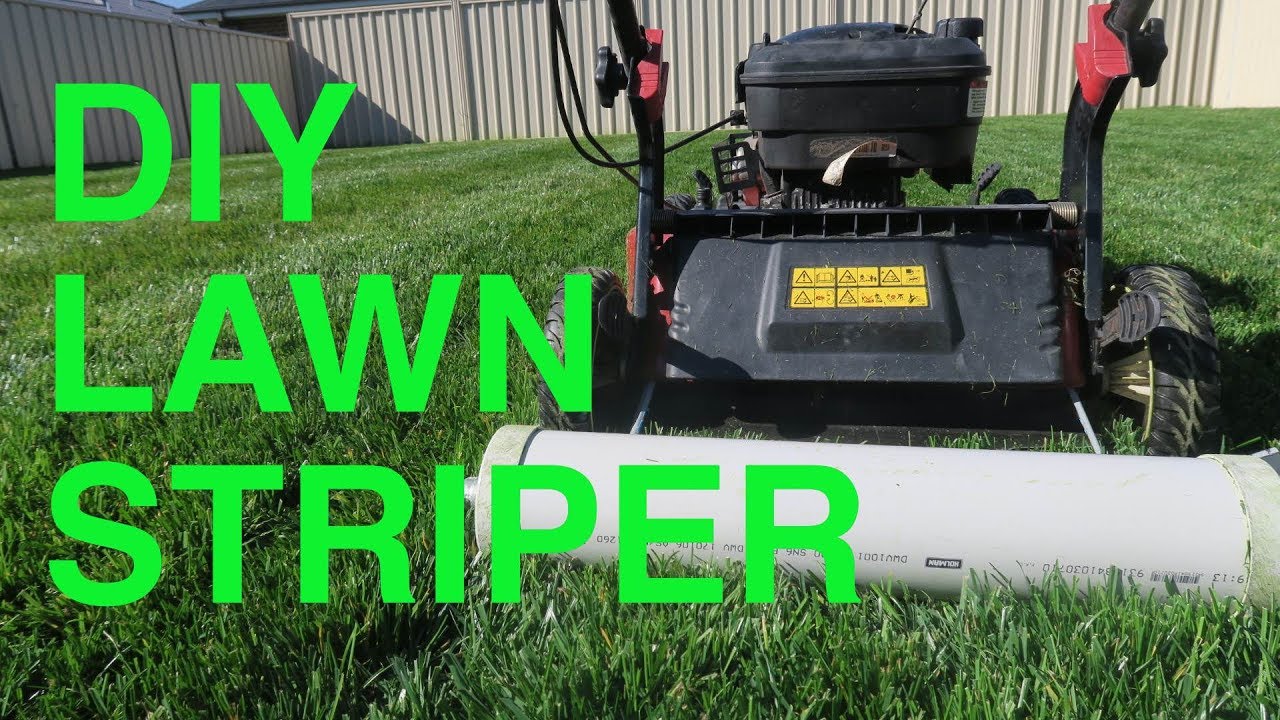
Step 1: Prepare The Pipe
Take the plastic pipe. It should be strong. You need to fill it with sand or concrete. This makes the pipe heavy. A heavy pipe bends the grass well.
Step 2: Fill The Pipe
Put one end cap on the pipe. Make sure it’s tight. Now, fill the pipe with sand or concrete mix. Fill it until it’s full. Put the other end cap on. Your pipe is now heavy.
Step 3: Insert The Rod
Take the metal rod. It should be long enough. Put it through the pipe. The rod helps connect the roller to your lawn mower.
Step 4: Attach Brackets
Attach brackets to the rod. The brackets hold the roller. They need to be strong. Use bolts and screws. Tighten them well.
Step 5: Connect To Lawn Mower
Now, connect the roller to your lawn mower. The brackets should fit onto the mower. If not, adjust them. Make sure they are tight.
Step 6: Test The Roller
Start your lawn mower. Roll the mower over your lawn. Watch the stripes appear. If the stripes are not clear, check the roller. Make sure everything is tight.
Tips for Best Stripes
Here are some tips for the best stripes:
- Cut your grass regularly. Short grass shows stripes better.
- Mow in different directions. Different angles make nice patterns.
- Don’t mow when the grass is wet. Wet grass doesn’t stripe well.
- Use a sharp blade. A sharp blade cuts grass cleanly.
Care for Your Roller
Taking care of your roller is important. After using it, clean it. Remove any grass or dirt. Store it in a dry place. Check the bolts and screws. Make sure they are tight. If any part is loose, fix it.

Credit: www.pinterest.com
Frequently Asked Questions
What Materials Do I Need For A Lawn Striping Roller?
You need PVC pipe, end caps, sand, and a bracket to attach.
How Does A Lawn Striping Roller Work?
It bends grass blades in different directions. Creates light and dark stripes.
Can I Make A Lawn Striping Roller At Home?
Yes, it’s possible. Use simple materials like PVC and sand.
Why Should I Stripe My Lawn?
It makes your lawn look professional. Enhances curb appeal.
Conclusion
Making a lawn striping roller is fun. It’s easy with the right materials. You can make your lawn look special. Follow the steps and tips. Enjoy the nice stripes on your lawn. Everyone will admire your lawn.
Now, you know how to make a lawn striping roller. Try it today. Happy mowing!