
Knowing how to prevent sump pump failure starts with consistent maintenance and smart system upgrades. Most basement floods happen because owners ignore simple warning signs until it is too late. You can avoid costly water damage by testing your equipment regularly.
Manufacturer specifications indicate most pumps last seven to ten years with proper care. The International Residential Code requires specific discharge and electrical standards for safe operation. Let us walk through the exact steps that keep your system running when storms hit.
How to Prevent Sump Pump Failure
Prevent failure by testing the pump monthly and cleaning the pit annually. Install a battery backup or water-powered secondary unit for power outages. Replace check valves every five years to stop backflow strain.
Ensure the discharge line is insulated against freezing temperatures. Verify GFCI outlets function correctly to prevent nuisance tripping during wet conditions.
Why Sump Pumps Actually Fail (And How to Stop It)
Most failures stem from neglected mechanical components rather than sudden motor burnout. Aggregate repair data shows float switch obstructions cause nearly half of all emergency calls. Debris like gravel or silt jams the mechanism and prevents activation.
Regular pit cleaning eliminates this common risk factor entirely.
Electrical issues rank second among preventable causes. Ground fault circuit interrupters often trip due to moisture exposure or aging wiring. This safety feature protects you but leaves the basement vulnerable if it fails silently.
Testing the outlet monthly ensures power remains available during heavy rain events.
Frozen discharge lines create catastrophic backups in cold climates. Water trapped in exterior pipes expands and blocks flow completely. The pump then runs continuously against a closed system until the motor overheats.
Proper insulation and grading away from the foundation prevent ice dams from forming.
The Non-Negotiable Maintenance Checklist
Consistent upkeep separates reliable systems from flooded basements. You need a structured approach rather than random inspections. This checklist covers the critical intervals that manufacturer warranties typically require.
Skipping these steps voids coverage and increases failure risk significantly.
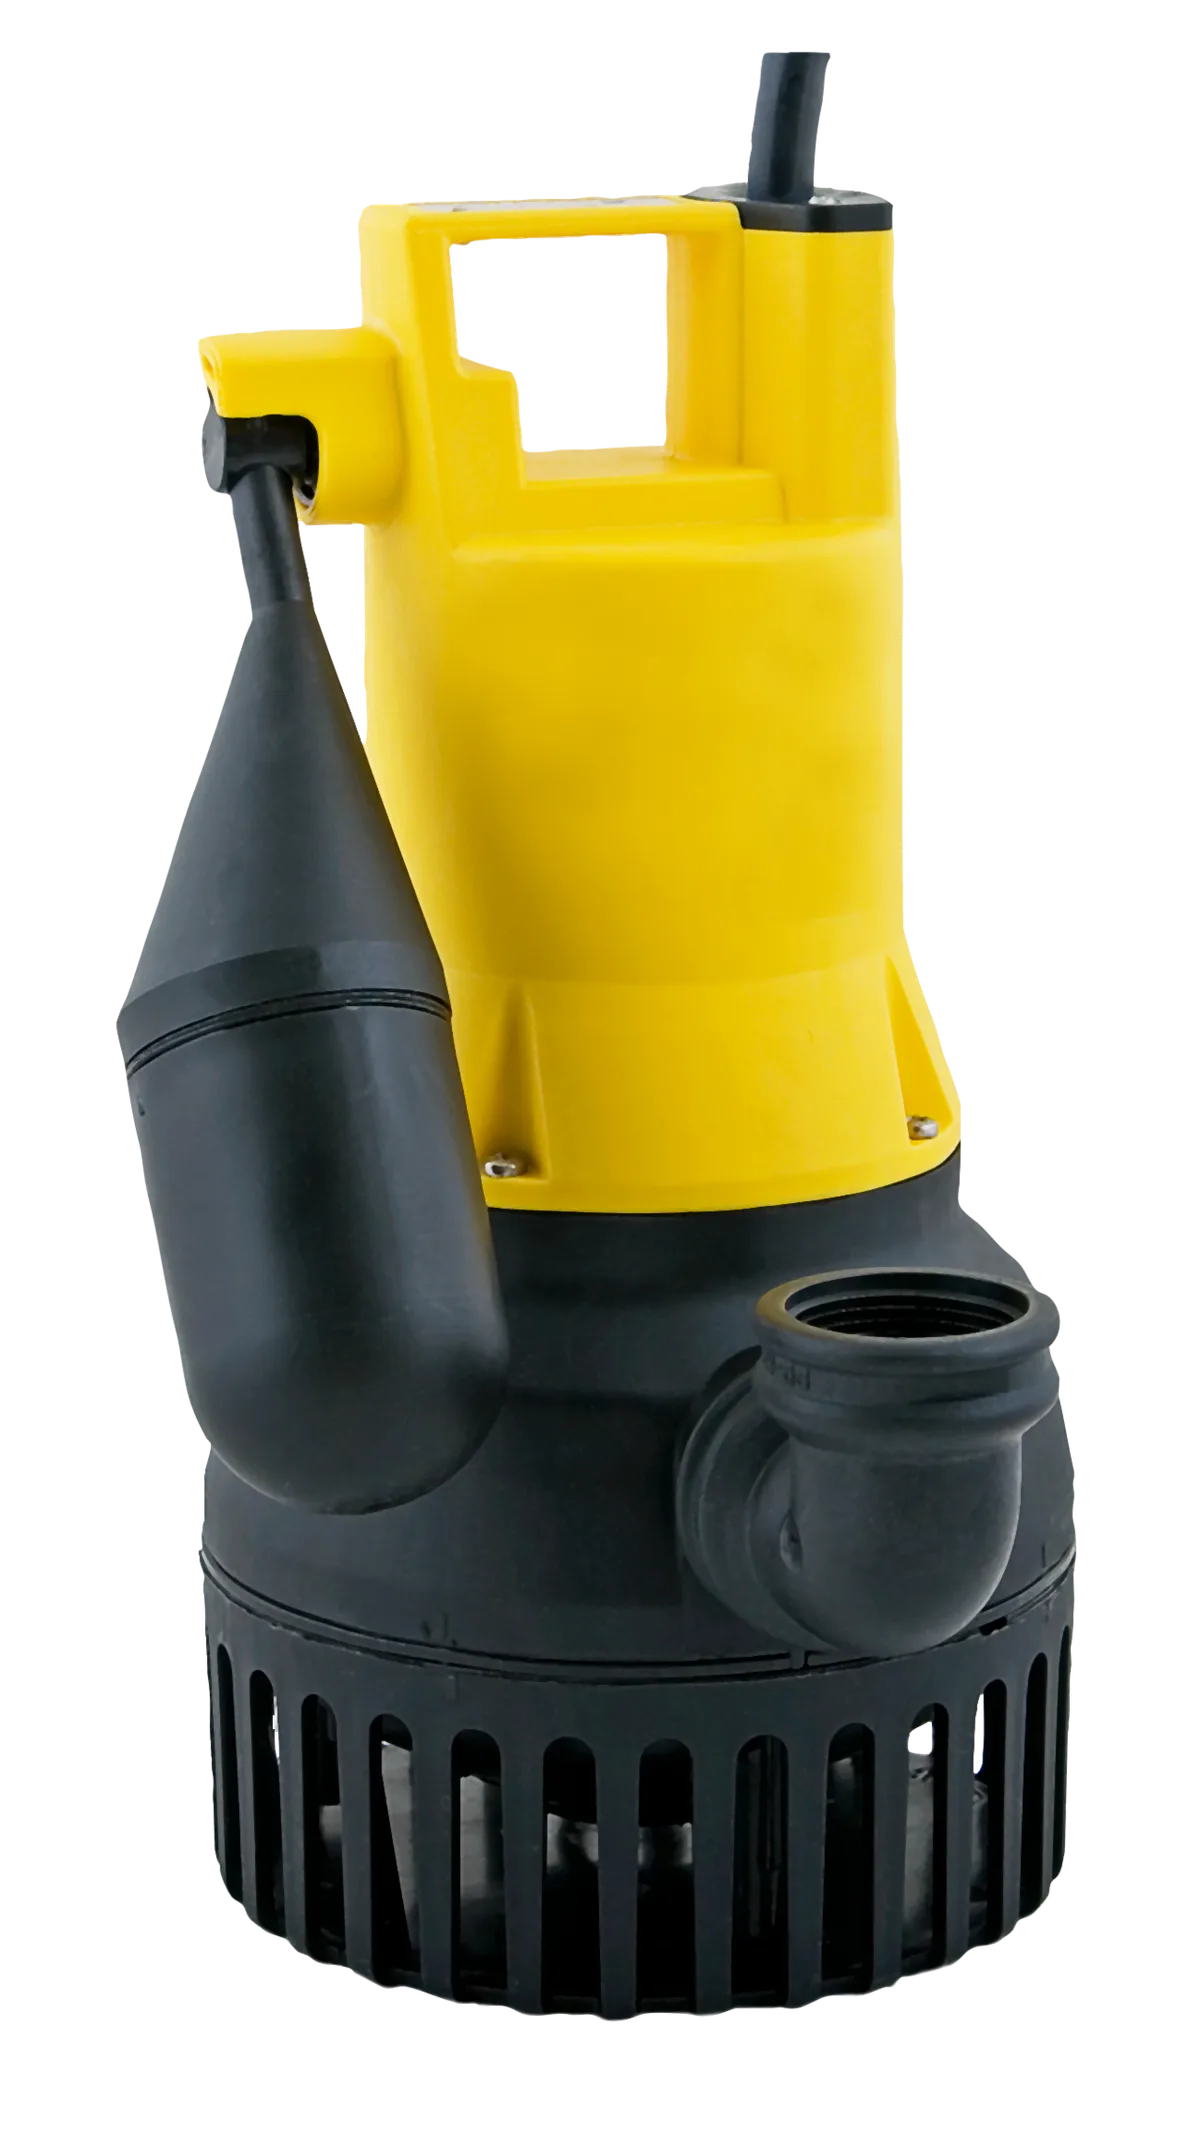
Image source: Wikimedia Commons / PumpExpert (CC BY-SA)
Create a calendar reminder for each task to stay on track. Documentation helps track component age and performance trends over time. This record also supports insurance claims if water damage occurs despite proper care.
Consistency matters more than perfection in preventing mechanical failure.
Monthly Testing and Visual Inspection
Pour five gallons of water into the pit to trigger the float switch. Watch the pump activate and verify water discharges outside properly. Listen for unusual grinding noises that indicate bearing wear or impeller damage.
This simple test confirms the entire system functions under load.
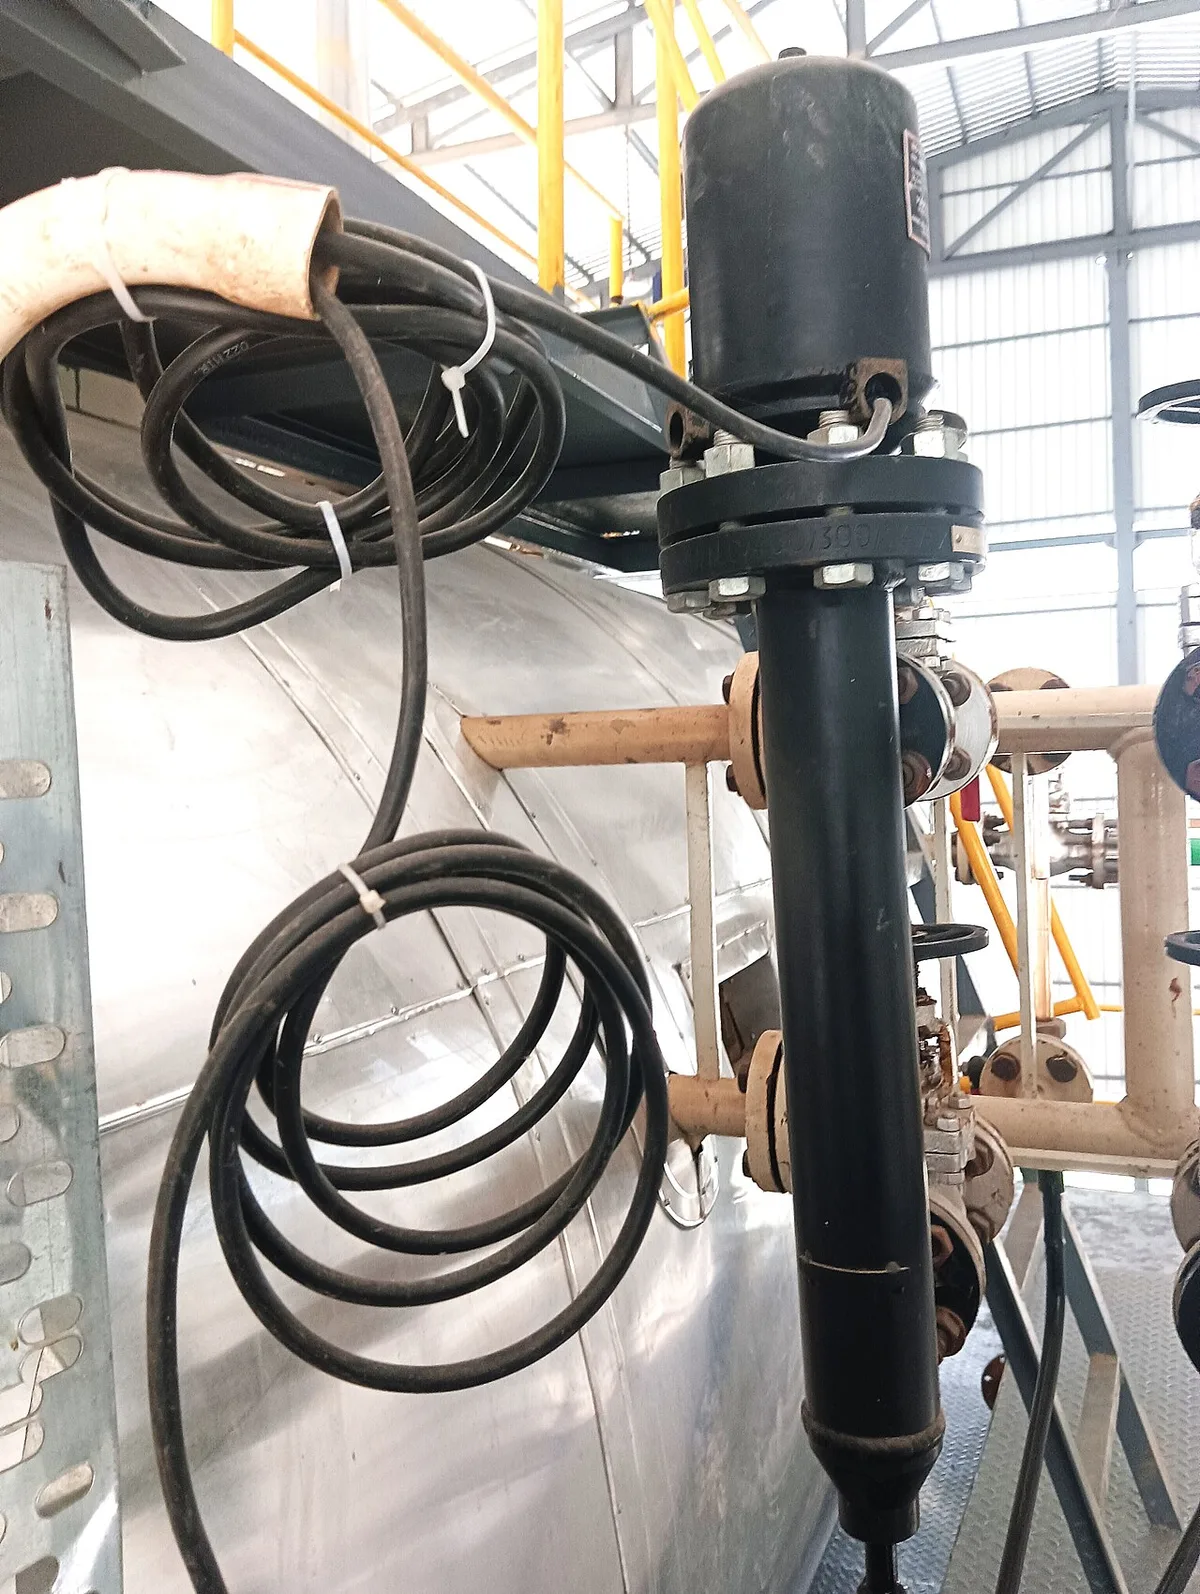
Image source: Wikimedia Commons / Palagiri
Check the tethered float for free movement without obstruction. Debris often wedges between the switch and basin wall during normal operation. Clear any sediment buildup around the intake screen immediately.
A stuck float means the pump will not start when water rises.
Verify the GFCI outlet has not tripped since the last test. Press the reset button firmly to ensure solid electrical connection. Moisture intrusion can cause intermittent faults that are hard to diagnose later.
Catching electrical problems early prevents surprise failures during storms.
Annual Pit Cleaning and Component Check
Remove the pump and vacuum all sediment from the basin bottom. Gravel accumulation damages impellers and reduces pumping efficiency over time. Inspect the pit liner for cracks that allow soil infiltration.
Sealing minor leaks now prevents major structural issues later.
Test the check valve operation by listening for backflow after shutdown. A loud thud indicates the flapper is slamming shut too hard. Silent valves reduce stress on pipe joints and pump motors.
Replacing worn valves extends equipment lifespan considerably.
Examine discharge piping for sagging or poor support. Unsupported pipes vibrate excessively and eventually crack at connections. Secure loose sections with proper hangers rated for wet environments.
This small investment prevents expensive emergency repairs down the road.
Winterizing the Discharge Line
Insulate exposed exterior piping with foam sleeves rated for below-freezing temps. Heat tape provides additional protection in extreme northern climates. Verify the discharge point remains clear of snow and ice buildup.
Blocked outlets force water back into the basement during thaw cycles.
Install an ice guard attachment if freezing is a recurring problem. These devices create an air gap that prevents complete blockage. Water can still escape even if the main line freezes solid.
This passive safety measure costs little but saves thousands in damage.
Grade soil away from the discharge termination point. Standing water near the outlet refreezes and creates ice dams quickly. Proper drainage ensures melted snow flows away from the foundation.
Combine this with regular visual checks throughout winter months.
Critical Upgrades That Prevent Catastrophic Failure
Maintenance alone cannot protect against power outages or extreme weather events. Redundant systems provide the safety net that primary pumps cannot guarantee. These upgrades address the most common single points of failure in residential setups.
Investing here pays off during the next major storm.
Battery backups activate automatically when grid power fails. They typically run six to twelve hours depending on battery capacity and inflow rate. Water-powered backups use municipal pressure instead of electricity.
Both options have distinct advantages depending on your specific situation and local codes.
High-water alarms alert you before flooding reaches finished spaces. Simple sensors cost less than fifty dollars and install in minutes. Smart versions send phone notifications when you are away from home.
Early detection gives you time to respond before damage escalates.
Backup Power Systems: Battery vs. Water-Powered
Battery systems work independently of municipal water pressure. They provide reliable protection even during widespread utility failures. Maintenance involves periodic battery testing and replacement every three to five years.
This option suits homes with well water or low municipal pressure.
Water-powered units require no batteries or electrical charging. They operate as long as city water service remains active. Installation requires adequate water pressure and proper backflow prevention per local plumbing codes.
This choice works best in urban areas with reliable municipal supply.
| Feature | Battery Backup | Water-Powered Backup |
|---|---|---|
| Power Source | Sealed lead-acid battery | Municipal water pressure |
| Runtime | 6-12 hours typical | Unlimited while water flows |
| Maintenance | Battery replacement every 3-5 years | Annual valve testing only |
| Best For | Well water or rural areas | Urban homes with city water |
| Installation Cost | Moderate | Higher due to plumbing work |
Check Valves, Alarms, and Electrical Safety
Proper check valve selection prevents unnecessary motor strain and pipe damage. Spring-loaded silent valves close gradually instead of slamming shut. This reduces hydraulic shock that cracks fittings over time.
Quality valves cost slightly more but last significantly longer than basic swing types.
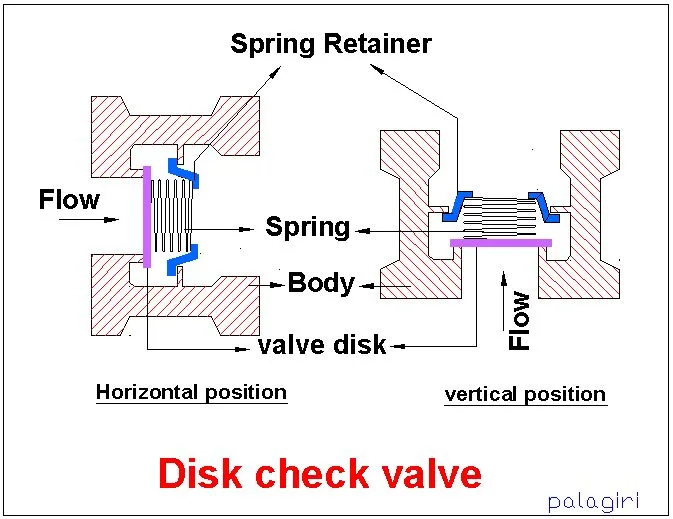
Image source: Wikimedia Commons / Palagiri (CC BY-SA)
Dedicated circuits prevent overload trips from other appliances sharing power. National Electrical Code Article 680 specifies grounding requirements for sump installations. Compliance ensures both safety and insurance validity after water events.
Have a licensed electrician verify your setup meets current standards.
Combine alarms with automatic shutoff switches for maximum protection. Some models cut power when water reaches dangerous levels. This prevents motor burnout during catastrophic inflow situations.
Layering defenses creates resilience that single solutions cannot match.
Common Prevention Mistakes and FAQs
Many homeowners inadvertently create failure risks through well-intentioned but incorrect practices. Understanding these pitfalls helps you avoid them before damage occurs. Real-world experience shows these errors appear repeatedly across different regions and system types.
Learning from others' mistakes saves you from making them yourself.
Ignoring weep holes on submersible pumps causes air lock failures. This small vent prevents vapor buildup that stops water flow. Clean it during annual maintenance to ensure proper priming.
Overlooking this tiny detail renders an otherwise functional pump useless.
Using corrugated tubing instead of smooth PVC creates friction losses. Reduced flow capacity strains the motor and shortens its life. Rigid pipe maintains full diameter and resists crushing underground.
Always choose materials rated for permanent burial and pressure.
Frequently Asked Questions
How often should I replace my sump pump?
Most manufacturers recommend replacement every seven to ten years regardless of apparent condition. Internal seals and bearings degrade invisibly over time. Waiting for complete failure risks basement flooding during peak storm seasons.
Proactive replacement costs far less than emergency water damage restoration.
Can I test my sump pump without water?
Dry running damages seals and impellers within seconds. Always pour actual water into the pit before activating the switch. Five gallons provides sufficient volume for a complete cycle test.
This method verifies both mechanical function and discharge path integrity safely.
Why does my sump pump run constantly?
Continuous operation usually indicates a stuck float switch or failed check valve. Debris may be holding the switch in the activated position. Backflow through a worn valve triggers repeated cycling as water returns.
Diagnose the specific cause before replacing components unnecessarily.
Do I need a permit for sump pump installation?
Local building departments typically require permits for new installations or major modifications. Electrical work involving dedicated circuits always needs inspection. Plumbing changes to discharge lines may also trigger permitting requirements.
Check with your municipality before starting any significant upgrade project.