
Knowing how to prime a sump pump correctly prevents motor burnout and restores flood protection fast. Most modern submersible units are self-priming and only require air bleeding rather than manual water filling.
Per National Electrical Code standards, you must disconnect power at the GFCI outlet before any service to avoid shock hazards. Identifying your specific pump type determines whether you need to fill the volute casing or simply bleed the discharge line.
Quick Safety Check and Identifying Your Pump Type
Always cut power at the circuit breaker or GFCI outlet before touching the pump or plumbing. Water and electricity create an immediate electrocution risk that bypasses standard precautions. Verify the float switch moves freely without obstruction while the system is de-energized.
Determine if you have a pedestal or submersible model because priming methods differ significantly between them. Pedestal pumps sit above the basin with an exposed motor and typically require pouring water directly into the intake pipe. Submersible units seal inside the pit and usually self-prime once submerged and vented properly.
Check the manufacturer label for voltage specifications and horsepower ratings as of 2026 to confirm compatibility with your electrical setup. This quick identification step ensures you apply the correct workflow instead of guessing blindly.
The Priming Workflow: Step-by-Step for Pedestal vs. Submersible Pumps
Submersible pumps rarely need manual priming since they operate fully underwater within the sump basin. If yours hums but won't pump, it likely has an air lock in the discharge pipe rather than lost prime. Loosen the union joint or check valve slightly to release trapped air until water flows steadily.
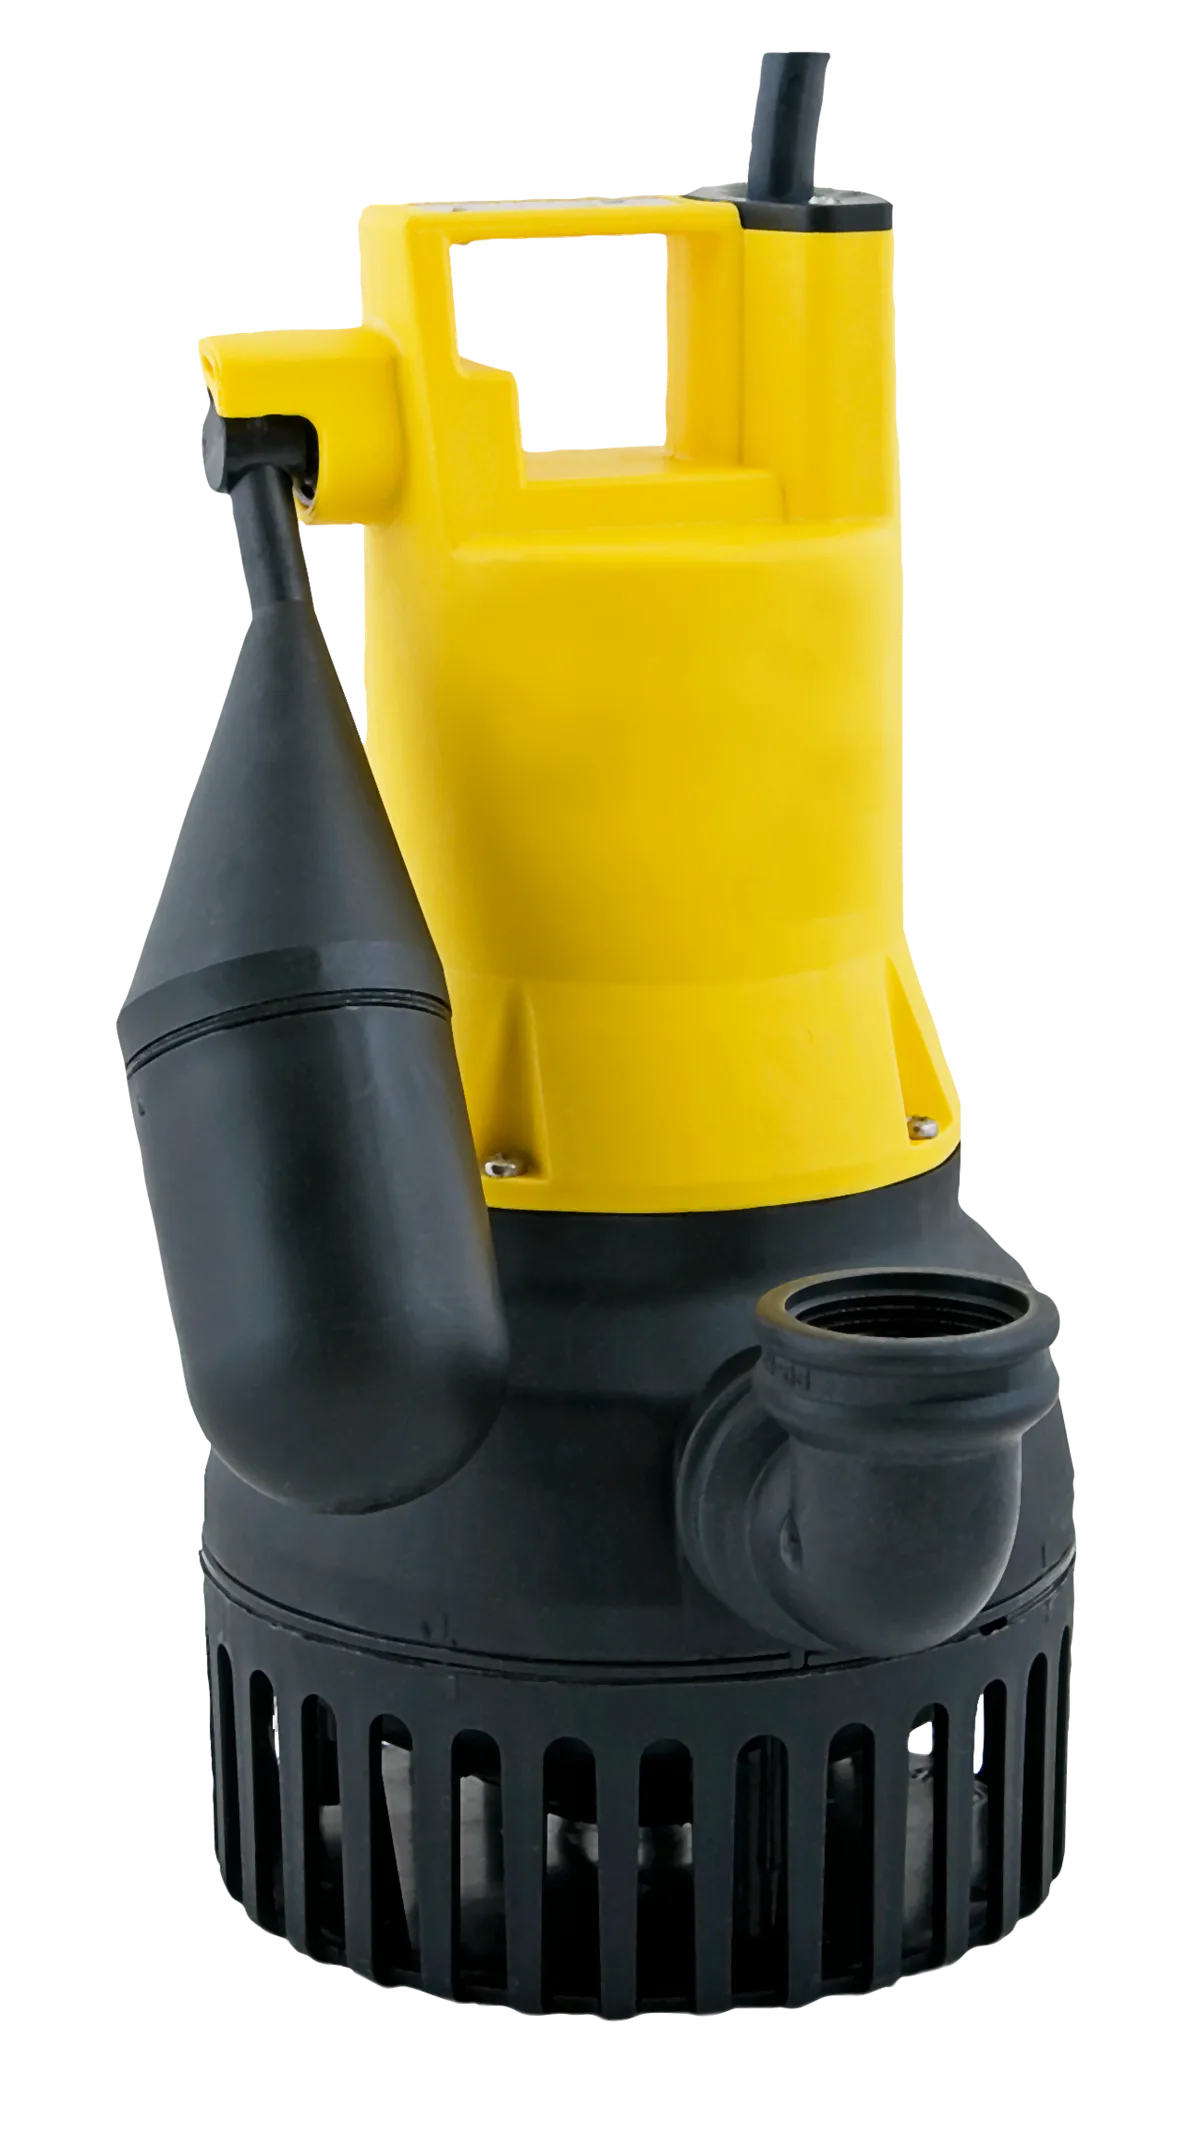
Image source: Wikimedia Commons / PumpExpert (CC BY-SA)
Pedestal pumps require filling the volute casing with clean water to create initial suction pressure. Pour water slowly into the intake opening until the chamber overflows and no air bubbles remain visible. Reconnect power briefly to test operation while monitoring for leaks around seals and fittings.
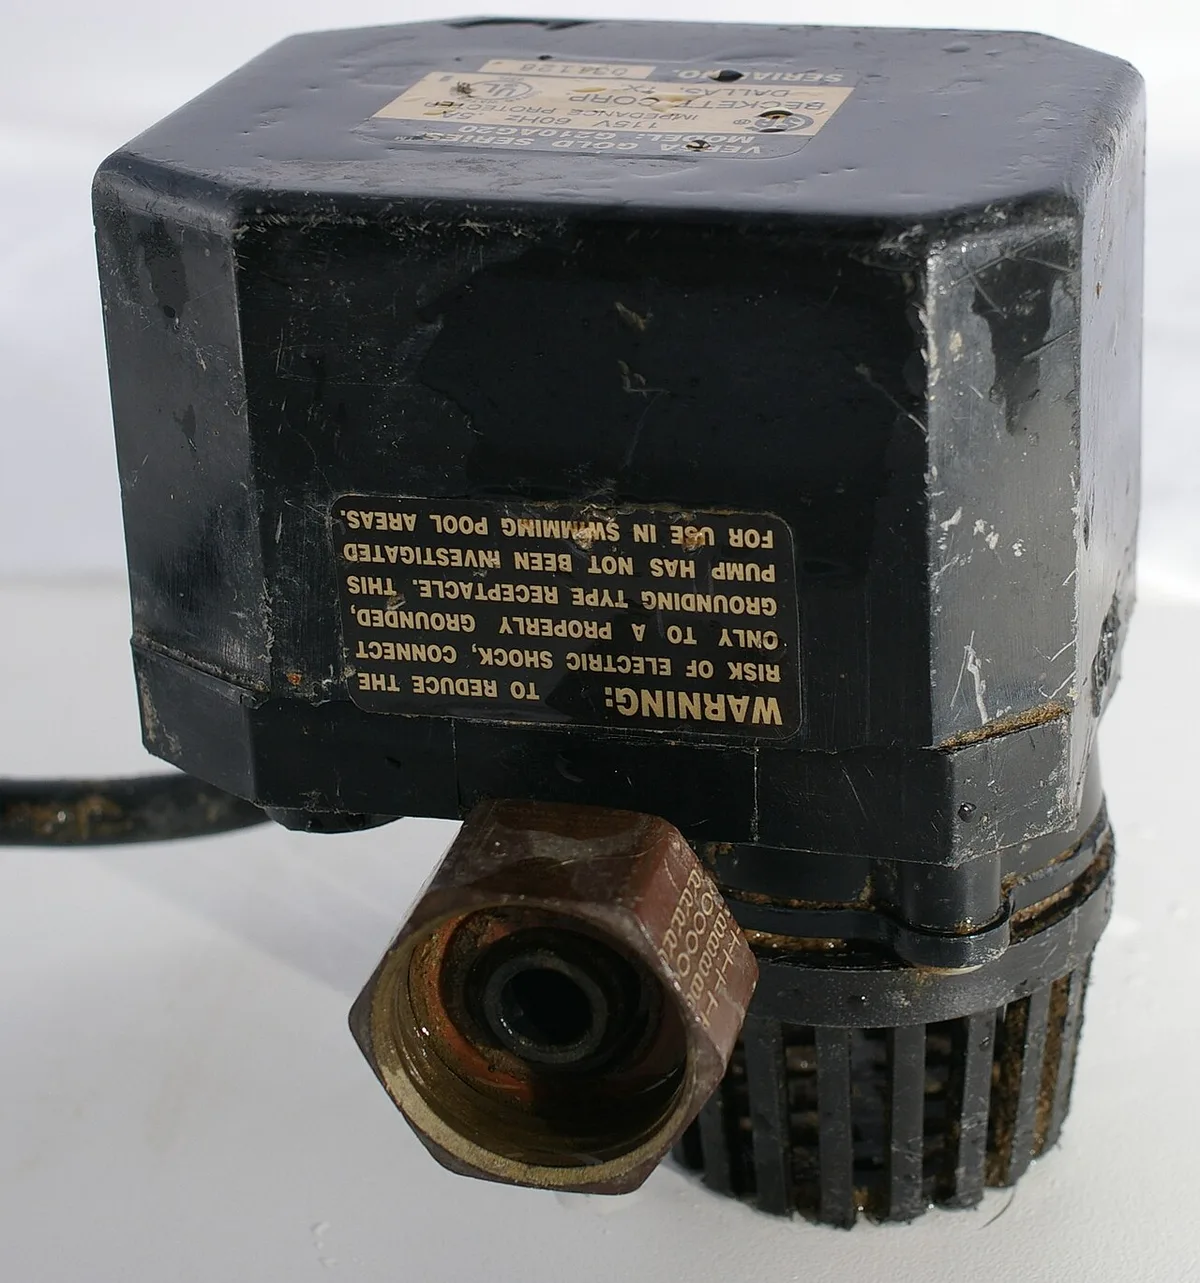
Image source: Wikimedia Commons / Hustvedt (CC BY-SA)
Verify the check valve orientation matches flow direction arrows stamped on the housing body. A backwards valve blocks discharge entirely and mimics priming failure symptoms during troubleshooting. Understanding these mechanical components helps when diagnosing why appliance error codes appear on other home systems too.
Troubleshooting When Your Sump Pump Won’t Hold Prime
If the pump primes initially but loses suction within minutes, inspect the check valve for debris or wear. A failing flapper allows backflow that drains the volute casing dry between cycles. Clean or replace this component if water doesn't hold steady after shutdown.
Clogged intake screens prevent adequate water entry even when the basin appears full. Remove accumulated sediment and verify the impeller spins without resistance by hand. Persistent cavitation noises indicate insufficient flow reaching the volute despite proper priming attempts.
Mechanical seal leaks introduce air that breaks prime repeatedly during operation. Look for moisture trails along the shaft or wetness around the motor housing base. Seal replacement requires professional service since improper installation causes rapid motor failure.
These diagnostic steps mirror approaches used when resolving flow sensor issues in other appliances.
Common Priming Mistakes and Maintenance FAQs
Can I use hot water to prime faster?
Never use hot water because thermal shock cracks plastic housings and damages mechanical seals instantly. Room temperature tap water provides safe priming without risking structural integrity. Manufacturer specifications consistently warn against extreme temperatures during maintenance procedures.
Why does my pump lose prime overnight?
Overnight prime loss indicates either a leaking check valve or compromised shaft seal allowing slow drainage. Test by marking water level in the volute after priming then checking eight hours later. Replace worn components immediately to prevent dry running damage during unattended periods.
Is annual priming maintenance necessary?
Seasonal reactivation after winter storage always requires fresh priming regardless of pump type. Monthly visual inspections catch developing problems before emergency failures occur during storms. Regular testing extends equipment lifespan significantly compared to reactive repairs alone.
What if priming fails three times consecutively?
Stop attempting manual priming after three failed tries to avoid motor overheating from dry running. Professional diagnosis becomes necessary when basic troubleshooting steps don't restore function reliably. Continuing forced attempts voids warranties and risks complete unit replacement costs unnecessarily.