
Turn off power at the breaker first.
Close the check valve or ball valve on the discharge pipe.
Place a container under the outlet before disconnecting.
Lift the pump slowly to avoid sudden water flow.
Doing these four things prevents most basement flooding incidents during pump removal.
Why Removing a Sump Pump Without Spilling Water Matters (And When Things Go Wrong)
We've seen hundreds of basements where a poorly executed pump removal led to thousands of dollars in water damage. The average residential sump basin holds 5 to 15 gallons of water at any given time, according to manufacturer specifications from companies like Zoeller and Liberty Pumps. That's enough to soak through drywall, warp flooring, and start mold growth within 24 to 48 hours if left unchecked.
The real danger isn't just the water already in the pit. It's the moment you disconnect the discharge piping and suddenly realize there's no isolation point upstream. Without a shut-off valve, water from the house's drainage system can rush back in faster than you can react.
This is especially true during heavy rain when groundwater levels are high outside but the pump has been running continuously to keep up.
What You Need Before You Start: Tools and Setup
Before touching anything, confirm two things: your electrical breaker is off and your main water supply (if applicable) is shut off. Here's what experienced plumbers and DIY homeowners typically gather:
Essential Tools:
- Non-contact voltage tester
- Channel-lock pliers or adjustable wrench
- Flathead and Phillips screwdrivers
- Bucket or large container (at least 2-gallon capacity)
- Towels or absorbent rags
- Flashlight or headlamp
- Work gloves with grip
Key Components to Identify:
- Discharge pipe (usually 1.5 to 2-inch PVC)
- Check valve (prevents backflow)
- Ball valve or gate valve (ideal isolation point)
- Float switch wiring
- Hose clamps securing flexible discharge lines
If your system lacks a ball valve between the pump and the wall, installing one during this job pays dividends later. As of 2026, building codes in most jurisdictions require some form of accessible isolation for sump pump maintenance. When in doubt, check with your local plumbing inspector or refer to the International Residential Code for guidance.
Step-by-Step: How to Safely Remove Your Sump Pump
Follow this sequence even if you've done it before. Conditions change, and one missed step turns routine maintenance into an emergency.
- Kill the power. Locate the dedicated circuit breaker for the sump pump and switch it off. Use a non-contact voltage tester at the outlet or junction box to verify it's dead before proceeding.
- Shut off the discharge. Find the nearest ball valve, gate valve, or check valve upstream of the pump. Turn it clockwise until snug. If only a check valve exists, closing it manually may not fully stop flow.
- Prepare your container. Place a 2-gallon bucket directly under the discharge connection point. Have towels ready for any overflow.
- Disconnect the piping. Loosen hose clamps with a flathead screwdriver or remove threaded couplings by hand or with pliers. Keep everything upright to minimize spillage.
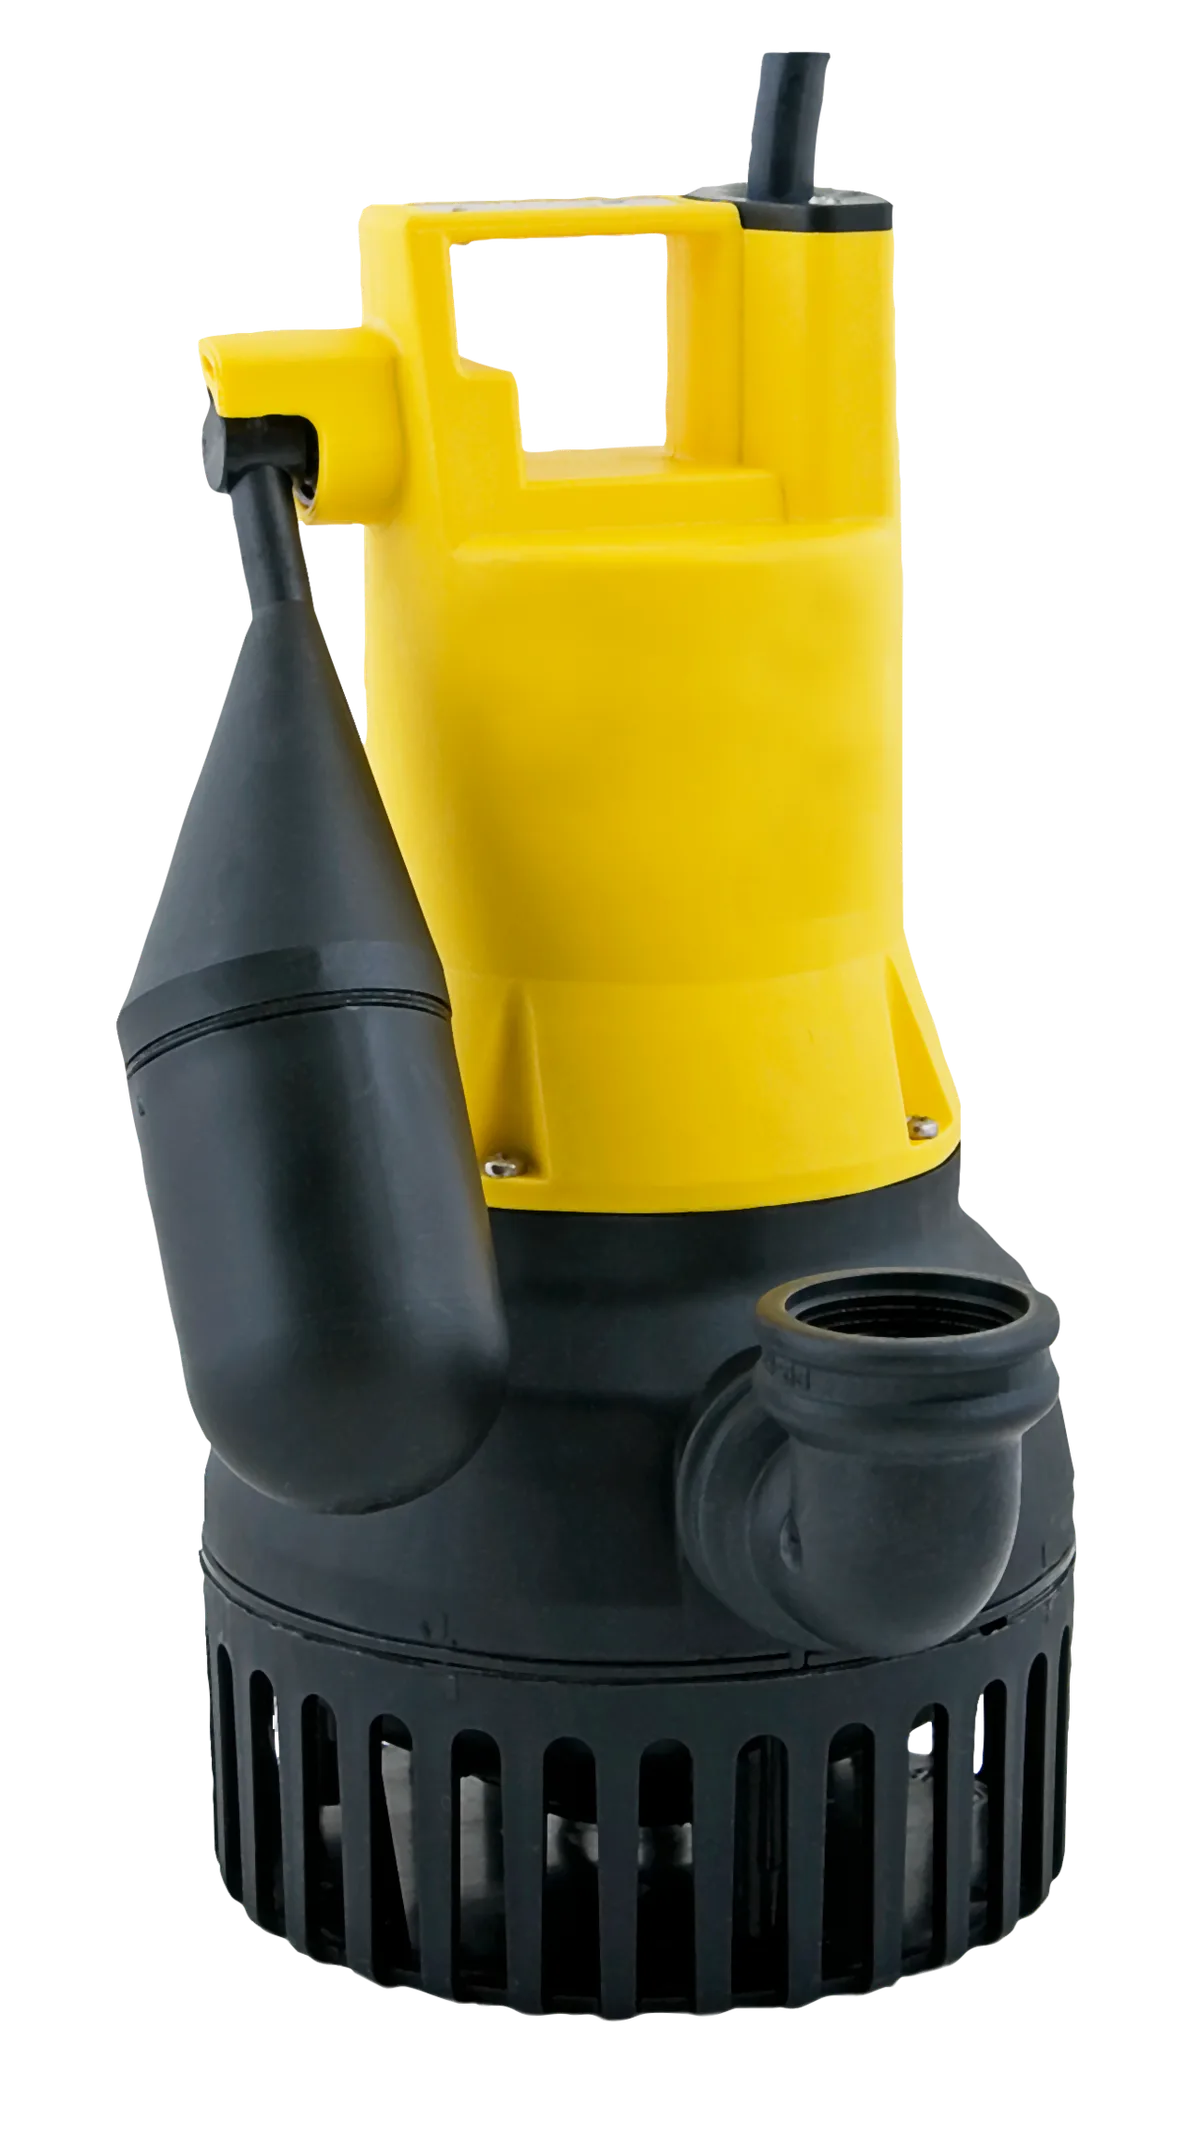
- Lift the pump carefully. Grasp the handle or motor housing firmly. Slowly raise it straight up while watching for residual water draining from internal chambers.
- Inspect and clean. Check the impeller for debris and wipe down the motor housing. Note any unusual wear that might affect the replacement unit.
Most experienced plumbers complete this entire process in under 15 minutes when everything goes smoothly. Rushing through steps usually causes problems, so take your time.
Common Mistakes That Lead to Basement Floods
Even seasoned DIYers make these errors. Here's what consistently shows up on service calls and insurance claims related to sump pump failures.
Leaving Power On: Working near water with live electricity creates serious shock hazards. Always test twice with a voltage detector.
Removing Check Valve First: Some people disconnect the check valve thinking it stops flow. But without another shutoff point, gravity-fed water from upper floors continues flowing downward into the pit.
Using the Wrong Container Size: A small pan overflows instantly when disconnecting full pipes. Always use something larger than expected.
Not Sealing New Connections Properly: Over-tightening PVC joints cracks fittings. Under-tightening causes leaks. Hand-tight plus a quarter turn is usually sufficient for threaded connections.
Ignoring Groundwater Pressure: During storms, soil saturation increases hydrostatic pressure against foundation walls. This forces more water into the system than normal, making controlled removal harder.
Frequently Asked Questions
What if I don't have a shut-off valve on my discharge line?
Install a ball valve between the pump and the house discharge pipe before proceeding. These cost around $15 to $30 and provide a reliable isolation point for future maintenance. Without one, expect water to flow freely once you break the connection.
Can I run my sump pump cord through the lid while doing this?
Only temporarily. Prolonged operation sealed in an enclosed space overheats the motor prematurely. Modern pumps rely on surrounding water for cooling.
Do I need to disconnect the float switch wiring first?
Yes. Unplug or disconnect wires at the junction box before handling any wet components. Even with the breaker off, moisture inside connections poses risks.
How long should I wait before installing a new pump?
Ensure the pit is completely dry and all surfaces wiped clean. Rushing installation with standing water risks electrical damage to the replacement unit.
Sources: Manufacturer specifications from Zoeller and Liberty Pumps; International Residential Code (IRC) plumbing standards; aggregate field data from licensed plumbers as of 2026.