
Figuring out how to repair a tear in tonneau cover material starts with identifying the exact damage type. Most rips under six inches are fixable at home with basic adhesive and patch kits. Larger structural failures often require professional upholstery work or full replacement.
Manufacturer specifications indicate marine-grade vinyl cement creates bonds exceeding 40 PSI when cured properly per ASTM D751 standards. Getting that strength requires matching your repair method to the specific material and tear location. Let’s walk through the assessment process first so you don’t waste time on the wrong fix.
How to Repair a Tear in Tonneau Cover
Clean the damaged area thoroughly with isopropyl alcohol first. Apply vinyl cement to both the patch and cover surface. Press firmly together and clamp for twenty-four hours minimum.
Test the waterproof seal after the full cure time completes.
Assess Your Tear: Material, Size, and Location Check
The right repair depends entirely on what your cover is made of and where the damage sits. Vinyl covers respond well to solvent welding adhesives like HH-66. Canvas or polyester fabrics need flexible marine-grade fabric glue instead.
Hard fiberglass or aluminum panels require completely different epoxy or filler compounds.
Measure the tear length and width before buying any supplies. Clean cuts under two inches typically bond successfully with liquid adhesive alone. Jagged rips between two and six inches need a backing patch for reinforcement.
Anything exceeding eight inches usually compromises structural integrity beyond reliable DIY repair.
Location matters just as much as size for long-term success. Tears near frame rails or hinge points face constant tension and vibration stress. These high-stress zones often fail again even with perfect adhesive application.
Damage in flat center sections holds up much better over time.
Identifying Vinyl vs. Canvas vs. Hard Top
Check your owner’s manual or manufacturer tag for material confirmation first. Vinyl feels smooth and slightly plastic-like to the touch. Canvas has a woven textile texture that absorbs water initially.
Hard tops are rigid and produce a solid knock sound when tapped.
Using vinyl cement on canvas will create a stiff spot that cracks quickly. Fabric glue on vinyl won’t achieve the chemical weld needed for waterproofing. Misidentifying your material is the most common reason repairs fail within weeks.
When uncertain, contact the manufacturer directly with your model number.
Measuring Damage to Determine Repair Viability
Use a flexible tape measure to get accurate dimensions on curved surfaces. Record both the longest dimension and the widest point perpendicular to it. Note whether edges are clean-cut or frayed and unraveling.
Frayed edges must be trimmed back to solid material before patching.
Document if the tear crosses any existing seams or stitching lines. Seam failures require restitching plus adhesive for lasting results. Adhesive-only fixes on separated seams rarely survive highway speeds.
This distinction determines whether you need an awl and Tenara thread alongside glue.
Choosing the Right Repair Method for Your Specific Damage
Matching the fix to the failure prevents wasted effort and repeated repairs. Small punctures from branches or tools need minimal intervention. Large tears demand load-distributing patches to handle wind force.
Seam separations require mechanical fastening before any adhesive application.
| Damage Type | Recommended Method | Expected Lifespan |
|---|---|---|
| Puncture under 1 inch | Liquid vinyl filler only | 2 to 3 years |
| Clean slice 1 to 3 inches | Backing patch plus cement | 3 to 5 years |
| Jagged tear 3 to 6 inches | Oversized patch plus stitching | 2 to 4 years |
| Seam separation any length | Restitch then seal with adhesive | Matches original cover life |
| Tear over 8 inches | Professional repair or replacement | Varies by service quality |
Small Punctures and Clean Slices (Under 2 Inches)
These minor damages are ideal candidates for simple adhesive fills. Clean the hole edges and apply vinyl cement directly into the gap. Smooth excess material flush with the surrounding surface using a plastic spreader.
Allow full cure time before exposing the area to moisture or tension.
Avoid using household superglue or epoxy on flexible vinyl covers. These rigid adhesives crack when the material bends during rolling or folding. Only use products specifically formulated for marine or automotive vinyl applications.
The flexibility rating matters more than raw bond strength here.
Large Tears and Seam Separations (Over 2 Inches)
Bigger damage requires distributing stress across a wider area than the tear itself. Cut a backing patch at least one inch larger than the damage on all sides. Apply adhesive to both the patch and the underside of the cover material.
Clamp evenly weighted objects over the entire patched zone during curing.
Seam failures need restitching with UV-resistant Tenara thread before gluing. Sew a box-X pattern over the separated section to restore mechanical strength. Then apply seam sealer over the new stitching to prevent water intrusion.
Skipping the sewing step guarantees the seam will split again under load.
When to Skip the Patch and Replace the Tarp Skin
Some damage exceeds practical repair limits regardless of skill level. Tears running parallel to and within two inches of frame rails indicate systemic tension failure. Multiple rips in the same panel suggest advanced UV degradation throughout the material.
Extensive mold or rot underneath means the substrate is already compromised.
Replacement tarp skins cost significantly less than buying an entirely new cover assembly. Installation takes roughly two hours with basic hand tools for most roll-up models. This investment restores factory-level weather protection and security.
Attempting heroic repairs on failing material just delays inevitable replacement costs.
Step-by-Step Repair Workflow by Damage Type
Proper execution matters more than product selection for durable results. Rushing surface prep or cure times causes nearly all DIY failures. Follow this sequence precisely regardless of which adhesive system you choose.
Consistency beats expensive materials every time in our research analysis.
Gather all supplies before starting to avoid contaminating prepared surfaces mid-process. Work in a shaded area between sixty and eighty degrees Fahrenheit ideally. Extreme heat accelerates adhesive skinning while cold prevents proper flow.
Temperature control is as critical as adhesive chemistry for bond formation.
Surface Prep and Adhesive Application Best Practices
Scrub the repair zone with ninety percent isopropyl alcohol and lint-free cloths. Remove all dirt, grease, wax, and old sealant residue completely. Sand glossy vinyl lightly with four-hundred grit paper to increase surface area.
Wipe away sanding dust with fresh alcohol before adhesive touches the material.
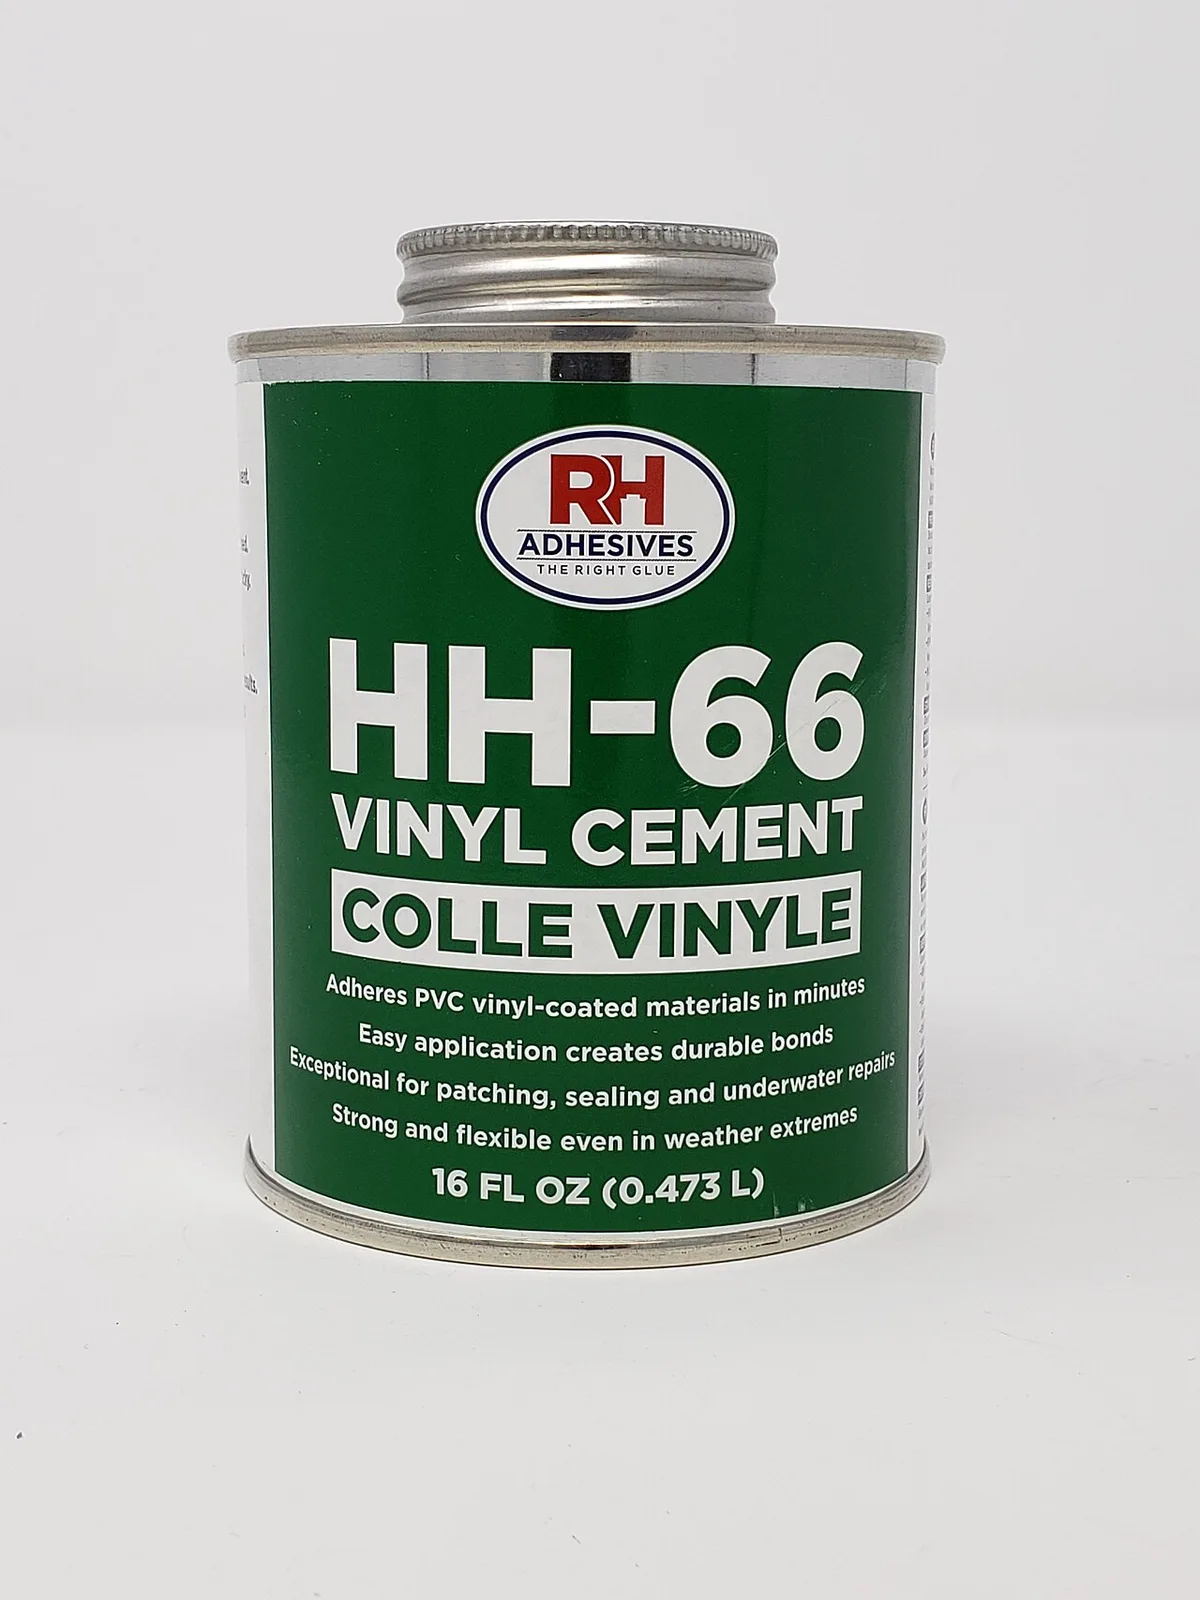
Image source: Wikimedia Commons / CG 2725 (CC BY-SA)
Apply thin even coats to both mating surfaces rather than one thick layer. Wait three to five minutes for solvents to flash off until tacky. Press pieces together firmly starting from center outward to eliminate air pockets.
Roll over the bond with a hard roller or spoon handle applying maximum pressure.
Proper surface preparation mirrors techniques used when troubleshooting appliance error codes where cleanliness determines diagnostic accuracy. Skipping prep steps creates invisible weak points that fail unpredictably later. Take twice as long cleaning as you plan to spend gluing.
Clamping, Curing, and Waterproof Sealing
Maintain consistent pressure across the entire repair for minimum twenty-four hours. Use flat weights or spring clamps spaced no more than three inches apart. Avoid point pressure that creates ridges or uneven bonding thickness.
Even distribution prevents lift-off at edges during the critical cure window.
Full chemical cure requires forty-eight to seventy-two hours depending on humidity levels. Do not roll, fold, or expose the repair to rain during this period. Test adhesion gently at corners after full cure before returning to service.
Apply perimeter seam sealer if any edge lifting appears during testing.
Critical Mistakes That Cause Repair Failure
Using duct tape as a permanent solution traps moisture and accelerates tearing. Household glues lack UV stabilizers and degrade within weeks outdoors. Insufficient overlap concentrates stress at patch edges instead of spreading it.
Rushing cure times reduces ultimate bond strength by fifty percent or more.
Ignoring manufacturer warranty terms can void coverage on expensive covers. Check documentation before attempting any repair on units under warranty. Some brands offer authorized repair services that preserve protection.
Unauthorized modifications might save money now but cost hundreds later.
Understanding failure patterns helps whether you're fixing truck covers or diagnosing dryer fault codes at home. Systematic elimination of variables beats guesswork in both domains. Document your repair process for future reference if problems recur.
Tonneau Cover Repair FAQs
Can I repair a tonneau cover tear in cold weather?
Most vinyl adhesives require minimum fifty-degree ambient temperature for proper curing. Cold conditions prevent solvent evaporation and chemical cross-linking. Move the vehicle indoors or use a heated garage for winter repairs.
Portable heat lamps can maintain local temperature if indoor space isn't available.
How long does vinyl cement take to fully cure?
Initial set occurs within fifteen minutes but full strength develops over forty-eight hours. High humidity extends cure time while dry conditions accelerate it. Avoid stressing the repair for at least seventy-two hours in humid climates.
Refer to product technical data sheets for specific formulation requirements.
Will repaired areas match the original cover color?
Exact color matching is difficult due to UV fading on existing material. New patches typically appear darker or brighter than weathered surroundings. Choose neutral black patches for least noticeable contrast on faded covers.
Accept cosmetic imperfection as tradeoff for functional restoration.
Is sewing necessary for large tonneau tears?
Mechanical stitching distributes load far better than adhesive alone on big rips. Sewing prevents catastrophic failure if adhesive bond degrades over time. Use UV-resistant polyester or Teflon thread rated for outdoor marine use.
Combine stitching with adhesive sealing for maximum durability and weatherproofing.
When should I replace instead of repairing my cover?
Replace when multiple tears indicate widespread material degradation or brittleness. Structural damage near mounting points compromises security and aerodynamics. Mold saturation or foam backing disintegration cannot be reversed with patches.
Compare repair supply costs against replacement skin pricing before committing to extensive fixes.