
Learning how to replace an old sump pump starts with safety, not shopping. Water and electricity are a dangerous combination in any basement environment. You must verify power isolation before touching any plumbing or wiring connections.
The National Electrical Code requires GFCI protection for all sump pump outlets as of 2026. Manufacturer specifications indicate most residential units last seven to ten years under normal conditions. We will cover the critical checks that prevent injury and costly installation errors.
Critical Safety Checks Before You Touch the Old Pump
Sump pumps operate in wet environments where electrical faults can be fatal. Never assume an outlet is safe just because the pump stopped working. Verify ground fault circuit interrupter functionality before beginning any removal process.
Electrical Hazards and GFCI Requirements
Water damage often masks underlying electrical problems in basement circuits. Our research shows many older installations lack proper grounding or dedicated circuits. Test the GFCI outlet with a plug tester before unplugging the existing unit.
If the outlet trips immediately upon testing, stop work and consult an electrician. This indicates moisture intrusion or wiring degradation inside the junction box. Working on compromised electrical systems risks severe shock or fire hazards.
Assessing Your Pit Size and Discharge Line Condition
New pumps require adequate basin clearance to function correctly. Measure your pit diameter and depth before purchasing replacement equipment. Most modern submersible units need at least eighteen inches of width and twenty-two inches of depth.
Inspect the discharge pipe for cracks, corrosion, or improper slope. A damaged check valve or frozen line will destroy even the best new pump. Addressing these issues during replacement prevents premature failure and repeat service calls.
When to Stop and Call a Professional
Some situations exceed safe DIY limits regardless of skill level. If you find aluminum wiring or ungrounded circuits, hire a licensed electrician first. Sewage ejector pumps also require specialized handling due to biohazard exposure risks.
Complex drainage system integration demands professional assessment too. Per International Residential Code standards, improper discharge routing violates building codes. Knowing when to step back protects both your safety and home value.
Choosing the Right Replacement Specs for Your Home
Matching horsepower to actual head pressure matters more than raw power. Oversized pumps short cycle and burn out prematurely. Undersized units cannot handle peak groundwater inflow during heavy storms.
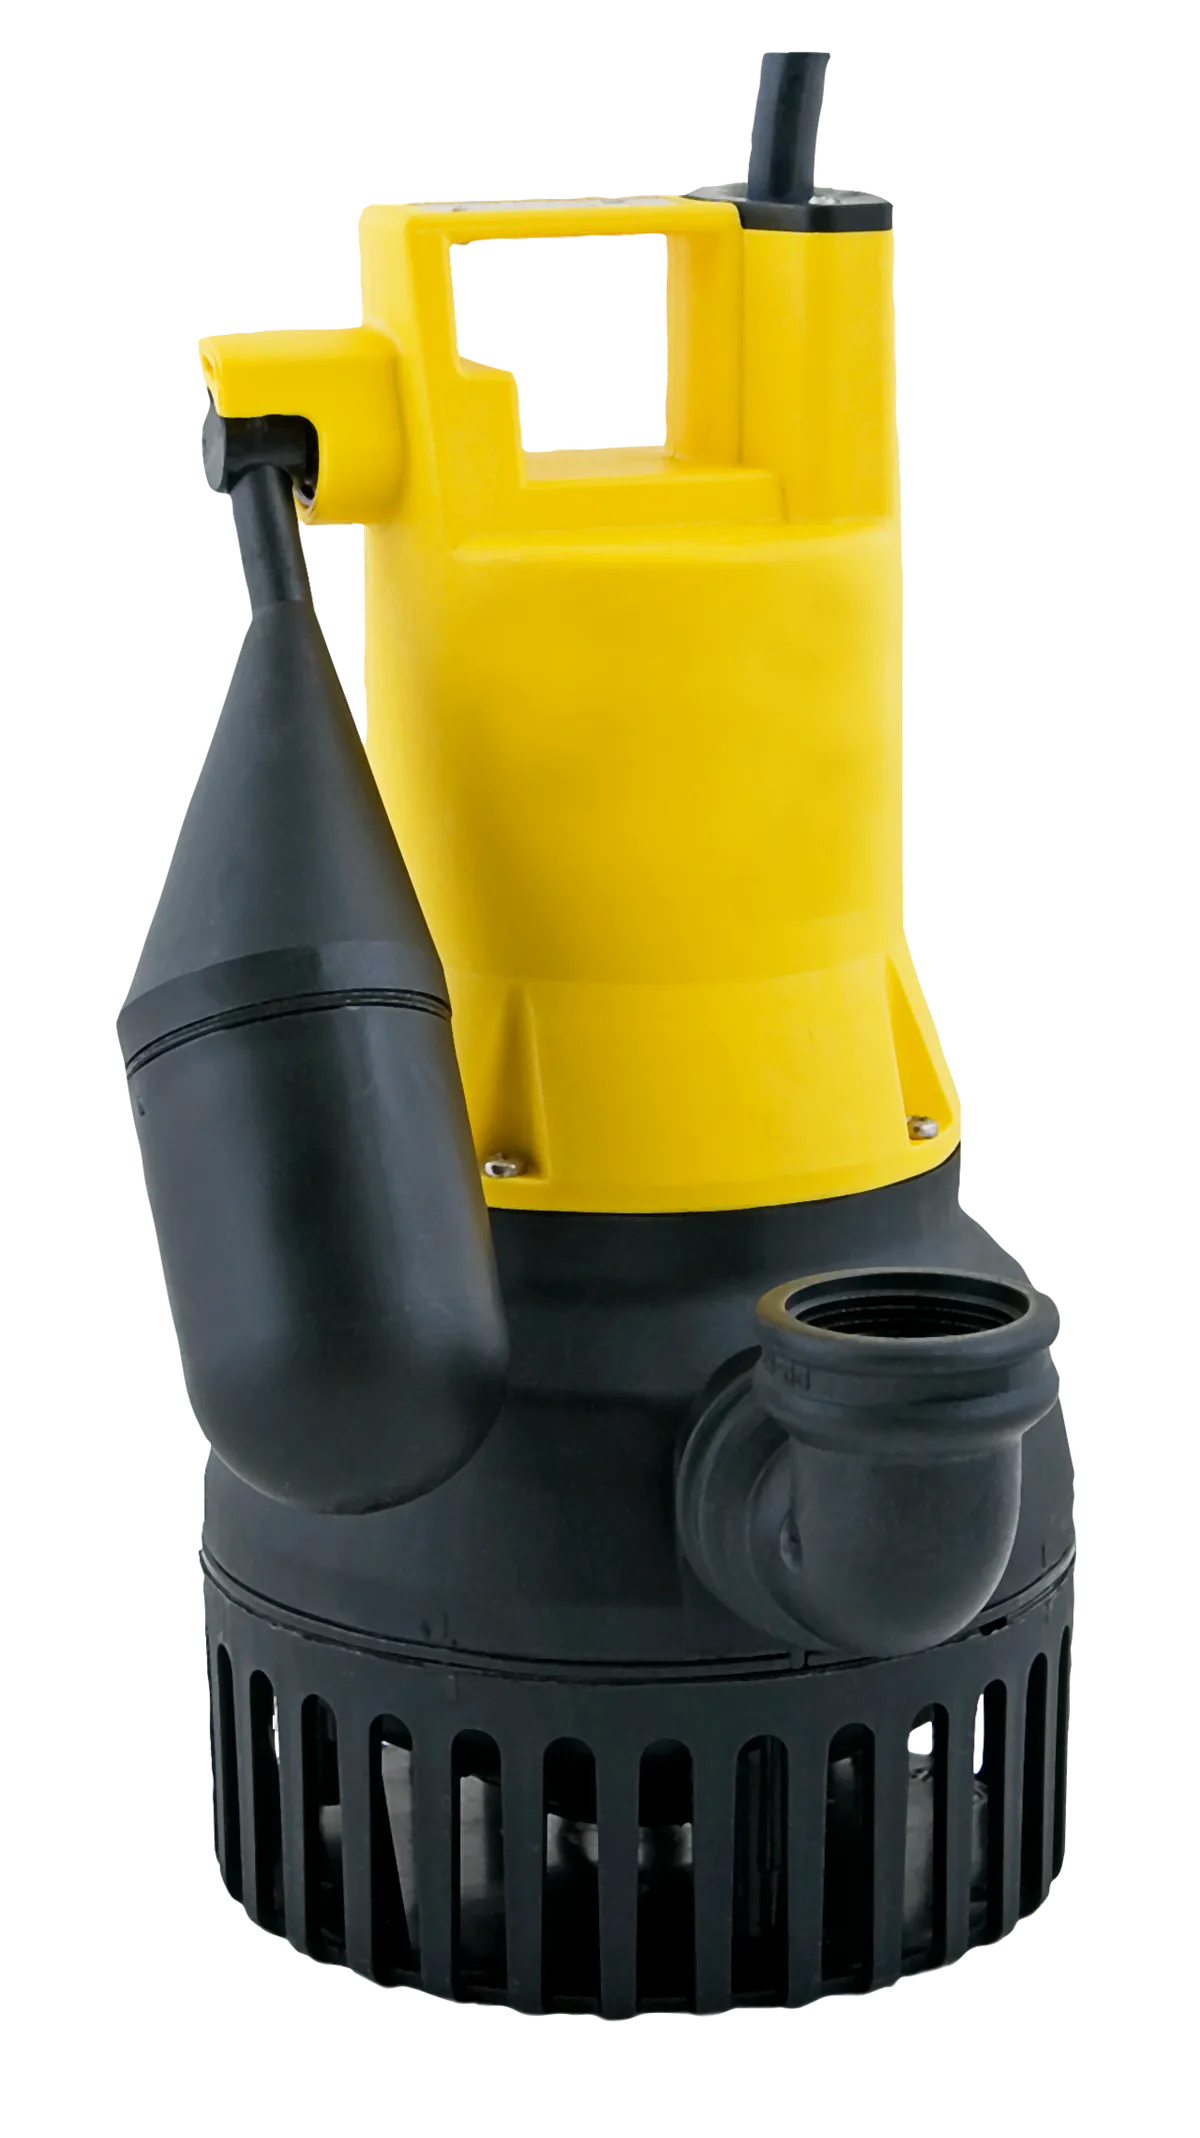
Image source: Wikimedia Commons / PumpExpert (CC BY-SA)
Matching Horsepower and Head Pressure Correctly
Check your vertical lift distance from pit bottom to discharge point. Each foot of elevation reduces flow capacity significantly. Manufacturer performance curves show exact gallons per hour at specific head heights.
A half horsepower pump typically handles ten feet of lift adequately. Higher lifts may require three-quarter or one horsepower models. Always select based on measured conditions rather than previous pump size alone.
Submersible vs. Pedestal and Float Switch Types
Submersible pumps run quieter and stay cooler underwater. Pedestal models offer easier switch access but generate more noise. Choose based on pit accessibility and finished basement proximity.
Vertical floats resist debris clogging better than tethered versions. Electronic sensors eliminate mechanical wear entirely. Consider maintenance access when selecting your activation mechanism type.
Essential Components: Check Valves, Weep Holes, and Alarms
Spring-loaded check valves reduce water hammer compared to swing types. They also seal faster to prevent backflow cycling. Always install with correct flow direction arrow pointing upward.
Drill a weep hole above the check valve if using a sealed discharge line. This prevents air lock that stops pumping action. Smart alarms provide early warning before flooding occurs.
Safe Removal and Installation Workflow
Proper sequence prevents accidents and ensures reliable operation. Rushing through preparation causes most post-installation failures. Take time to clean and inspect before connecting new equipment.
Power Isolation and Basin Preparation
Turn off the circuit breaker feeding the sump pump outlet. Use a non-contact voltage tester to confirm zero current. Unplug the unit only after verifying complete power isolation.
Remove standing water with a wet vacuum or bucket. Clear debris from the pit floor and walls. Sediment buildup damages impellers and jams float switches over time.
Extracting the Old Unit and Cleaning the Pit
Loosen union couplings or hose clamps securing the discharge pipe. Lift the pump straight up to avoid damaging sidewalls. Inspect the liner for cracks or structural deterioration while accessible.
Scrub accumulated grime from basin surfaces thoroughly. Check inlet screens for mineral deposits or iron ochre buildup. Clean pits extend new pump lifespan significantly according to aggregate service reports.
Installing the New Pump and Testing the Cycle
Level the unit on stable gravel or brick base material. Reconnect discharge piping with fresh clamps or unions. Ensure check valve orientation matches manufacturer markings exactly.
Restore power and observe initial startup behavior. Listen for unusual vibration or grinding noises during first cycles. Verify automatic shutoff occurs within thirty seconds of water evacuation.
Common Installation Mistakes That Cause Premature Failure
Skipping the weep hole creates air lock in sealed systems. Incorrect float adjustment leads to continuous running or dry cycling. Using undersized discharge tubing restricts flow and overheats motors.
Neglecting GFCI testing leaves hidden electrical faults undetected. Poor pit cleaning allows immediate recontamination of new components. These oversights account for majority of warranty claims per manufacturer data.
Sump Pump Replacement FAQs
How long does sump pump replacement take?
Most straightforward replacements require two to four hours including cleanup. Complex electrical upgrades or pit repairs extend this timeline significantly. Allow extra time for thorough testing and leak verification.
Can I reuse my old check valve?
Reusing old valves risks immediate backflow failure and motor strain. Internal seals degrade invisibly over years of service. New spring-loaded valves cost little and ensure reliable operation.
Why does my new pump keep turning on and off?
Short cycling usually indicates incorrect float adjustment or air lock. Check weep hole presence and float switch positioning first. Oversized pumps also cycle excessively in small basins.
Do I need a permit to replace a sump pump?
Direct replacements typically do not require permits in most jurisdictions. Adding new circuits or altering discharge routing triggers inspection requirements. Always verify local building department rules before starting work.