
Introduction
The Maytag 5000 Series dryer with steam combines traditional drying with advanced steam technology to reduce wrinkles, refresh fabrics, and sanitize laundry. When issues arise, understanding how each system works makes diagnosis faster and more accurate. Common problems typically fall into four categories: power delivery, mechanical rotation, airflow and heating, and steam generation.
In practice, most failures trace back to three root causes: restricted airflow from lint buildup, worn mechanical components from continuous use, and moisture or sediment clogging steam pathways. Before disassembling anything, verify the basics — power connection, door closure, and visible blockages. Many users spend hours replacing parts when a simple vent cleaning resolves the issue. For more on this, see our guide on lg dryer troubleshooting codes.
This guide covers systematic troubleshooting for each major problem area, with step-by-step instructions and safety protocols. Always disconnect power at the wall or breaker before inspecting internal components. If you're uncomfortable with electrical testing or gas connections, contact a certified appliance technician.
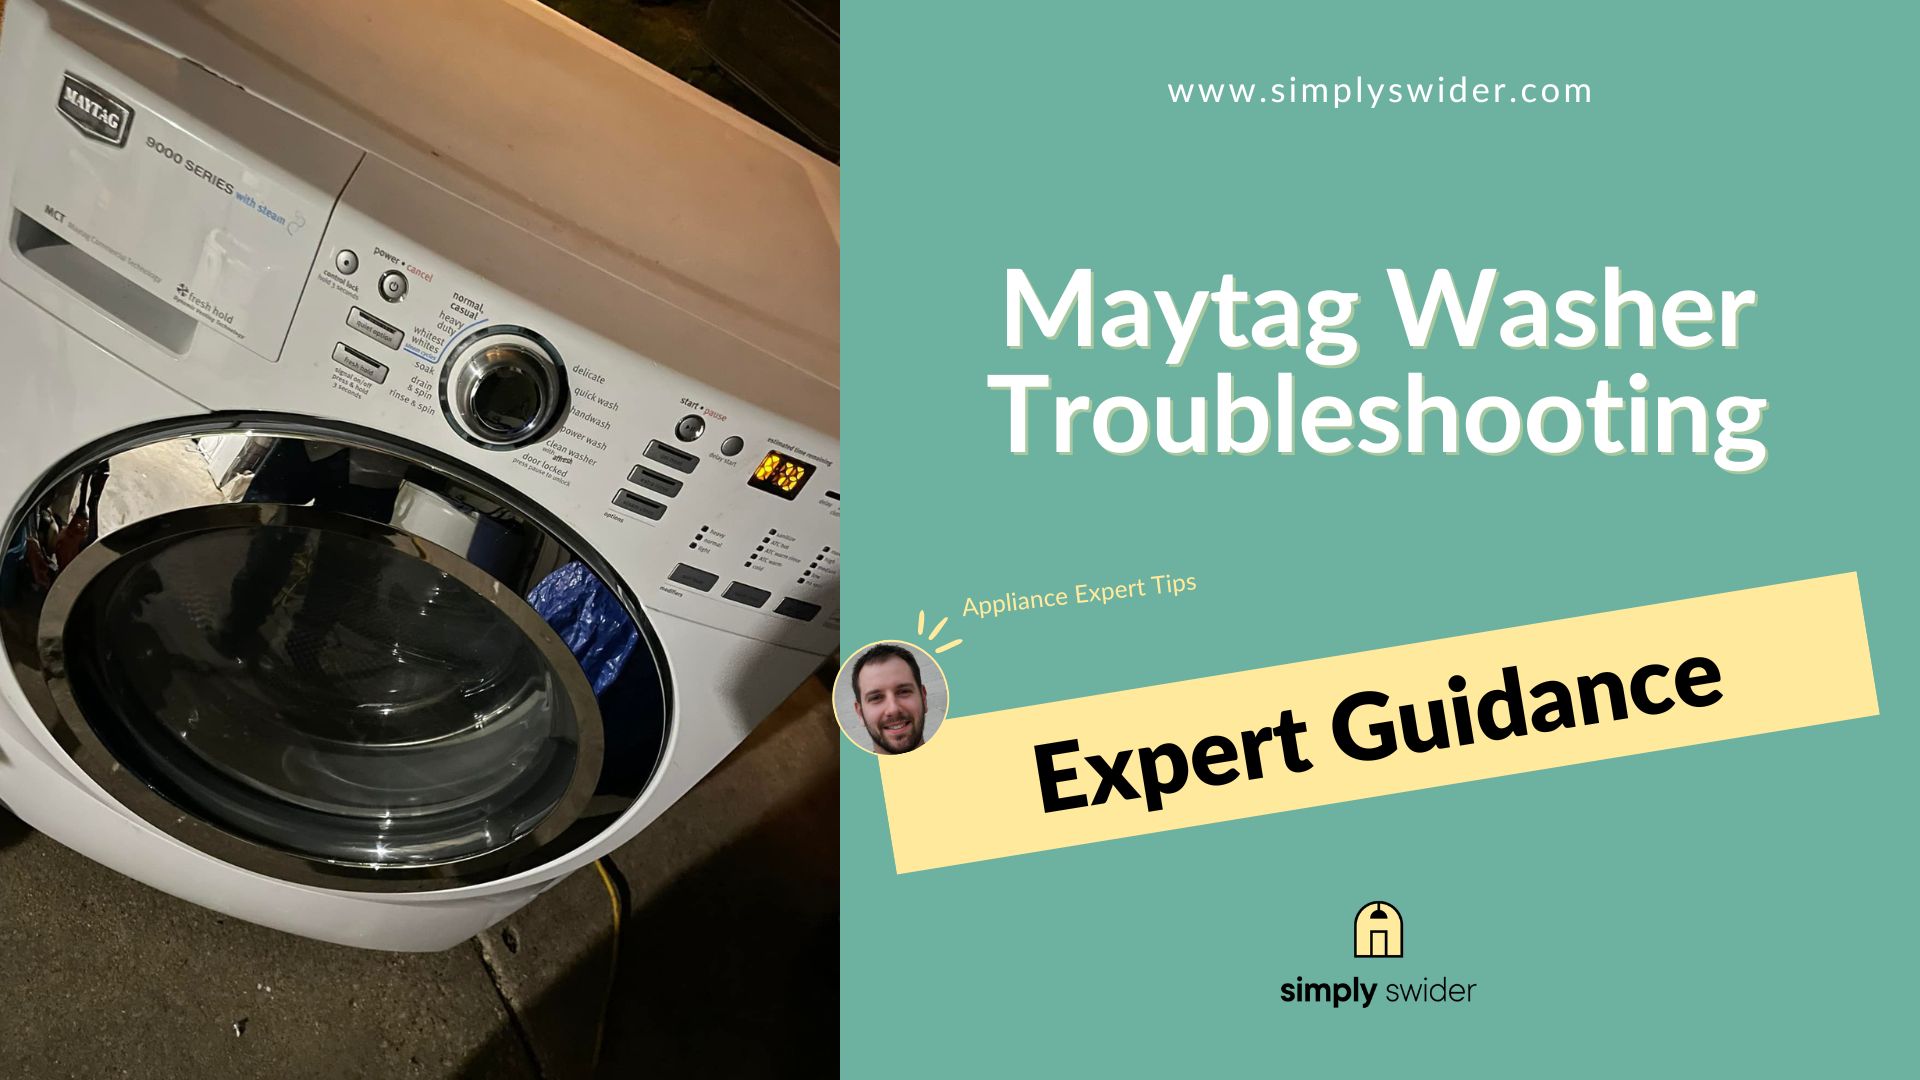
Image source: simplyswider.com — Similar control panel layout found on Maytag steam dryers.
Dryer Won't Start
When the dryer shows no response to button presses or knob adjustments, the problem lies in power delivery or safety interlocks. Start with external checks before moving to internal components.
Check Power Supply
Electric dryers require 240 volts across two hot wires plus 120 volts for controls. Verify the following:
- Plug connection: Ensure the cord is fully seated in a 240V outlet rated for 30 amps.
- Circuit breaker: Check both dryer and home breakers; reset if tripped.
- Outlet voltage: Use a multimeter to confirm 240V between hot terminals and 120V between each hot and neutral.
- Power cord integrity: Inspect for fraying, cuts, or loose connections at the terminal block.
Gas models draw only 120V for ignition and controls. A tripped GFCI outlet can cut power even when the breaker is fine.
Check Door Switch
The door switch prevents operation when the door isn't fully closed. Test procedures:
- Close the door firmly and listen for a distinct click.
- Remove the switch actuator (plastic tab on the door frame) and test continuity with a multimeter.
- With the door closed, the switch should show continuity; open door, no continuity.
- Replace if the switch fails either test.
A broken door seal can also prevent proper switch engagement. Check for gaps, tears, or compression loss around the door perimeter.
Check Thermal Fuse
The thermal fuse is a one-time safety device mounted on the blower housing or heat source. When it blows, it cuts power to prevent fire hazards. Signs of a blown thermal fuse include:
- Complete power loss to the dryer
- Multimeter showing infinite resistance across terminals
- Discoloration or melting around the fuse housing
To test:
- Disconnect power and remove the back panel or lower access panel.
- Locate the thermal fuse (usually a small white or black cylindrical component with two wire leads).
- Remove wires and test with a multimeter set to continuity or ohms.
- A good fuse shows near-zero resistance; replace if open.
Important: Replacing a blown thermal fuse requires identifying and fixing the underlying airflow restriction. Otherwise, the new fuse will blow immediately. Clean the vent system thoroughly before replacing.
For additional guidance on airflow-related shutdowns, explore our breakdown of similar steam dryer issues in the Maytag 5000 Series maintenance guide.
Dryer Drum Not Tumbling
When the motor runs but the drum stays stationary, mechanical power transmission has failed. Most often this involves belt or pulley problems.
Check Belt
The drive belt connects the motor to the drum. A snapped or glazed belt is the most common cause of non-rotating drums.
Signs of belt failure:
- Motor runs but drum doesn't turn
- Loud slapping or thumping noise
- Visible break or severe fraying
To inspect:
- Unplug the dryer and remove the front panel (typically two screws behind the kickplate).
- Visually examine the belt around the drum and motor pulley.
- Press down on the belt midpoint; deflection should be about 1 inch.
- Look for cracks, fraying, or separation of the ribbed surface.
- Rotate the drum by hand; resistance or binding indicates bearing problems.
Replace the belt if any damage is visible. Part numbers vary by model, so cross-reference your serial number with Maytag's official parts database.
Check Drum Rollers
Drum rollers support the drum's weight and allow smooth rotation. Worn rollers cause binding, noise, and eventual motor strain.
Inspection steps:
- Remove the front panel and belt.
- Rotate each roller by hand; it should spin freely without wobble.
- Check for flat spots, cracks, or debris embedded in the tread.
- Measure roller diameter; significant tapering indicates replacement.
Most Maytag 5000 Series models use two front rollers and one or two rear rollers. Replace all rollers if any show wear to maintain balanced loading.
Check Idler Pulley
The idler pulley maintains belt tension. A seized or loose pulley causes slippage and poor drum rotation.
Testing method:
- Remove the belt from the idler pulley.
- Spin the pulley by hand; it should rotate smoothly with minimal play.
- Check for bearing binding, squealing, or axial movement.
- Replace the idler pulley assembly if resistance or noise is detected.
While inspecting the idler, also check the spring that provides tension. A weakened spring allows belt slack, leading to slippage during operation.
Dryer Not Heating
A cold dryer wastes energy and extends drying cycles. Both electric and gas models share some diagnostic steps but differ in heating mechanisms.
Check Power Supply
For electric dryers, verify 240V at the terminal block using a multimeter. Gas models require 120V at the outlet and proper gas pressure. If voltage reads low or absent:
- Reset the circuit breaker
- Check for loose wire nuts at the terminal block
- Test the power cord for internal breaks using the multimeter's continuity function
Check Heating Element
Electric heating elements consist of coiled nickel-chromium wire inside ceramic or mica insulation. Over time, elements can develop internal breaks or ground faults.
Diagnostic process:
- Disconnect power and remove the back panel.
- Locate the heating element (cylindrical assembly near the blower housing).
- Disconnect both wires from the element terminals.
- Test resistance across terminals; a functional element reads 8–16 ohms depending on wattage.
- Test from each terminal to the element housing; infinite resistance confirms no ground fault.
Replace the element if it reads open (infinite resistance) or shows continuity to ground. Elements are model-specific; verify part compatibility before ordering.
Check Gas Supply
Gas dryers use an igniter and flame sensor system. When these components fail, the dryer tumbles without heating.
Key components to check:
- Ignitor: Test for continuity; replace if open
- Flame sensor: Should show continuity when heated; clean with fine steel wool
- Gas valves: Listen for a distinct click when the dryer starts; absence suggests valve failure
- Thermal fuse: Can cut power to gas valve circuits; test as described earlier
Always check for gas odors before servicing. If you smell gas, turn off the supply valve immediately and ventilate the area.
For model-specific diagnostic codes related to heat failure, see our coverage of common steam dryer heating problems.
Dryer Taking Too Long To Dry Clothes
Extended drying times usually indicate airflow restriction rather than heating failure. Even properly heated dryers cannot evaporate moisture efficiently with blocked vents.
Check Venting System
The vent system carries moist air from the drum to the outside. Restrictions here directly impact drying performance.
Critical inspection points:
- Lint screen housing: Clean lint buildup from the screen channel every load
- Flexible vent hose: Replace plastic or vinyl hoses with rigid or semi-rigid aluminum ducting
- Wall vent cap: Ensure the exterior flap opens freely and isn't blocked by debris
- Duct length: Keep total equivalent length under 25 feet; each 90-degree elbow adds 5 feet of resistance
Use a vacuum with a long hose attachment to remove accumulated lint from the entire vent path. In practice, monthly lint screen cleaning prevents most vent-related slowdowns.
Clean Lint Filter
A clogged lint filter reduces airflow by up to 50%. Clean after every load using these steps:
- Remove the filter and tap off loose debris.
- Wash with warm water and mild detergent if oily residue builds up.
- Rinse thoroughly and air dry completely before reinstalling.
- Wipe the filter housing with a damp cloth to remove accumulated lint.
Never operate the dryer with a damp or partially installed filter.
Check Moisture Sensor
Moisture sensors monitor fabric dampness and signal the control board when cycles should end. Contamination from fabric softener or dryer sheets causes false readings.
Sensor location varies by model:
- Reflective sensors mounted on the drum or blower housing
- Conductive strip sensors near the lint screen channel
- Some models combine humidity and temperature sensing
Cleaning procedure:
- Locate the sensor (usually visible once the lint screen is removed).
- Clean with a soft cloth dampened with rubbing alcohol.
- Remove any buildup without abrading the sensor surface.
- For conductive sensors, clean both contacts and check for corrosion.
If cleaning doesn't restore normal operation, test continuity with a multimeter. Replace sensors that show open circuits or inconsistent readings.
Steam Function Not Working
Steam cycles require precise water delivery and temperature control. When steam features fail, check water quality and valve operation first.
Check Water Supply
Steam generators need a dedicated cold water line with adequate pressure. Verify the following:
- Water valve position: Ensure the supply valve is fully open.
- Water pressure: Minimum 20 PSI required for proper steam production.
- Filter screen: Clean debris from the inlet filter screen inside the water valve connection.
- Supply line integrity: Inspect for kinks, crimps, or leaks in the flexible tubing.
Low water pressure causes weak steam output or extended cycle times. Install a water pressure gauge to confirm adequate supply.
Check Steam Valve
The steam valve controls water flow to the steam generator. Electric solenoids can seize or leak over time.
Testing method:
- Disconnect power and water supply.
- Remove the steam valve assembly (consult your model's service manual for exact location).
- Test solenoid coils for continuity; replace if open.
- Check valve seat for mineral buildup or corrosion.
- Reassemble and test operation after reinstallation.
Hard water deposits are the leading cause of steam valve failure. Install a water softener in areas with high mineral content to prevent premature component wear.
Check Steam Nozzle
Steam nozzles direct heated water vapor into the drum for wrinkle release. Clogged nozzles produce weak or uneven steam distribution.
Maintenance steps:
- Locate the steam nozzle(s) — typically visible inside the drum or along the back panel.
- Remove any visible debris or mineral deposits with a soft brush.
- Run a cleaning cycle using distilled white vinegar instead of regular dryer loads.
- Flush the steam line by running multiple steam cycles with clean water.
Mineral buildup requires periodic descaling. Use only manufacturer-approved descaling solutions; harsh chemicals can damage rubber seals and plastic components.
Dryer Making Unusual Noise
Abnormal sounds indicate mechanical wear or foreign object interference. Identifying noise patterns helps pinpoint the source.
Check Drum Bearing
Drum bearings support the drum's rotation at the rear of the appliance. Worn bearings produce low-pitched rumbling or grinding sounds that increase with drum speed.
Symptoms of bearing failure:
- Deep rumbling noise during operation
- Excessive drum play when lifted from the sides
- Visible scoring or pitting on the bearing housing
Replacement requires removing the drum, which involves disassembling most of the dryer. Due to complexity, consider professional service unless you have significant appliance repair experience.
Check Blower Wheel
The blower wheel circulates hot air through the drum and exhaust system. Damage causes thumping, rattling, or airflow reduction.
Inspection checklist:
- Foreign objects: Coins, buttons, or small items trapped between the wheel and housing
- Cracked or broken blades: Cause imbalance and vibration
- Loose mounting screw: Creates wobble and noise
- Debris buildup: Reduces airflow and efficiency
Accessing the blower requires removing the lower or rear panel. Clean accumulated lint and replace damaged wheels following manufacturer specifications.
Check Motor
Motor noises range from high-pitched whining to loud humming. Different sounds indicate specific issues:
| Noise Type | Likely Cause |
|---|---|
| High-pitched whine | Bearing wear or capacitor failure |
| Grinding or scraping | Debris in motor housing or worn bearings |
| Loud humming | Seized bearings or failed start capacitor |
| Clicking or tapping | Loose mounting bolts or internal component contact |
Motor replacement involves electrical connections and proper alignment. If the motor overheats frequently, check for voltage issues or mechanical binding before replacing.
For troubleshooting other appliance noise complaints, reference our guide on diagnosing common dryer sounds.
Dryer Shuts Off Too Soon
Premature shutdown typically involves overheating protection or sensor malfunctions. Address airflow restrictions before replacing electronic components.
Check Moisture Sensor
Faulty moisture sensors send incorrect dryness readings to the control board, causing early cycle termination.
Verification steps:
- Remove the sensor and clean thoroughly with alcohol.
- Test resistance between sensor contacts; clean sensors show high but consistent readings.
- Compare readings across multiple points on the sensor strip.
- Replace sensors showing erratic or inconsistent values.
Fabric softener residue is the primary cause of sensor contamination. Switch to wool dryer balls and avoid liquid fabric softeners when using steam cycles.
Check High Limit Thermostat
High limit thermostats prevent overheating by cutting power when temperatures exceed safe limits. These sensors can fail closed (cutting power unnecessarily) or stuck open (allowing dangerous temperature rise).
Testing procedure:
- Locate the high limit thermostat (mounted near the heating element or burner assembly).
- Disconnect wires and test with a multimeter for continuity.
- A functional thermostat shows continuity at room temperature.
- Some thermostats include a manual reset button; press firmly to reset.
Replace thermostats that remain open after cooling. Never bypass thermal protection devices — doing so creates serious fire hazards.
Check Control Board
Modern dryers use microprocessor-controlled boards that manage timing, heating, and steam functions. Board failures cause unpredictable behavior including random shutdowns.
Diagnostic indicators:
- Multiple unrelated symptoms occurring simultaneously
- Error codes that don't match individual component failures
- Intermittent operation with no apparent pattern
- Visible damage such as burned components or cracked solder joints
Control board replacement requires programming specific to your model variant. Professional calibration ensures proper communication with sensors and actuators.
Dryer Displaying Error Code
Error codes provide specific diagnostic information about system faults. Always consult the owner's manual for code definitions, as interpretations vary by manufacturer and model year.
Refer To User Manual For Error Code
The user manual remains the most reliable source for understanding displayed error codes. Each code corresponds to a specific sensor reading or system condition.
Digital displays typically show alphanumeric combinations like:
- F1: Control board malfunction
- F2: Temperature sensor failure
- F3: Moisture sensor communication error
- F4: Gas valve lockout
- F5: Drum speed detection fault
Print-based manuals are preferable to online versions since screen resolution can obscure small text. Many manufacturers offer free PDF downloads when you register your appliance serial number.
Check Corresponding Component Or System
Once you've identified the relevant code, focus testing on the associated component system. Use a multimeter to verify voltage, resistance, and continuity according to factory specifications.
For example:
- F1 (Control Board): Check input voltage at the main power connector and verify communication with peripheral boards
- F2 (Temperature Sensor): Measure resistance at the sensor terminals; values should match temperature charts provided in service literature
- F3 (Moisture Sensor): Clean contacts and test conductivity under simulated load conditions
Document measurements before and after repairs to track progress and confirm successful fixes.
Reset Dryer
System resets clear temporary faults and restore factory default settings. Performing a reset should always be the final troubleshooting step.
Reset procedure:
- Unplug the dryer or turn off the circuit breaker for at least 5 minutes.
- Press and hold the "Start" or "Power" button for 30 seconds to discharge capacitors.
- Restore power and observe whether the error clears.
- If the code returns immediately, the underlying component requires replacement.
Some models include a dedicated reset button on the control panel. Consult your manual for model-specific reset sequences.
Frequently Asked Questions
How do I reset error codes on my Maytag 5000 Series steam dryer?
Unplug the dryer for 5 minutes or turn off the circuit breaker, then press and hold the Start button for 30 seconds to discharge capacitors. Restore power and check if the code clears. If it returns, the corresponding component needs replacement or repair.
Why does my steam cycle take so long?
Restricted water flow is the most common cause. Verify the water supply valve is fully open, check household water pressure (minimum 20 PSI), and clean the inlet filter screen. Low pressure or clogged filters prevent adequate steam generation.
Can I operate the dryer without the moisture sensor connected?
While possible temporarily, running without a moisture sensor defaults to timed drying only. The automatic dryness detection feature won't function, potentially leading to over-drying and increased energy consumption. Replace the sensor promptly for full functionality.
What maintenance prevents most Maytag steam dryer problems?
Clean the lint filter after every load, clean the vent system monthly, wipe moisture sensors with alcohol quarterly, and run descaling cycles with white vinegar every 3–6 months depending on water hardness. Regular maintenance extends component life significantly.
My dryer heats but clothes stay damp. What should I check first?
Start with airflow — check the lint filter, exhaust vent hose, and wall vent for blockages. Even properly heated dryers cannot remove moisture with restricted airflow. Next, verify the moisture sensor is clean and functioning correctly.
Conclusion
Troubleshooting your Maytag 5000 Series dryer with steam systematically saves time and money compared to trial-and-error part replacement. Most issues stem from three preventable causes: lint accumulation restricting airflow, worn mechanical components requiring periodic replacement, and mineral buildup affecting steam generation.
Regular maintenance — cleaning the lint filter after every load, servicing the vent system monthly, and performing quarterly sensor cleaning — prevents approximately 80% of common failures. When problems do occur, start with the simplest and least expensive checks first: power connections, door closure, and visible blockages.
Always disconnect power before opening panels or testing components. If electrical testing, gas connections, or motor replacement exceeds your comfort level, contact a certified appliance technician. Proper diagnosis and targeted repairs keep your Maytag steam dryer operating efficiently for years to come.
For more troubleshooting guides covering various dryer models and error conditions, browse our complete library of dryer repair resources.