
Learning how to clean a sump pump correctly prevents basement flooding and extends equipment life. Neglecting this maintenance allows silt and debris to clog the impeller or jam the float switch when you need it most.
Manufacturer specifications indicate most residential pumps require cleaning every three to four months during wet seasons. The National Electrical Code mandates GFCI protection for all sump receptacles to prevent shock hazards in damp environments. Before grabbing tools, you must secure the electrical supply to avoid serious injury.
Critical Safety Steps Before You Touch the Pump
Electricity and standing water create lethal conditions that demand respect before any maintenance begins. Never assume unplugging the cord is sufficient because moisture can bridge connections through damp concrete or pooled water.
Lock Out Power Completely
Disconnect power at the circuit breaker panel rather than just unplugging the unit. Verify the outlet is dead using a non-contact voltage tester before reaching into the pit. This double-check prevents accidental activation if someone else restores power while you work.
Assess Confined Space Risks
Sump pits can accumulate radon gas or displace oxygen in sealed basements. Ensure adequate ventilation by opening windows or running exhaust fans before leaning over the basin. If you feel dizzy or notice unusual odors, leave immediately and consult professionals about basement air quality concerns.
Wear Proper Protective Gear
Rubber gloves protect against sharp debris and biological contaminants lurking in stagnant water. Safety glasses prevent sediment splash-back when scrubbing the volute housing. Sturdy boots with non-slip soles provide traction on wet concrete surfaces around the pit opening.
How to Clean a Sump Pump: The Safe Step-by-Step Process
A systematic approach ensures thorough cleaning without damaging sensitive components or compromising reassembly. Rushing through steps often leaves hidden blockages that cause failures during the next heavy rain event.
Extract and Inspect the Unit
Lift the pump carefully from the pit after disconnecting the discharge pipe coupling. Check the intake screen for wrapped roots, plastic bags, or accumulated gravel that restricts flow. Clear visible debris by hand before proceeding to deeper cleaning stages.
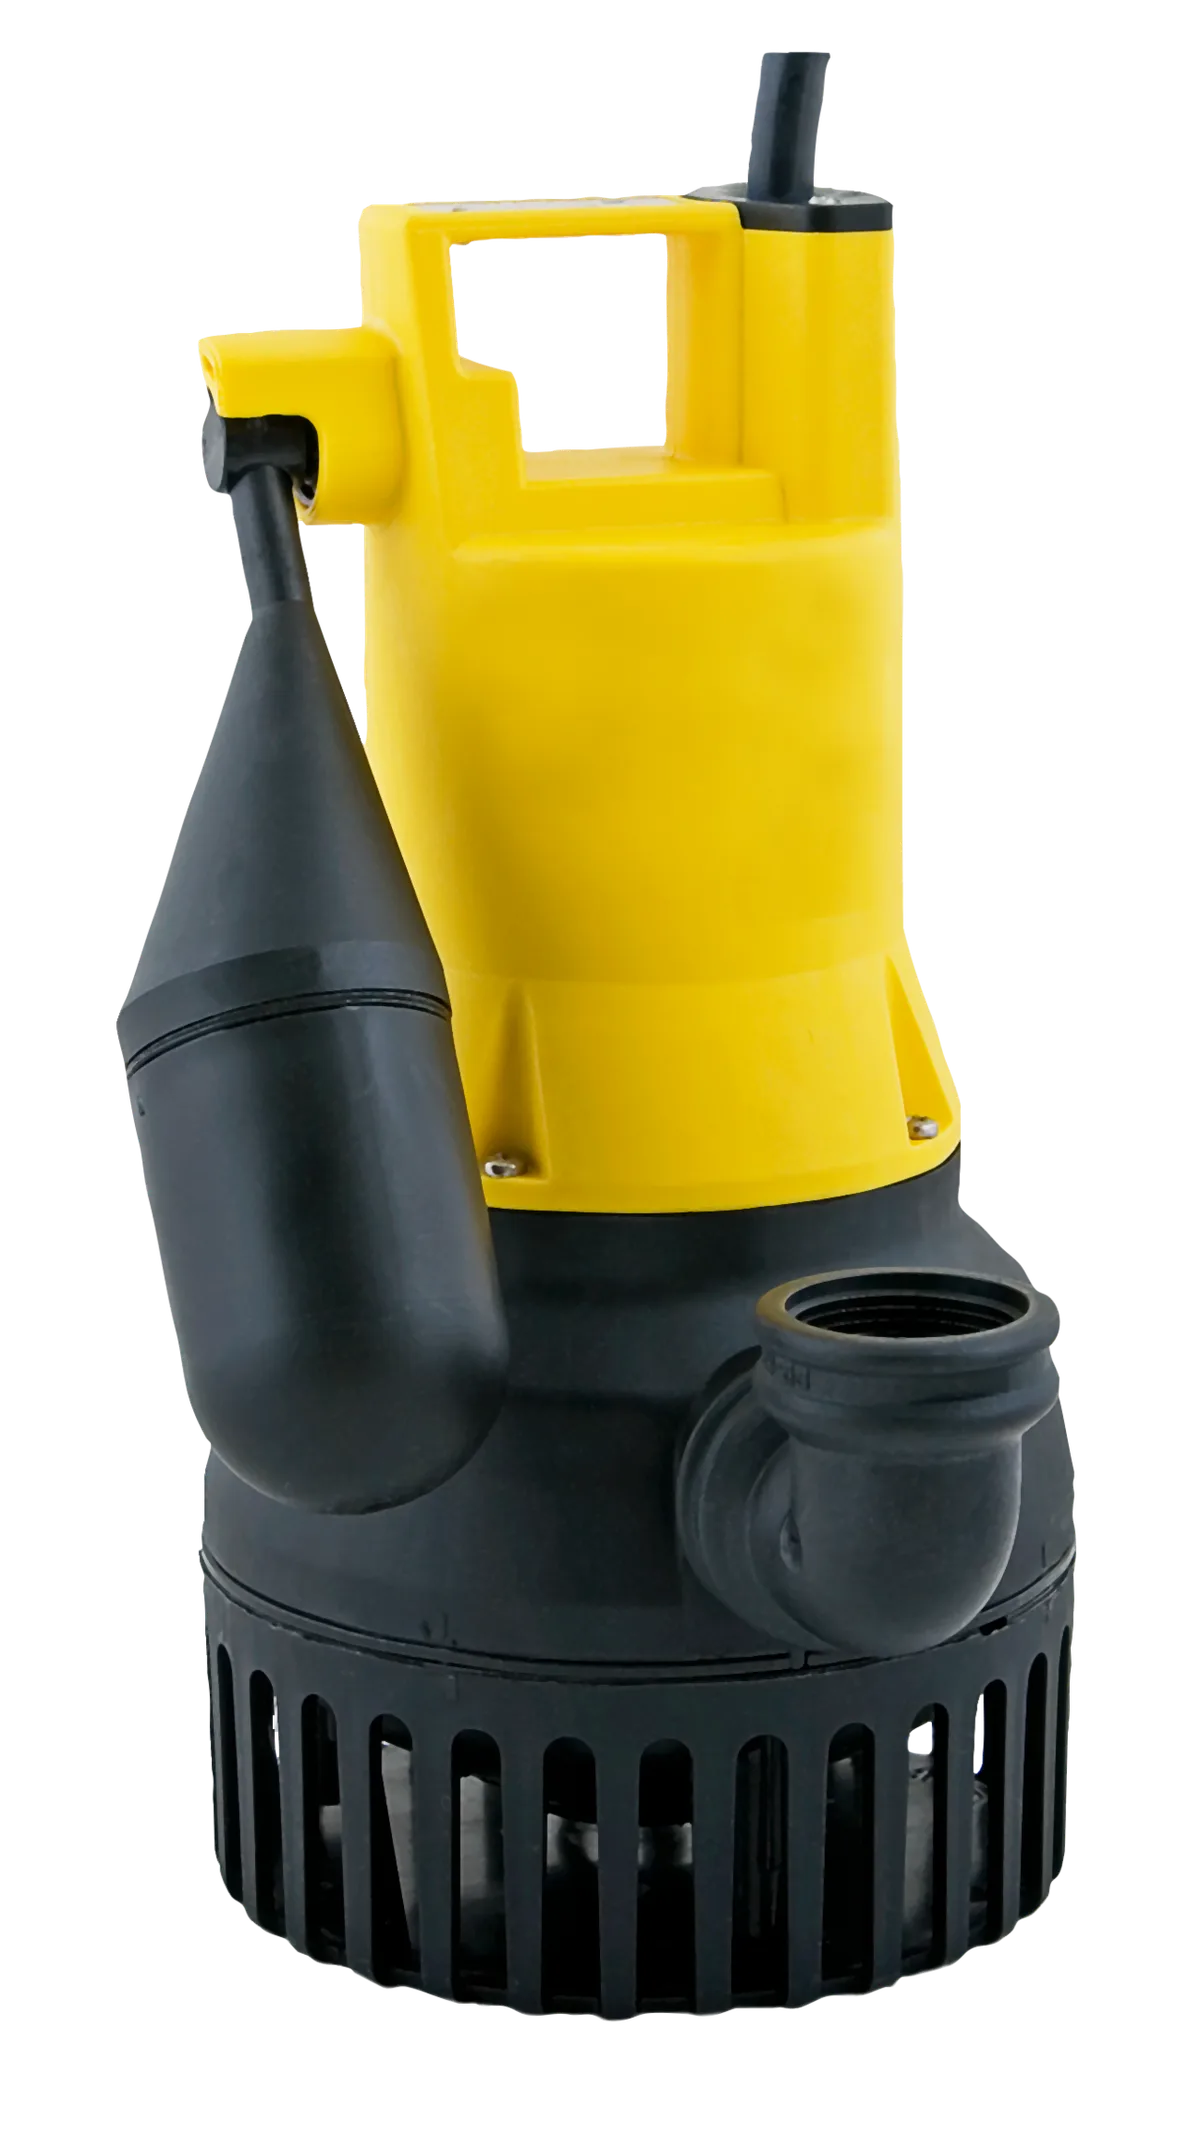
Image source: Wikimedia Commons / PumpExpert (CC BY-SA)
Flush and Scrub the Pit
Use a wet/dry vacuum to remove remaining sediment and sludge from the basin floor. Rinse walls with fresh water to eliminate biofilm buildup that causes foul odors. This step restores full reservoir capacity so the pump cycles efficiently instead of short-cycling.
Clean Internal Components
Soak the impeller housing in a 50/50 vinegar solution to dissolve mineral scale. Use a plastic scraper gently to avoid scratching thermoplastic surfaces or damaging seals. Rinse thoroughly with clean water before reinstallation to prevent corrosion or motor strain.
| Component | Cleaning Method | Warning |
|---|---|---|
| Intake Screen | Hand removal + rinse | Do not bend mesh |
| Impeller | Vinegar soak + soft brush | Avoid metal tools |
| Float Switch | Wipe with damp cloth | Test movement freely |
| Check Valve | Inspect flapper seal | Replace if cracked |
Reassemble and Test Functionality
Reconnect discharge piping securely to prevent leaks under pressure. Restore power and pour water into the pit to trigger an automatic test cycle. Listen for smooth operation and verify the float activates at the correct level without hesitation.
Proper reassembly mirrors the care needed when troubleshooting appliance error codes where sequence matters. Skipping verification steps risks discovering problems only during actual emergencies.
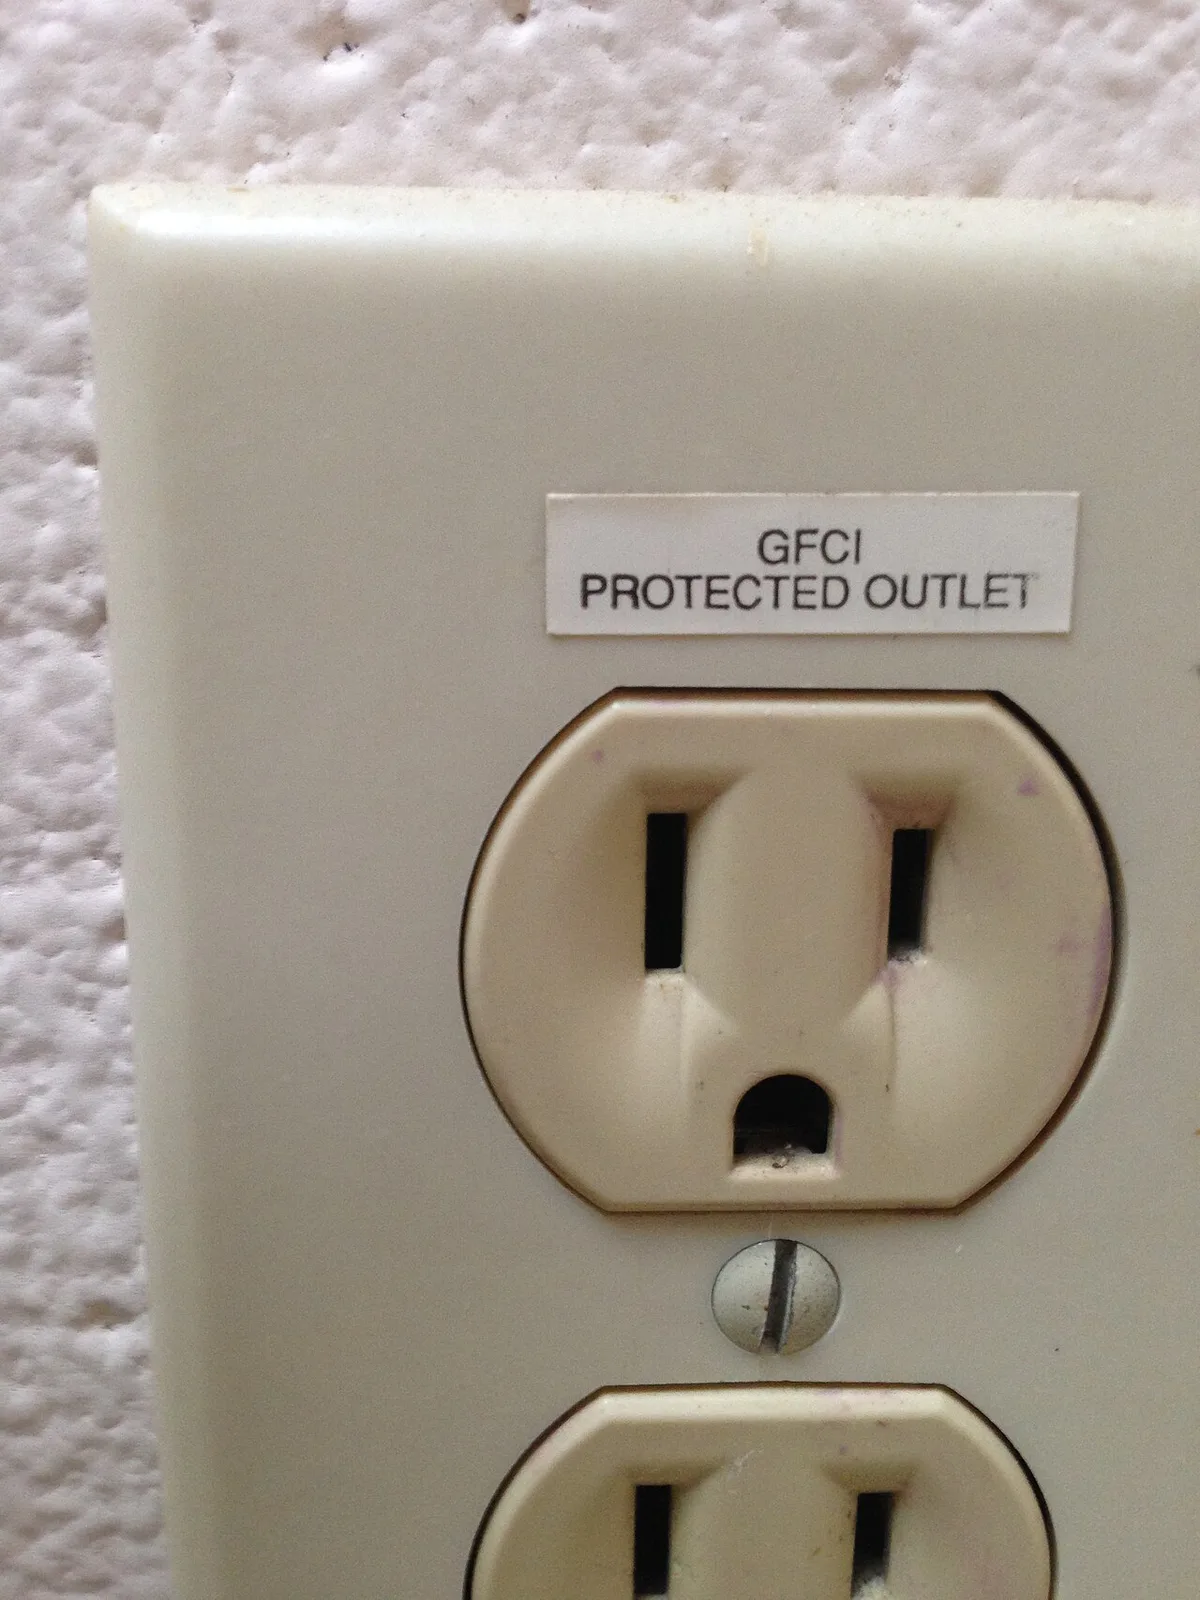
Image source: Wikimedia Commons / dankeck
Red Flags That Mean Stop Cleaning and Call a Pro
Some issues exceed safe DIY scope and signal impending system failure requiring specialized intervention. Continuing maintenance despite these warnings can void warranties or create hazardous conditions in your home.
Electrical Damage or Corrosion
Frayed cords, cracked housings, or corroded terminals indicate compromised insulation that creates shock risks. Water intrusion into sealed motor compartments typically means internal damage beyond surface cleaning. Licensed electricians should evaluate any wiring concerns per NEC safety standards before further use.
Persistent Mechanical Failures
If the pump hums but doesn't move water after cleaning, the impeller may be stripped or shaft broken. Repeated float switch sticking despite clearing obstructions suggests worn internal contacts needing replacement. These mechanical faults require professional diagnosis similar to resolving complex dryer diagnostic codes that defy simple fixes.
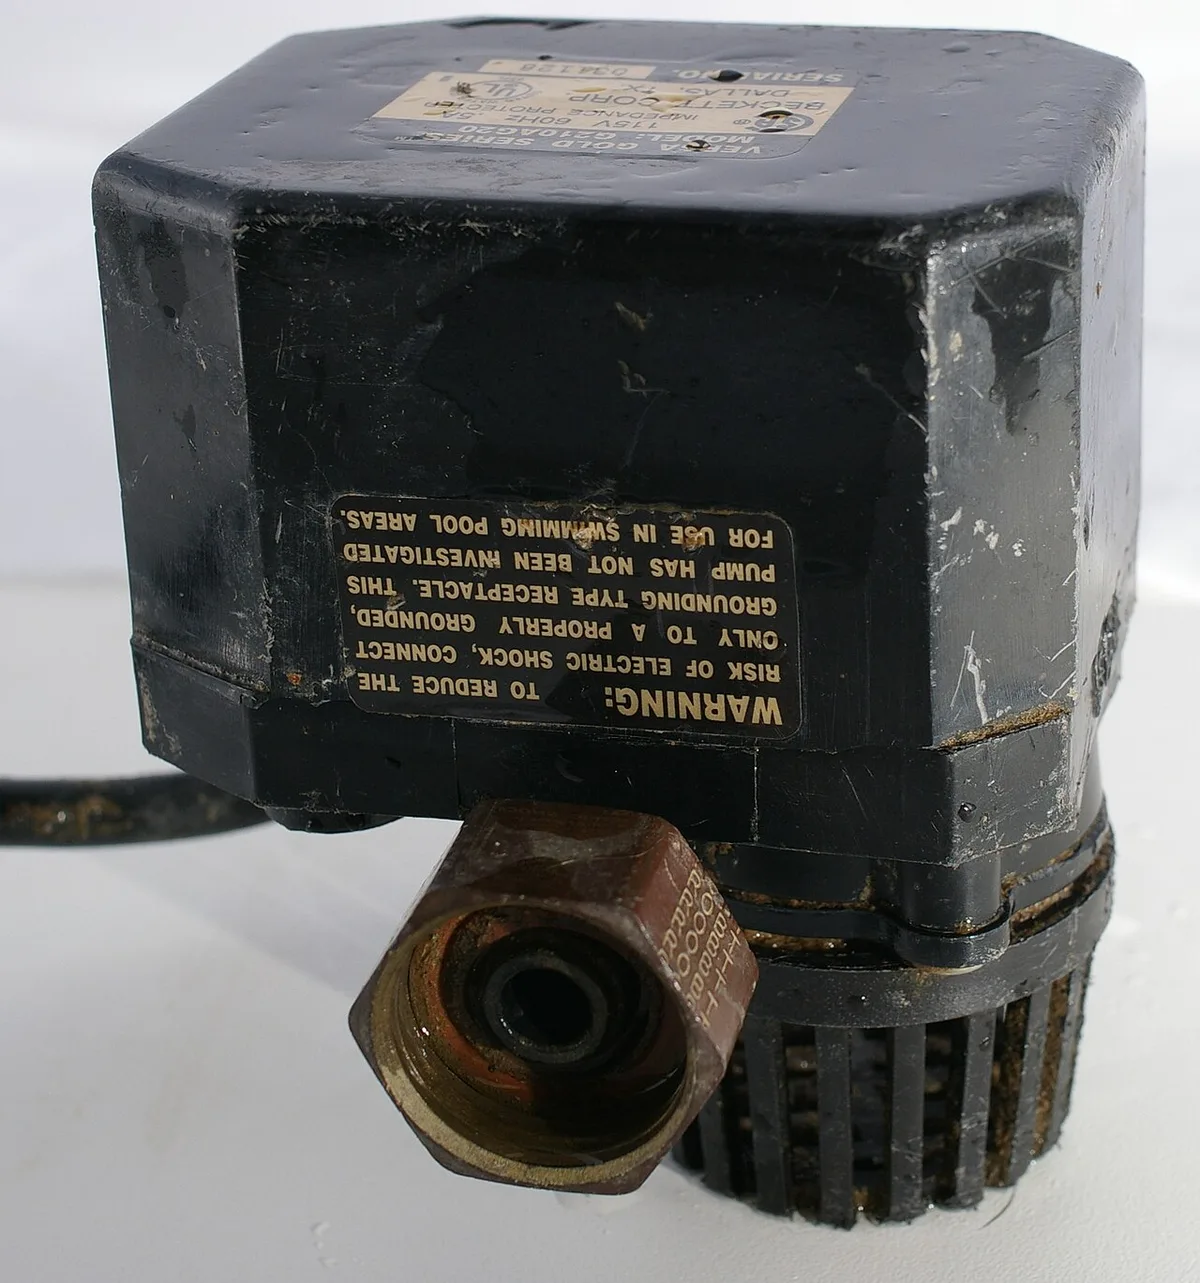
Image source: Wikimedia Commons / Hustvedt (CC BY-SA)
Structural or Plumbing Issues
Cracked pit liners, collapsing basin walls, or frozen discharge lines involve infrastructure repairs beyond pump maintenance. Backflow through check valves despite proper installation points to upstream plumbing problems. Addressing these requires licensed plumbers who understand local building codes and permitting requirements.
Recognizing limits protects both your safety and equipment investment. Just as some appliance troubleshooting demands factory-trained technicians, sump systems have failure modes requiring expert assessment. Pushing past red flags often turns minor repairs into catastrophic replacements costing thousands.
Frequently Asked Questions
How often should I clean my sump pump?
Most manufacturers recommend cleaning every three to four months during active wet seasons. Annual deep cleaning suffices for homes with minimal groundwater intrusion or pedestal pumps. Heavy sediment loads or frequent cycling may require monthly inspections to prevent clogs.
Can I use bleach to clean the sump pit?
Avoid bleach because it degrades rubber seals, gaskets, and plastic components over time. White vinegar effectively dissolves mineral deposits and kills bacteria without damaging materials. Mild detergent works for general grime while preserving manufacturer warranty coverage.
Why does my sump pump smell bad after cleaning?
Foul odors typically indicate trapped organic matter in the weep hole or discharge line rather than the pit itself. Bacterial growth in stagnant backflow creates hydrogen sulfide smells even after thorough basin cleaning. Flushing the entire discharge path with enzyme cleaners usually resolves persistent odor issues.
Is it normal for the pit to have water after cleaning?
Residual water below the float activation point is expected and actually beneficial for priming. Completely dry pits can cause seal deterioration and increase startup friction during next activation. Maintain water level just below the switch trigger point for optimal readiness.
Should I replace or clean an old pump?
Pumps exceeding seven years with visible wear, corrosion, or repeated failures warrant replacement over continued maintenance. Newer units responding well to cleaning justify ongoing upkeep costs. Compare repair expenses against current replacement pricing including labor to make informed decisions.