
Knowing how to test a sump pump before rainy season prevents catastrophic basement flooding during heavy storms. Most pump failures happen silently, so verifying operation now avoids expensive emergency repairs later.
The National Electrical Code requires GFCI protection for sump pumps as of 2026 to prevent shock hazards in wet pits. Always verify this safety feature works before touching any internal components or starting your diagnostic workflow.
Safety First: Electrical Precautions Before Touching the Pump
Electricity and standing water create lethal conditions that demand respect before any testing begins. Never reach into a sump pit without first confirming power is disconnected at the breaker panel. Moisture conducts current through concrete floors, making even minor electrical faults potentially fatal during inspection.
Why GFCI Protection Matters
Ground Fault Circuit Interrupter outlets cut power within milliseconds if they detect current leakage. This critical safety device protects you from electrocution while working near water. Test the GFCI monthly by pressing the reset button to ensure it still functions properly.
If your pump lacks GFCI protection, stop immediately and hire an electrician. Older homes often have standard outlets in basements that violate current NEC Article 210.8 standards. Upgrading this single component costs far less than treating an electrical injury or replacing a fried motor.
Lockout Procedures for Safe Inspection
Unplug the pump completely before removing the lid or inspecting wiring connections. Use a non-contact voltage tester to confirm zero current flows to the unit. Tag the breaker panel to prevent someone else from accidentally restoring power while your hands are inside the basin.
Wear rubber-soled shoes and insulated gloves when handling electrical components near damp surfaces. Keep one hand behind your back to prevent current from crossing through your chest if contact occurs. These simple habits form the foundation of safe basement maintenance work.
The 3-Step Sump Pump Test Workflow (And What Each Result Means)
Testing follows a specific sequence where each result determines your next action. Start with a visual inspection, proceed to manual activation, then finish with a full water cycle test. Skipping steps risks missing intermittent failures that only appear under load.
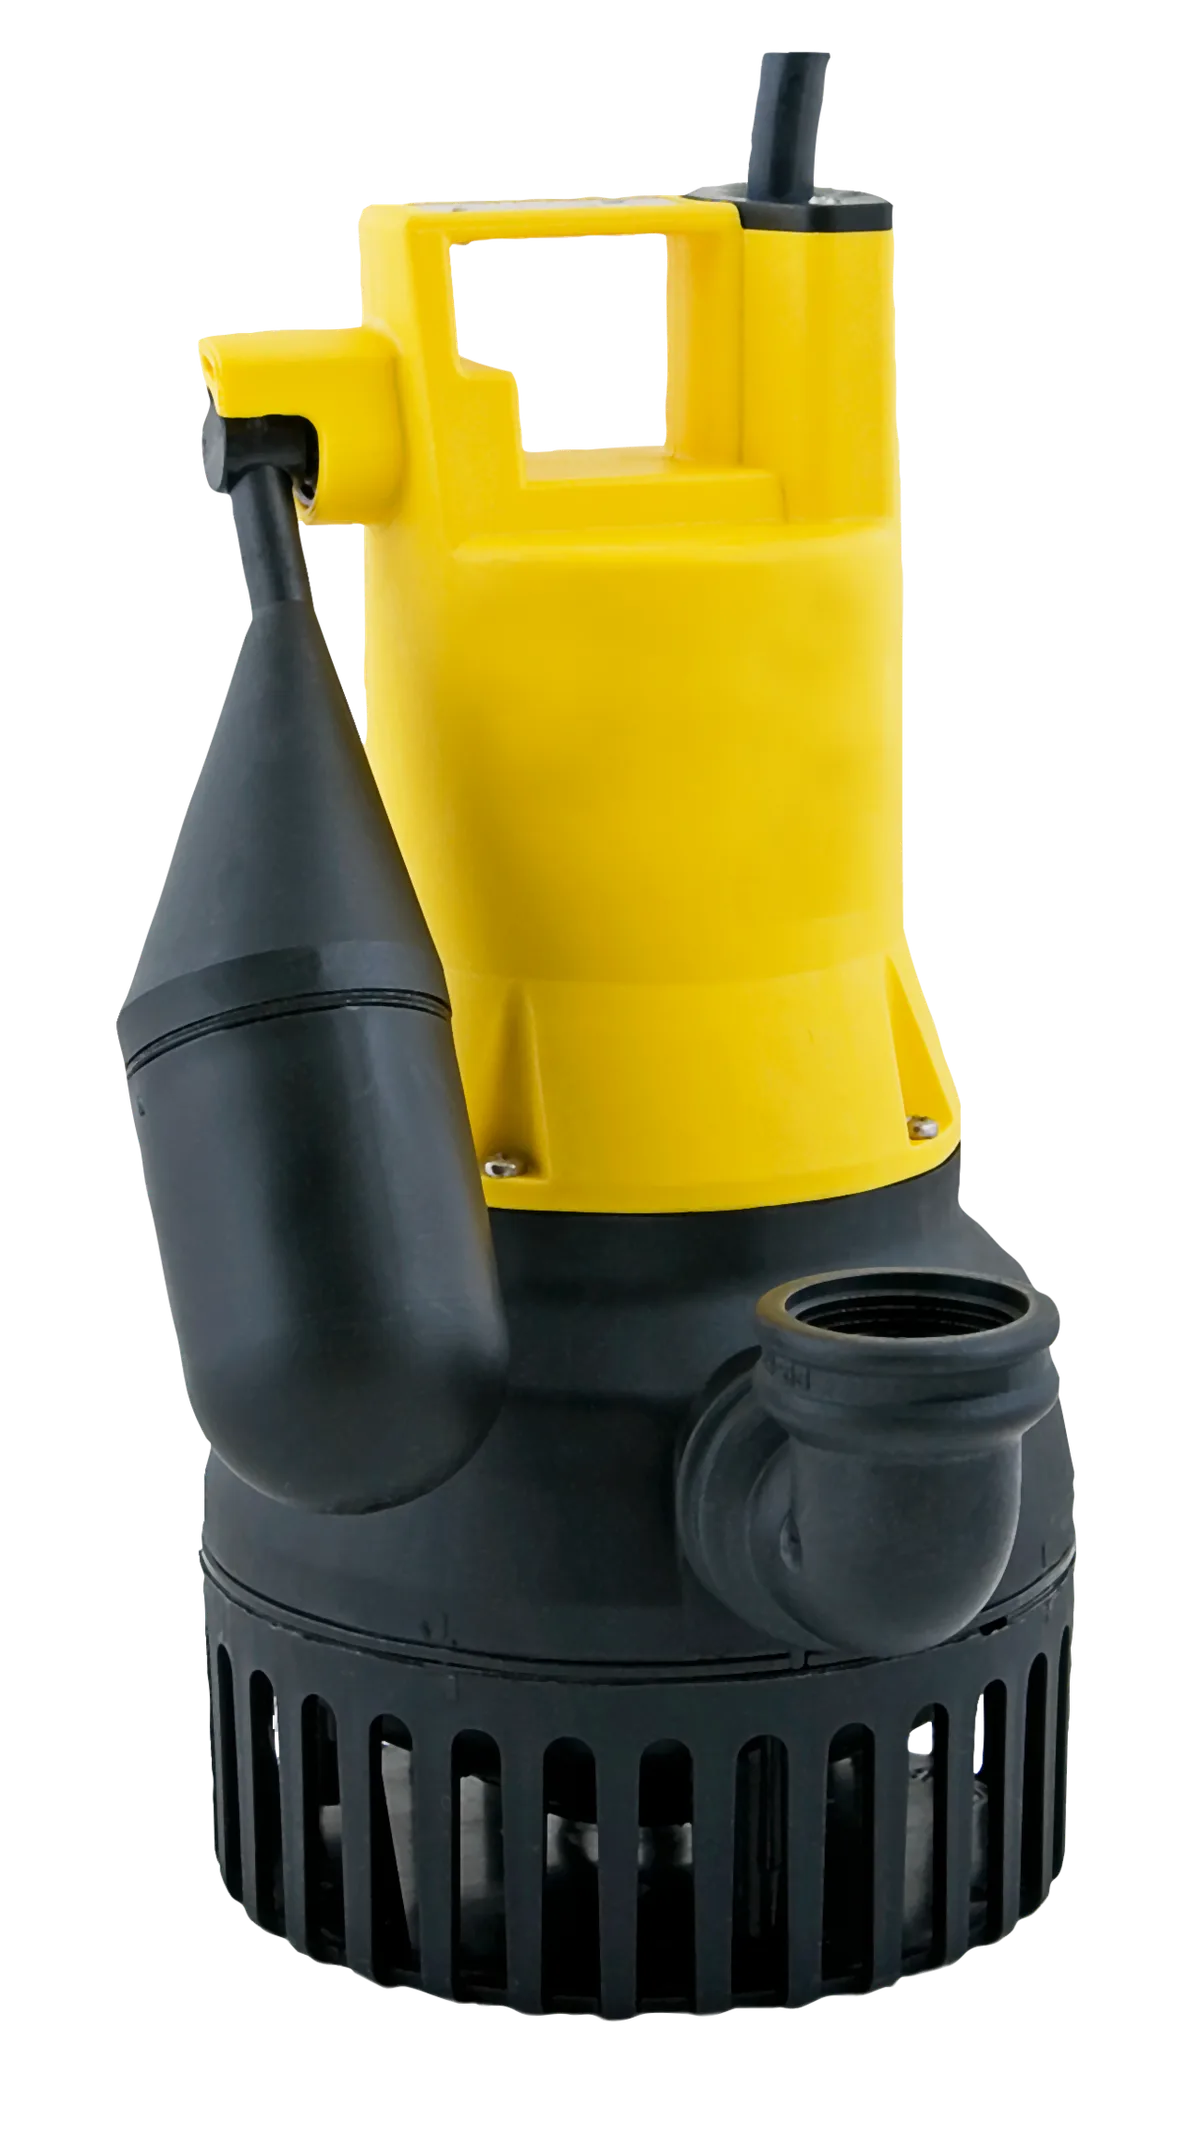
Image source: Wikimedia Commons / PumpExpert (CC BY-SA)
Step 1: Visual Inspection and Debris Removal
Remove the pit cover and check for sediment buildup around the intake screen. Clear away gravel, roots, or construction debris that could jam the impeller during operation. Inspect the discharge pipe for cracks, loose fittings, or signs of previous leaks.
Verify the float switch moves freely without obstruction from pipes or walls. Tethered floats need adequate clearance to rise vertically without catching on obstructions. Vertical rod switches should slide smoothly without corrosion or mineral deposits binding the mechanism.
Step 2: Manual Float Switch Activation
Lift the float arm slowly by hand to simulate rising water levels. Listen for the motor to engage immediately once the switch reaches its trigger point. If nothing happens, the problem lies in the switch itself, the wiring, or the motor capacitor.
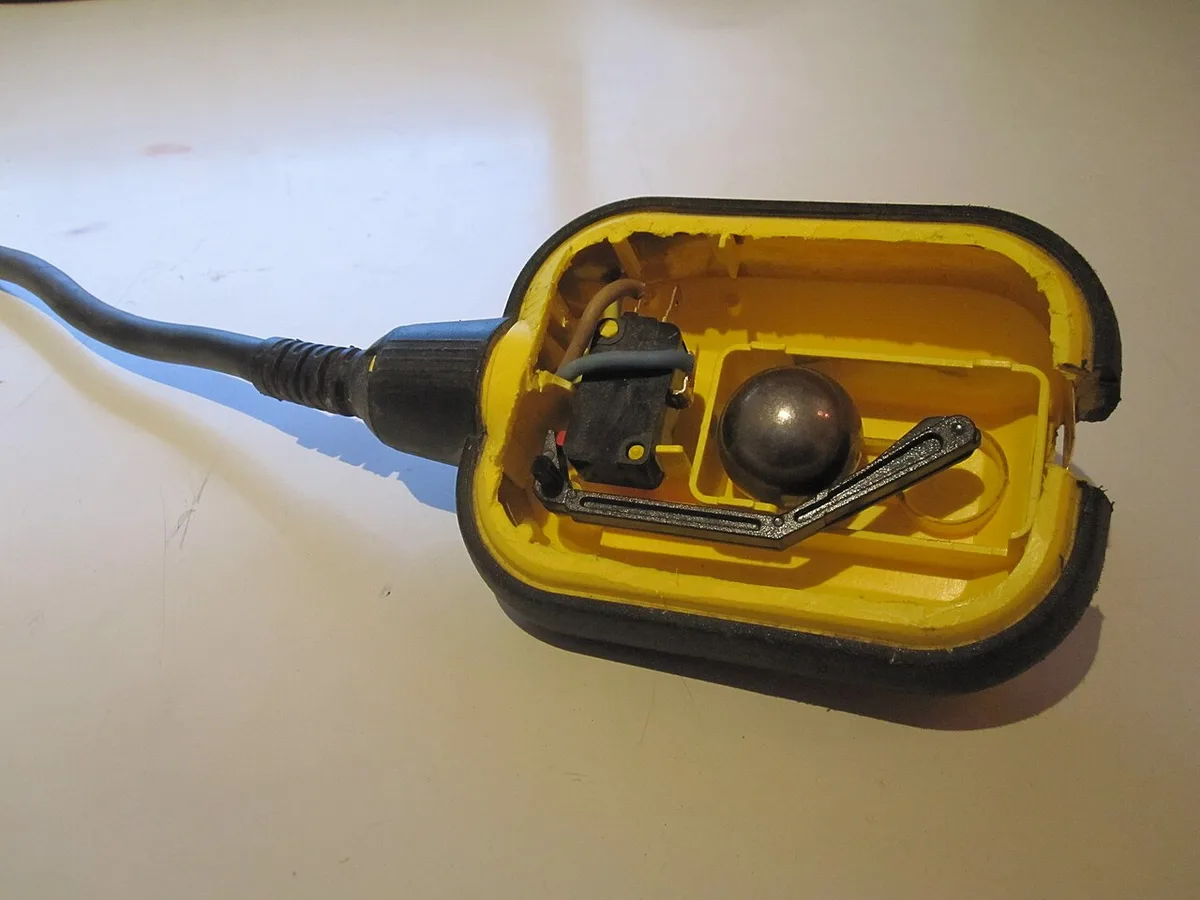
Image source: Wikimedia Commons / Martin Meise (CC BY)
A humming sound without pumping indicates a seized impeller or failed start capacitor. This diagnostic signal means the motor receives power but cannot turn. Continuing to hold the switch in this position will burn out the windings permanently.
Step 3: Full Water Cycle Verification
Pour five gallons of water directly into the pit to trigger automatic operation. Time how long the pump runs until the water level drops below the shutoff point. Normal cycles last between ten and thirty seconds depending on basin size and pump horsepower.
Watch the discharge line outside to confirm water actually exits the property. A running pump with no external flow suggests a clogged pipe, stuck check valve, or broken impeller. Document the cycle duration and any unusual noises for future reference.
| Test Result | Likely Cause | Next Action |
|---|---|---|
| No response | Dead switch or power loss | Check GFCI and multimeter |
| Humming only | Seized impeller or bad capacitor | Replace capacitor or pump |
| Runs continuously | Stuck switch or high water table | Clean switch or adjust level |
| Short cycling | Faulty check valve or air lock | Inspect valve and weep hole |
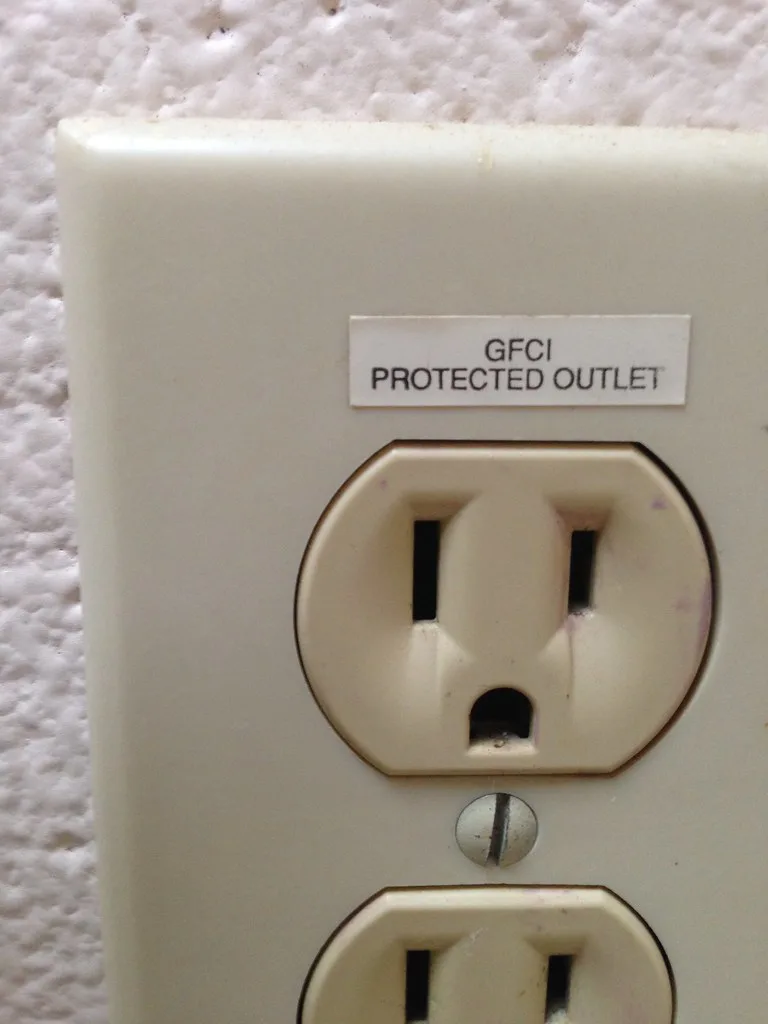
Image source: Openverse / dankeck
Troubleshooting Decision Guide: When to Repair, Replace, or Call a Pro
Test results dictate whether you can fix the issue yourself or need professional help. Simple electrical faults often resolve with basic parts replacement. Mechanical failures or complex wiring problems usually justify hiring a licensed plumber or electrician.
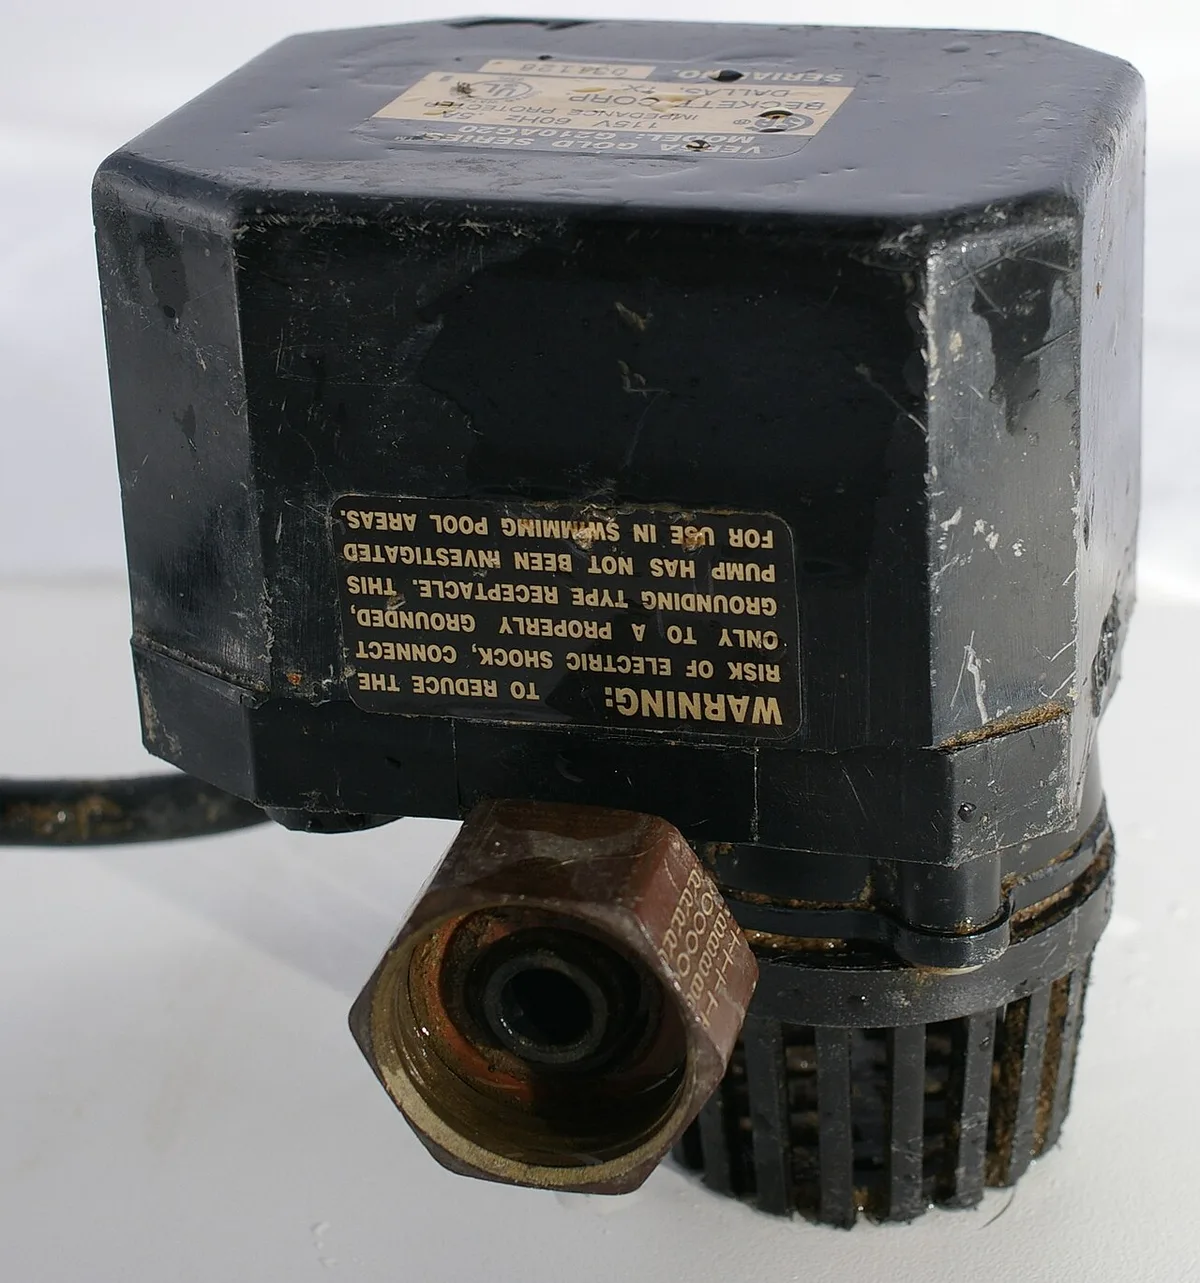
Image source: Wikimedia Commons / Hustvedt (CC BY-SA)
Repair Scenarios You Can Handle
Replacing a vertical float switch costs under thirty dollars and takes twenty minutes. Cleaning a clogged intake screen or freeing a stuck check valve requires only basic hand tools. Resetting a tripped GFCI or replacing a blown fuse restores power without specialist intervention.
Check the manufacturer warranty before attempting any repairs on newer units. Opening the motor housing typically voids coverage on sealed submersible models. Our research shows most warranties exclude damage from improper reassembly or unauthorized modifications.
When Replacement Makes More Sense
Pumps older than seven years rarely justify repair investments due to wear throughout the assembly. Burnt motors, cracked housings, or corroded shafts indicate end-of-life failure. Installing a new unit with modern thermal overload protection provides better reliability than patching obsolete equipment.
Consider upgrading to a smart monitoring system during replacement for peace of mind. Wi-Fi enabled controllers send alerts to your phone if the pump activates unexpectedly or fails to run. This technology catches problems before they become floods, especially useful for vacation properties.
Calling a Professional Is Necessary When
Electrical issues involving the main panel or dedicated circuits require licensed electricians. Excavating frozen discharge lines buried below frost depth demands specialized thawing equipment. Diagnosing intermittent failures that resist standard troubleshooting benefits from professional diagnostic tools and experience.
Hire a plumber if water continues entering the pit faster than the pump can remove it. This indicates drainage system failure rather than pump malfunction. Addressing the root cause through proper perimeter drainage prevents premature pump wear and reduces flood risk significantly.
Frequently Asked Questions About Pre-Rainy Season Testing
How often should I test my sump pump?
Test quarterly at minimum, with mandatory checks before spring thaw and fall storm seasons. Monthly testing provides better protection in high water table areas or regions with frequent heavy rainfall. Regular verification catches degradation early before complete failure occurs during critical weather events.
Can I test without pouring water into the pit?
Manual float activation verifies electrical function but does not confirm pumping capacity or check valve operation. Only actual water testing reveals flow restrictions, air locks, or impeller wear. Skip the water test only if the pit is inaccessible or currently dry during summer months.
What if the pump runs but no water comes out?
Check the discharge line for freezing, blockages, or disconnected joints first. A stuck check valve prevents forward flow while allowing backflow into the basin. Inspect the weep hole above the pump to ensure it is not clogged with sediment causing air lock.
Should I unplug the pump between tests?
Leave the pump plugged in year-round to maintain readiness for unexpected water intrusion. Unplugging defeats the purpose of automatic protection during sudden storms or plumbing failures. Modern pumps consume negligible standby power and include safeguards against dry running damage.
Does homeowners insurance cover sump pump failure?
Standard policies typically exclude mechanical breakdown unless you purchased equipment failure endorsement. Flood damage from pump failure may require separate flood insurance coverage. Document all maintenance and testing records to support claims if disputes arise about negligence or proper upkeep.