
Knowing how to test a newly installed sump pump is the only way to guarantee your basement stays dry during the next storm. You need to verify the float switch activates correctly and water discharges fully outside before relying on the system.
Manufacturer specifications indicate most residential pumps require at least two inches of water above the intake screen for proper cooling during testing. Per National Electrical Code standards, you must also confirm GFCI protection is functional before adding water to the pit. Let’s walk through the verification process safely.
How to Test a Newly Installed Sump Pump
To test a newly installed sump pump, slowly pour five gallons of water into the basin until the float rises. Watch for immediate motor activation and listen for smooth operation without grinding noises. Verify water exits the discharge pipe outside with strong pressure.
Confirm the check valve closes properly after the pump shuts off to prevent backflow.
Step-by-Step Workflow: How to Test a Newly Installed Sump Pump
Testing requires a systematic approach to catch installation errors early. Skipping steps can leave hidden problems that only surface during heavy rain. Follow this sequence to validate every component works as intended.
Inspect Before Adding Water
Check the basin for construction debris or drywall dust that could clog the intake. Ensure the float arm moves freely without touching basin walls or pipes. Verify electrical connections are secure and the outlet has ground fault protection.
This visual check prevents damage before the motor ever runs.
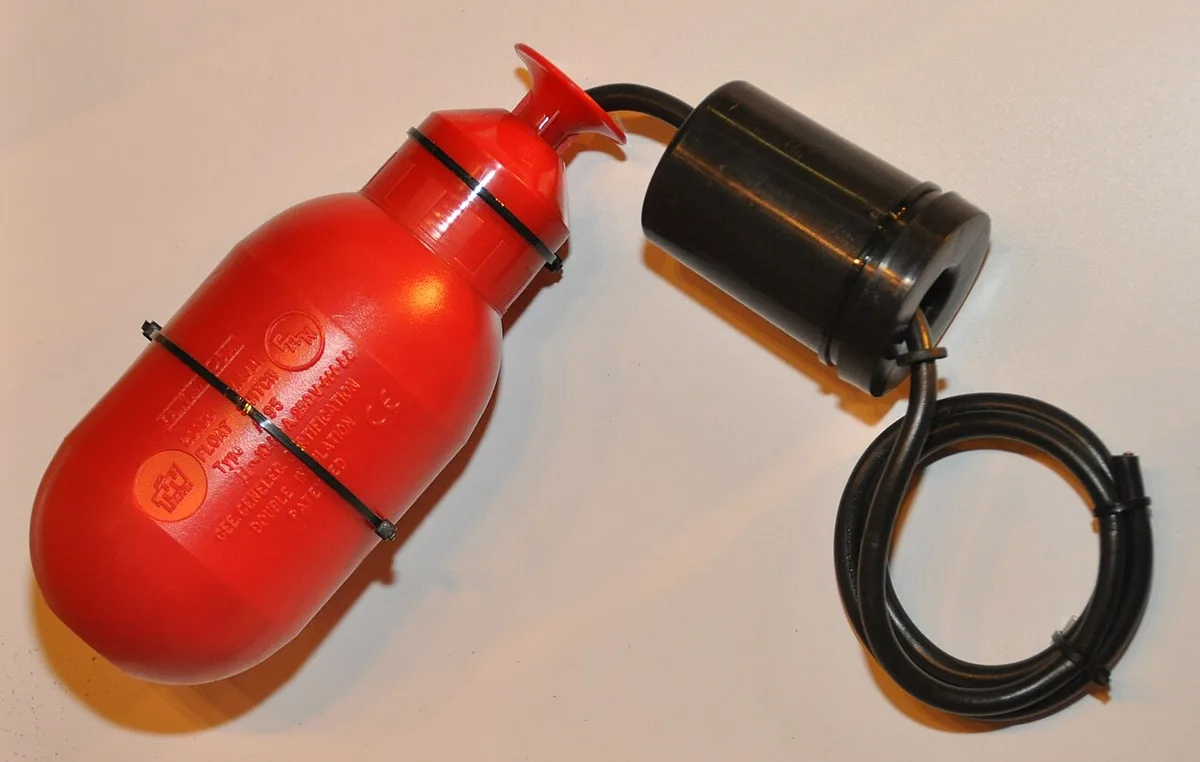
Image source: Wikimedia Commons / S.J. de Waard (CC BY)
Perform the Water Pour Test
Pour water gradually rather than dumping it all at once. Stop when the water level triggers the float switch automatically. Note how many seconds pass between water contact and motor startup.
Activation should happen within thirty seconds per aggregate user reviews.
Validate Discharge Flow Outside
Go outside to watch the discharge point while the pump runs. Water should flow steadily without pulsing or sputtering. Weak flow suggests an undersized pipe or partial blockage in the line.
Strong consistent flow confirms proper sizing and clear pathways.
Check Valve Function Verification
Listen carefully when the pump shuts off after emptying the pit. A distinct thud indicates the check valve closed correctly against backflow. Silence or gurgling means water is draining back into the basin.
This failure causes unnecessary wear from repeated cycling.
Common Mistakes That Make New Sump Pumps Fail
Installation errors often hide until conditions stress the system. Catching these issues during initial testing saves expensive repairs later. Here are the most frequent problems we see in new setups.
Float Switch Obstruction
Debris or tight spaces can trap the float in one position. If stuck down, the pump never activates during flooding. If stuck up, it runs continuously and burns out the motor.
Always verify full range of motion before finishing installation.
Missing or Faulty Check Valve
Without a working check valve, discharged water flows backward into the pit. The pump then restarts immediately to move the same water again. This short cycling drastically reduces equipment lifespan.
Replace any valve that doesn’t seal completely after shutdown.
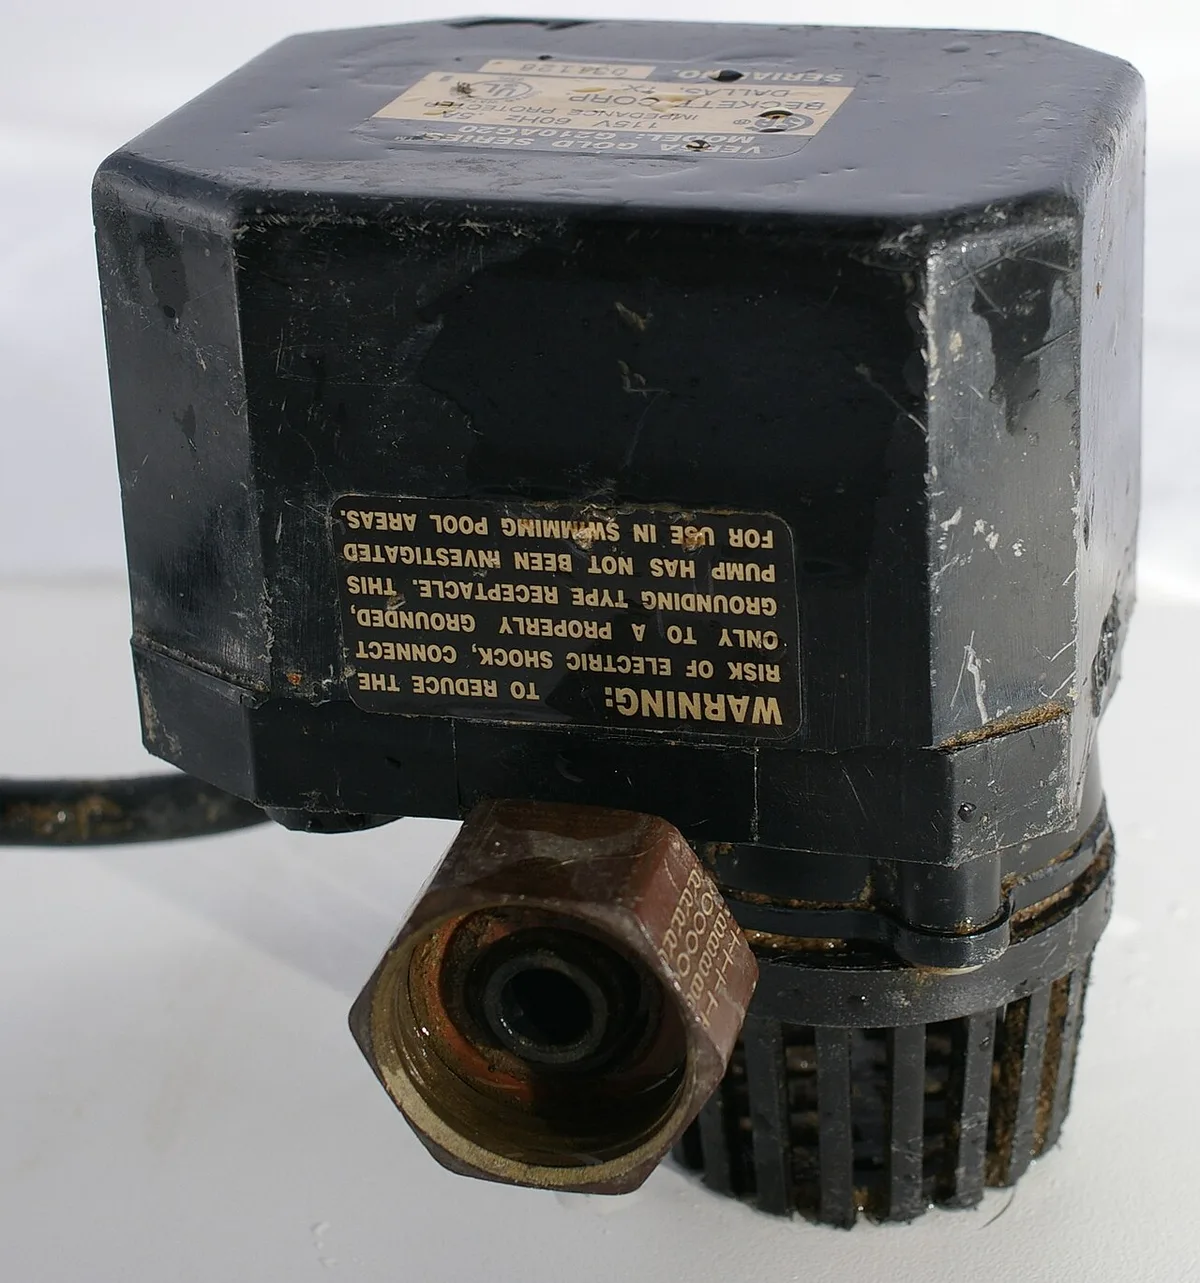
Image source: Wikimedia Commons / Hustvedt (CC BY-SA)
Undersized Discharge Piping
Using smaller diameter pipe than specified restricts flow capacity. The pump works harder against friction loss and overheats faster. Manufacturer specs typically call for 1.5-inch or 2-inch PVC for residential units.
Never reduce pipe size to fit existing connections.
Improper Electrical Setup
Plugging into a shared circuit risks tripping breakers during peak demand. Sump pumps need dedicated circuits to handle startup surges reliably. Ground fault protection is mandatory near water sources per safety codes.
Skipping this creates serious shock hazards during maintenance.
Costs, Specs, and What Data Actually Matters
Understanding performance benchmarks helps you judge if your installation meets expectations. These numbers provide objective criteria beyond just "it seems fine." Use them as reference points during your initial test and future checks.
| Specification | Typical Residential Range | Why It Matters |
|---|---|---|
| Horsepower Rating | 1/3 HP to 1/2 HP | Determines lifting capacity and flow rate |
| Gallons Per Hour | 2,000 to 5,000 GPH | Must exceed expected water inflow volume |
| Vertical Lift Height | 10 to 25 feet | Higher lifts reduce effective flow capacity |
| Activation Time | Under 30 seconds | Delayed response risks overflow during surge |
| Testing Frequency | Monthly in wet season | Catches failures before storms hit |
Horsepower alone doesn’t predict real-world performance. Vertical lift height significantly impacts actual gallons moved per hour. A 1/2 HP pump lifting water twenty feet may outperform a weaker unit at ten feet.
Always match specs to your specific basement depth and discharge distance.
Replacement costs vary widely based on accessibility and complexity. Simple swaps run lower while deep pits or tight spaces increase labor time. Budget models may save upfront but lack durability features like cast iron housings.
Investing in quality now avoids emergency service calls during floods.
Frequently Asked Questions
How often should I test my sump pump?
Test monthly during wet seasons and quarterly otherwise. Regular checks catch mechanical wear before catastrophic failure occurs. Pour enough water to trigger automatic activation each time.
Document results to track performance trends over years.
What if the pump runs but no water comes out?
Check for frozen discharge lines or blocked exterior outlets first. Air locks in the pipe can also prevent priming on new installs. Verify the impeller isn’t jammed by debris inside the housing.
Call a professional if basic troubleshooting fails.
Can I test without pouring water manually?
Some modern units include self-test features that simulate activation electronically. However, manual water tests remain the gold standard for verifying actual flow. Electronic checks confirm circuitry but not hydraulic performance.
Combine both methods for complete validation.
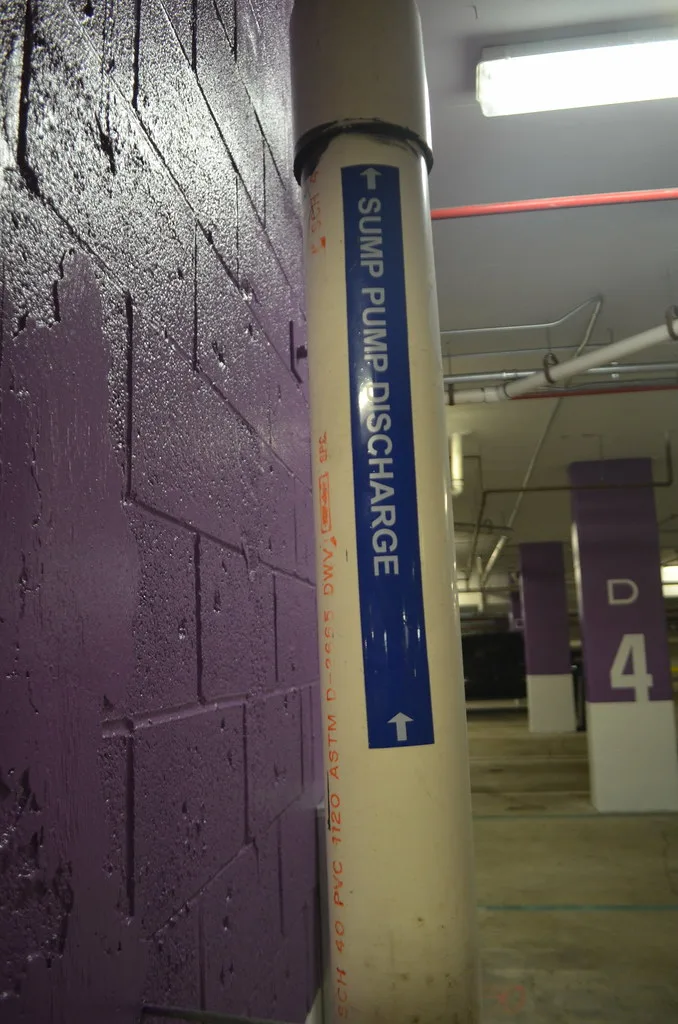
Image source: Openverse / miamibrickell
Why does my new pump cycle too frequently?
Short cycling usually indicates check valve failure or improper float positioning. Water returning to the pit triggers immediate restarts. Adjusting float height or replacing the valve typically resolves this.
Persistent issues suggest incorrect pump sizing for your water table.