
Knowing how to inspect a sump pump correctly prevents basement flooding before heavy rain arrives. Most failures happen because homeowners skip functional testing until it is too late.
Manufacturer specifications indicate most residential pumps last seven to ten years with proper maintenance. The National Electrical Code requires GFCI protection for all sump pump outlets as of 2026. Let’s get your system checked safely.
how to inspect a sump pump
Inspecting a sump pump requires four specific steps. First verify electrical safety and power supply. Next clean debris from the pit basin.
Then test float switch activation manually. Finally confirm water discharges properly outside.
Safety First and Pre-Inspection Setup
Electrical Hazards and GFCI Checks
Always unplug the pump before touching any components inside the pit. Water and electricity create lethal shock risks that demand respect. Verify the outlet has working ground fault protection before reconnecting power.
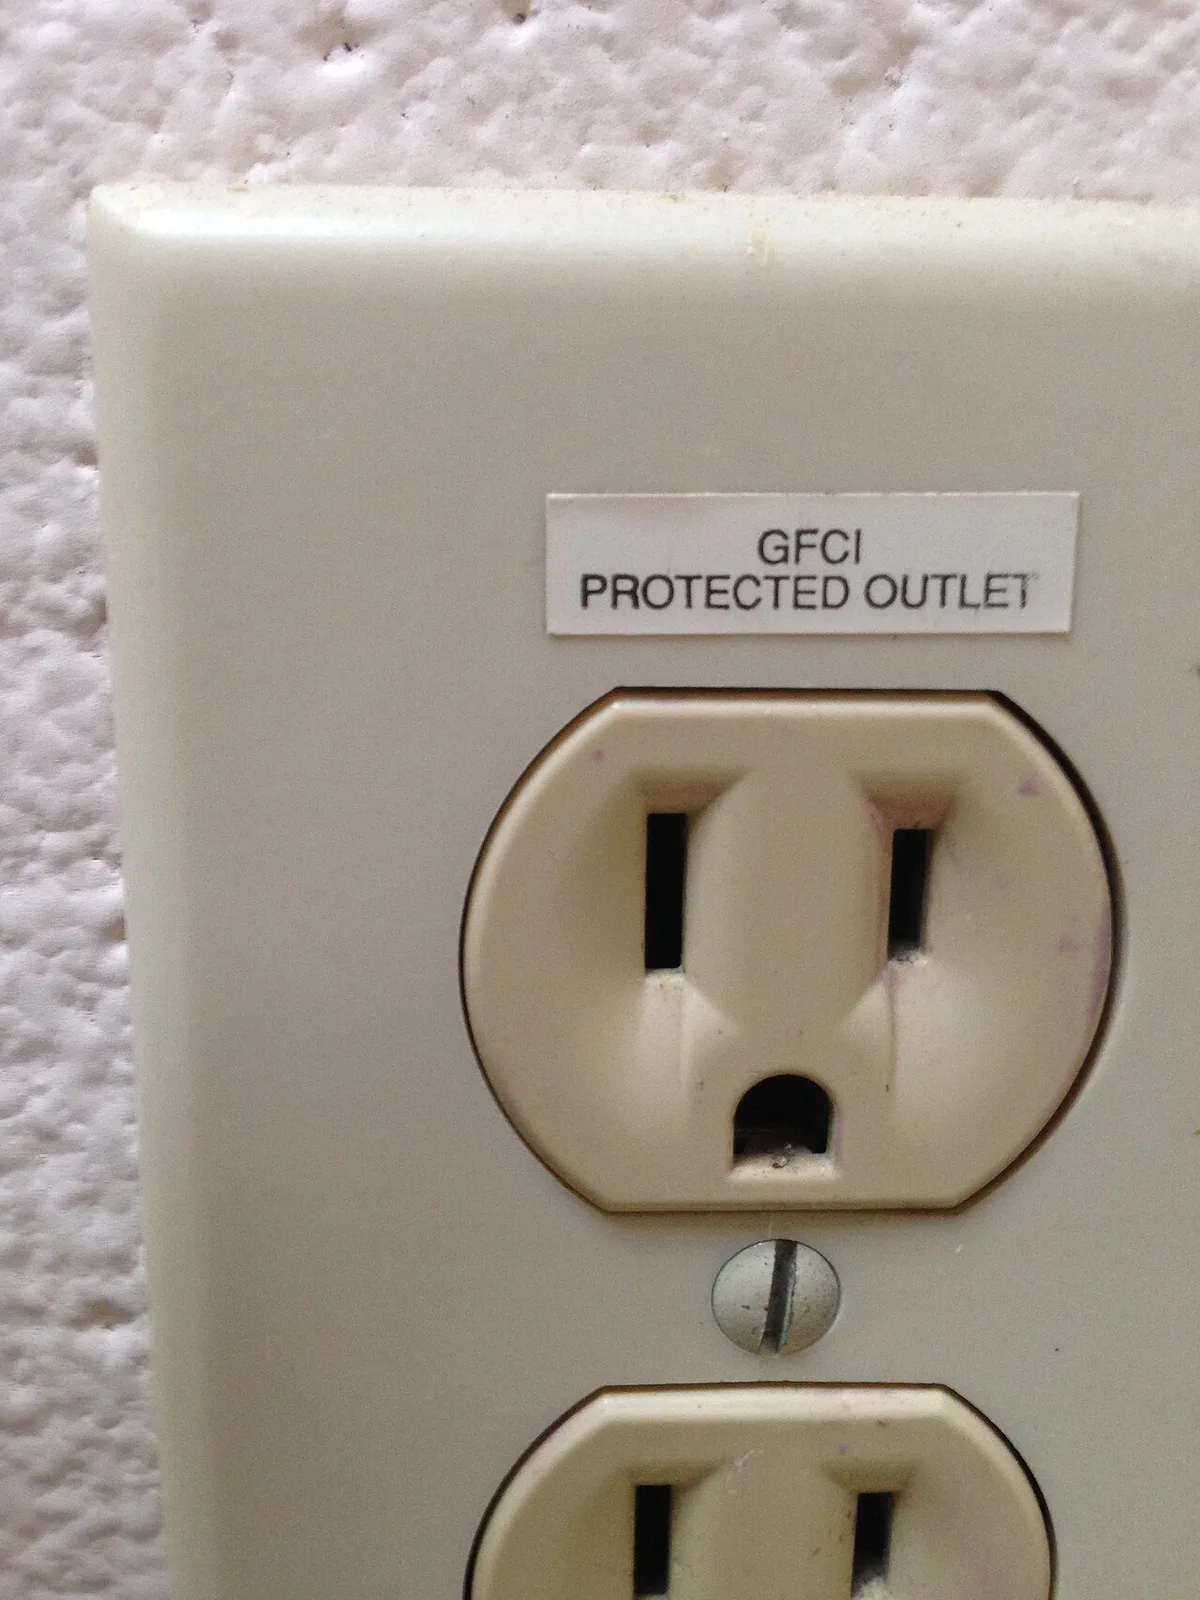
Image source: Wikimedia Commons / dankeck
Per NFPA 70 standards, sump pumps must connect to GFCI protected circuits. Test the reset button monthly to ensure it trips correctly. If the outlet lacks protection, hire an electrician before proceeding further.
Tools Needed for a Safe Inspection
Gather basic supplies before starting your inspection workflow. You need rubber gloves, a flashlight, and a five gallon bucket. A garden hose helps simulate heavy inflow during functional tests.
| Tool | Purpose |
|---|---|
| Rubber gloves | Protect against contaminated water |
| Flashlight | Illuminate dark pit interiors |
| Five gallon bucket | Measure flow rate accurately |
| Garden hose | Simulate stormwater inflow |
| Screwdriver | Tighten loose connections |
Keep towels nearby for inevitable spills during testing. Having everything ready prevents dangerous improvisation mid inspection. Organization keeps you focused on safety throughout the process.
Identifying Your Pump Type (Submersible vs. Pedestal)
Submersible pumps sit fully underwater inside the sealed pit basin. These units run quieter but require removal for motor service. Pedestal models keep the motor above water level on a long shaft.
Pedestal pumps are easier to access for routine switch adjustments. However they tend to be louder and less efficient than submersibles. Knowing your type determines which troubleshooting steps apply later.
Check the manufacturer label for model number and horsepower rating. This information helps if replacement parts become necessary. Record these specs in your home maintenance log for future reference.
The 4-Step Sump Pump Diagnostic Workflow
Step 1: Visual Assessment and Pit Cleaning
Remove the pit cover and shine your flashlight inside carefully. Look for gravel buildup, silt accumulation, or floating debris near the intake. Clear obstructions by hand while wearing protective rubber gloves.
Examine the power cord for cracks, fraying, or pinch damage. Damaged insulation creates immediate electrocution hazards requiring professional repair. Check that the discharge pipe remains securely attached without leaks.
Verify the weep hole stays clear if your model includes one. Blocked weep holes cause air locks that prevent priming. Clean this small opening with a wire or toothpick gently.
Step 2: Float Switch and Activation Test
Lift the float mechanism slowly by hand to simulate rising water. The pump should activate immediately when the switch reaches its trigger point. Listen for smooth motor startup without grinding or hesitation sounds.
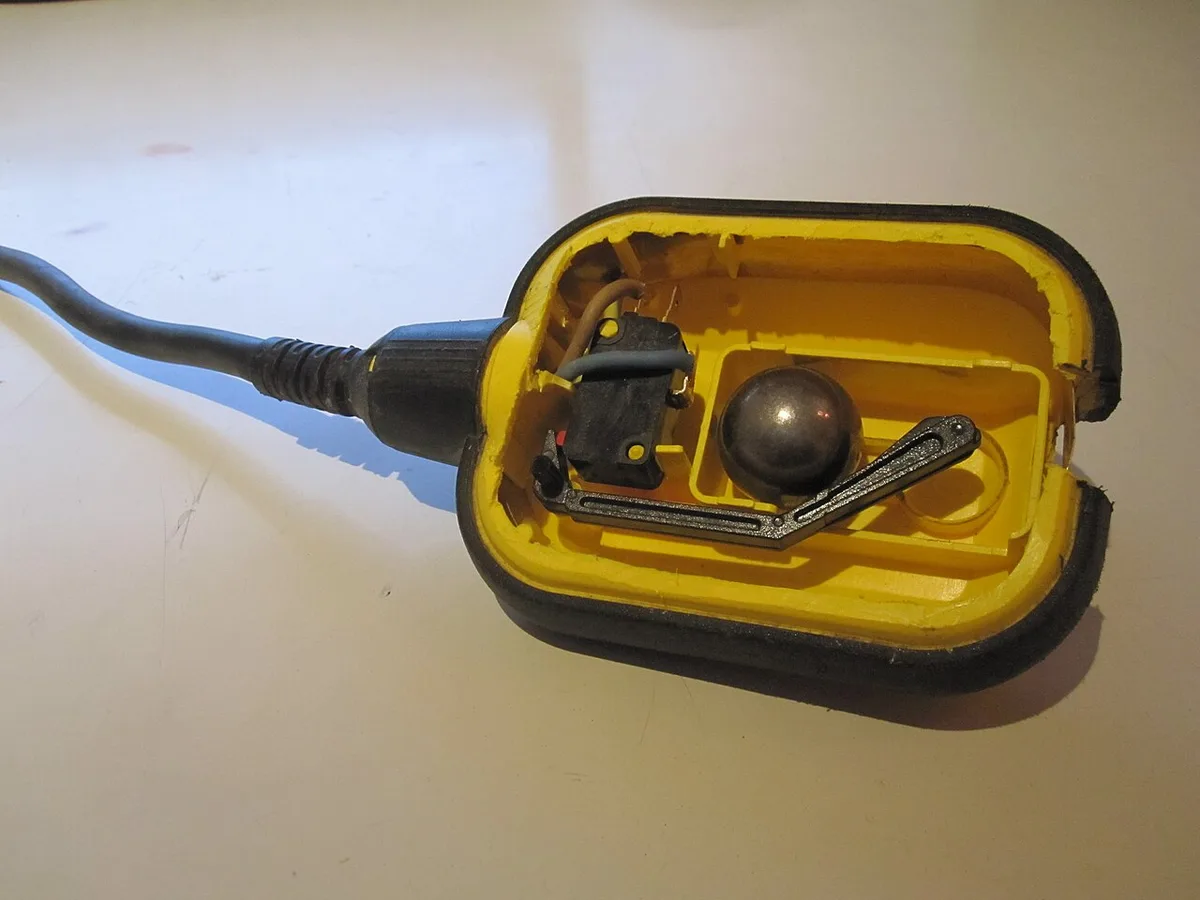
Image source: Wikimedia Commons / Martin Meise (CC BY)
Release the float gradually to watch the shutoff cycle. The pump should stop within seconds of reaching minimum level. Continuous running after water drains indicates a stuck or failed switch.
Electronic sensors require different testing than mechanical floats. Pour water directly over the sensor probe to trigger activation. Wipe mineral deposits off probes annually to maintain sensitivity.
Step 3: Discharge Flow and Check Valve Verification
Run the pump while observing water exit at the discharge point outside. Strong steady flow confirms the impeller spins freely without clogs. Weak trickle suggests blockage or worn internal components needing attention.
Listen for loud thumping when the pump shuts off abruptly. That noise means the check valve slams shut from backflow pressure. A failing valve allows discharged water to drain back into the pit.
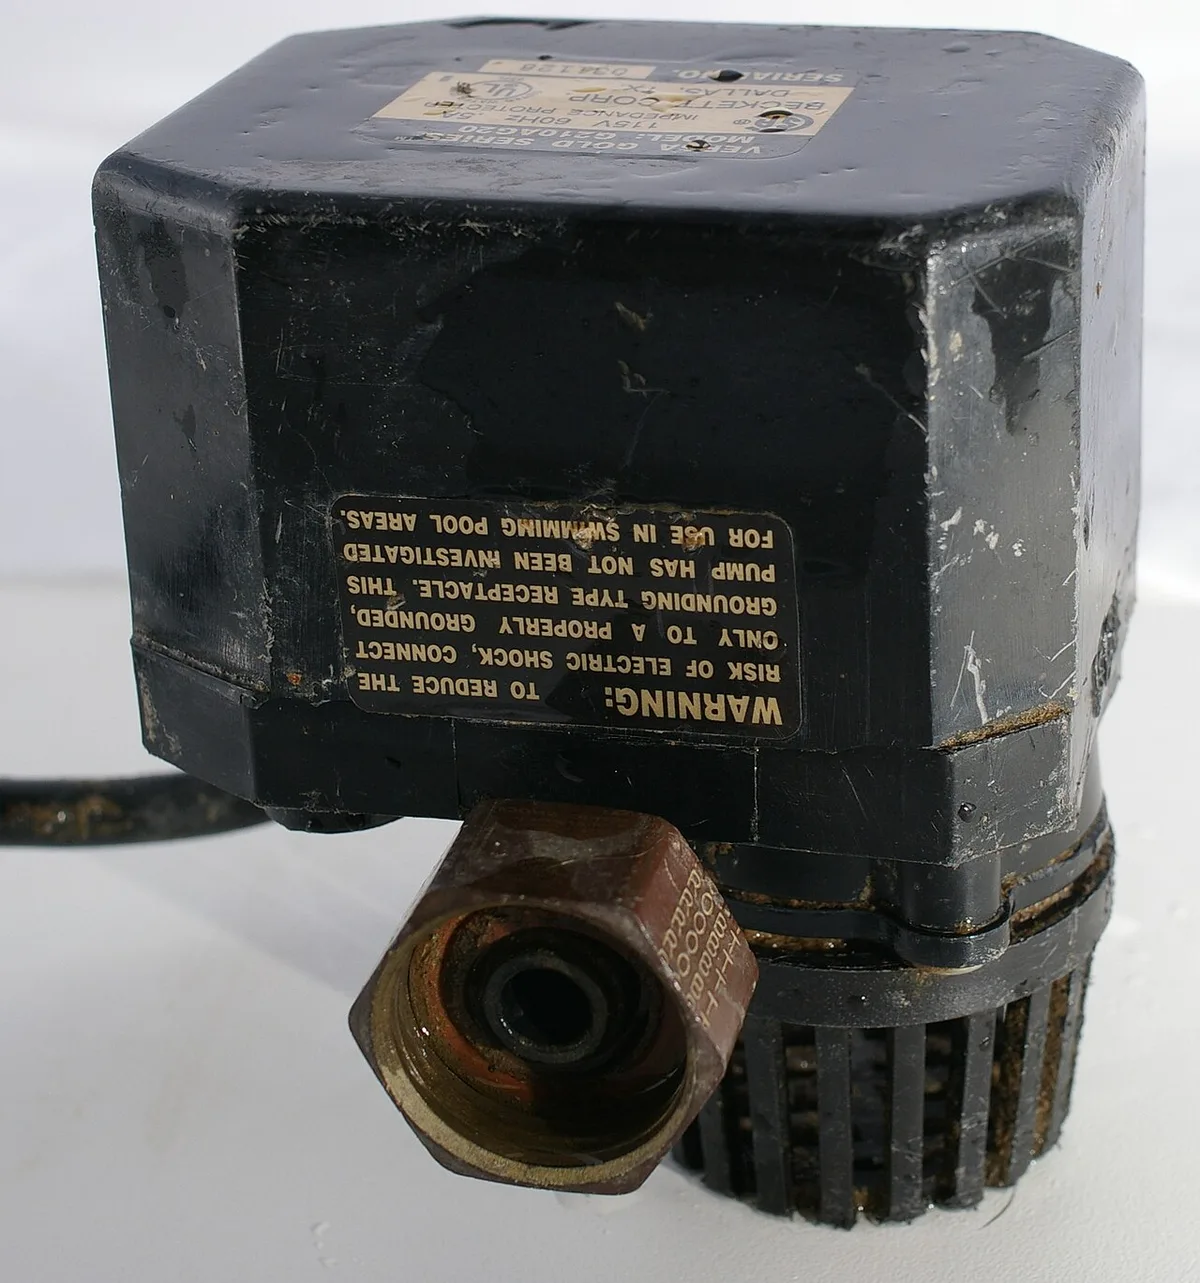
Image source: Wikimedia Commons / Hustvedt (CC BY-SA)
Inspect the valve body for cracks or corrosion damage. Replace plastic valves showing stress marks near mounting clamps. Proper valve function prevents unnecessary short cycling that burns out motors prematurely.
Step 4: Backup System and Alarm Validation
Unplug the primary pump to force battery backup activation automatically. The secondary unit should start pumping within seconds of power loss. Test runtime capacity by letting it run for fifteen minutes minimum.
Verify audible alarms sound when water rises above safe levels. Smart monitoring systems should send phone alerts simultaneously. Dead batteries or disconnected sensors render backups useless during actual emergencies.
Reconnect primary power and confirm automatic switchover occurs smoothly. Both systems working together provide true flood protection redundancy. Document test results to track performance degradation over time.
Troubleshooting Decision Tree: What to Do Next
If the Motor Hums But Won’t Start
A humming motor usually indicates a jammed impeller or bad capacitor. Unplug immediately to prevent motor burnout from locked rotor current. Remove the pump housing to check for debris wedged in the impeller vanes.
Clear any obstruction and spin the impeller by hand freely. If it still hums without turning, the start capacitor likely failed. Capacitor replacement costs far less than buying a new pump assembly.
If the Pump Runs Continuously or Short Cycles
Continuous operation often points to a stuck float switch or high water table. Manually move the float through its full range of motion. Clean pivot points with vinegar solution to dissolve mineral crust buildup.
Short cycling typically signals a faulty check valve or undersized pit. Water flows backward after each cycle triggering rapid restarts. Installing a larger basin or replacing the valve usually resolves this issue permanently.
If Water Isn’t Exiting the Discharge Line
Frozen pipes are the most common winter cause of zero flow. Apply heat tape along exposed exterior sections preventively. Thaw frozen lines carefully using warm water rather than open flames.
Summer blockages usually involve sediment or root intrusion inside pipes. Disconnect the discharge line at the pump outlet to inspect. Snake the pipe mechanically if visual inspection reveals internal obstructions.
When to Stop DIY and Call a Professional
Electrical faults beyond simple outlet resets require licensed electricians. Never attempt wiring repairs inside wet pits yourself. Sewage contamination also demands professional remediation services for health safety.
Repeated failures despite correct troubleshooting suggest systemic installation problems. Undersized pumps or improper pit construction won’t improve with maintenance alone. Professional assessment identifies whether repair or complete replacement makes financial sense.
Common Inspection Mistakes and Maintenance FAQs
Why You Should Never Test with Clean Tap Water Only
Clean water misses real world debris that causes actual failures. Stormwater carries silt, gravel, and organic matter that clog intakes. Always use water collected from downspouts or outdoor sources instead.
This practice reveals hidden vulnerabilities before storms arrive. It also validates that your pump handles realistic particle loads. Synthetic testing gives false confidence that disappears during genuine emergencies.
How Often Should You Actually Inspect?
Quarterly inspections catch problems early enough for affordable repairs. Test before spring thaw and again before fall rainy seasons. Monthly visual checks take under two minutes and spot obvious issues fast.
High water table areas benefit from monthly functional testing year round. Properties with history of flooding warrant even closer monitoring schedules. Consistent attention beats emergency panic every single time.
Signs Your Pump Is Nearing End-of-Life
Frequent repairs within twelve months signal declining reliability overall. Rust streaks on cast iron housings indicate internal corrosion advancing. Excessive vibration or unusual noises suggest bearing wear becoming critical.
Age matters regardless of apparent condition currently. Units past ten years face exponentially higher failure probability statistically. Budget proactively for replacement rather than waiting for catastrophic basement flooding events.