
Learning how to extend a sump pump discharge line correctly prevents water from recycling back into your basement. The right method depends entirely on your local climate, soil conditions, and existing pump capacity.
Manufacturer specifications indicate that every 10 feet of 1.5-inch pipe adds roughly 0.5 feet of head pressure at 30 GPM. Exceeding your pump’s rated head causes premature motor failure, so we must match the extension method to your system’s actual limits before digging.
How to Extend a Sump Pump Discharge Line
Extend a sump pump discharge line using rigid PVC for buried installations or flexible tubing for surface runs. Always install a check valve immediately after the pump to prevent backflow. Maintain a minimum 1% downward slope throughout the entire run.
Verify your pump’s maximum head rating supports the added pipe length. Test flow rate before final backfill to ensure adequate drainage capacity.
Choose Your Extension Method Based on Climate and Grade
Selecting the correct pipe material determines whether your system survives winter or fails during the first freeze. Rigid Schedule 40 PVC is mandatory for any buried line in freezing climates because it resists crushing and maintains proper grade over decades. Flexible corrugated tubing works only for temporary surface extensions or shallow yard drains where freezing is not a concern.
When to Use Schedule 40 PVC for Buried Lines
Rigid PVC provides a watertight, permanent solution when trenching below the frost line. Solvent-welded joints eliminate leak points that plague mechanical couplings underground. This material also offers superior rodent resistance compared to thin-wall polyethylene options.
You should always choose PVC if the discharge line passes under driveways or heavy landscaping. Its crush strength prevents collapse under load, unlike flexible alternatives. Per ASTM D1785 standards, Schedule 40 handles residential burial depths safely as of 2026.
When Corrugated Tubing Works for Surface Extensions
Flexible polyethylene or corrugated drain tile suits above-ground setups in mild climates. It connects quickly with hose clamps and requires no solvent welding or primer. This option makes sense for seasonal cottages or rental properties where permanent trenching isn’t justified.
Never use flexible tubing for buried primary discharge lines in cold regions. Water pools in the ridges and freezes solid, blocking flow entirely. Reserve this material for daylighted outlets or secondary overflow paths only.
Sizing and Head Pressure Considerations
Pipe diameter affects friction loss more than length does. A 1.5-inch line loses significantly more pressure than a 2-inch line over the same distance. Upsizing to 2 inches reduces head pressure by nearly 75% at typical residential flow rates.
Check your pump’s performance curve before extending beyond 50 feet. Most 1/3 HP pumps max out around 20 feet of total dynamic head. Adding 100 feet of undersized pipe can push the system past its operational limit.
If you're unsure about electrical safety while working near water, reviewing general appliance diagnostic codes helps reinforce safe troubleshooting habits around moisture.
| Pipe Size | Friction Loss per 100 ft (30 GPM) | Max Recommended Run |
|---|---|---|
| 1.25 inch | 12.5 feet | 25 feet |
| 1.5 inch | 4.2 feet | 75 feet |
| 2 inch | 1.1 feet | 200+ feet |
Step-by-Step Workflow for a Watertight Extension
Proper installation sequence prevents callbacks and protects your foundation. Start by measuring the exact run length and elevation change from the pump outlet to the discharge point. Calculate required slope: you need at least 1/8 inch of drop per foot of horizontal run.
Assessing Existing Pump Capacity and Slope
Locate the manufacturer’s head chart on the pump housing or manual. Compare your planned extension length against the maximum rated head. If the numbers are close, upgrade to a higher-capacity pump before extending.
Verify ground slope with a string level or laser transit. Flat yards often require deeper trenches to maintain positive grade. Never assume the yard slopes away just because it looks like it does visually.
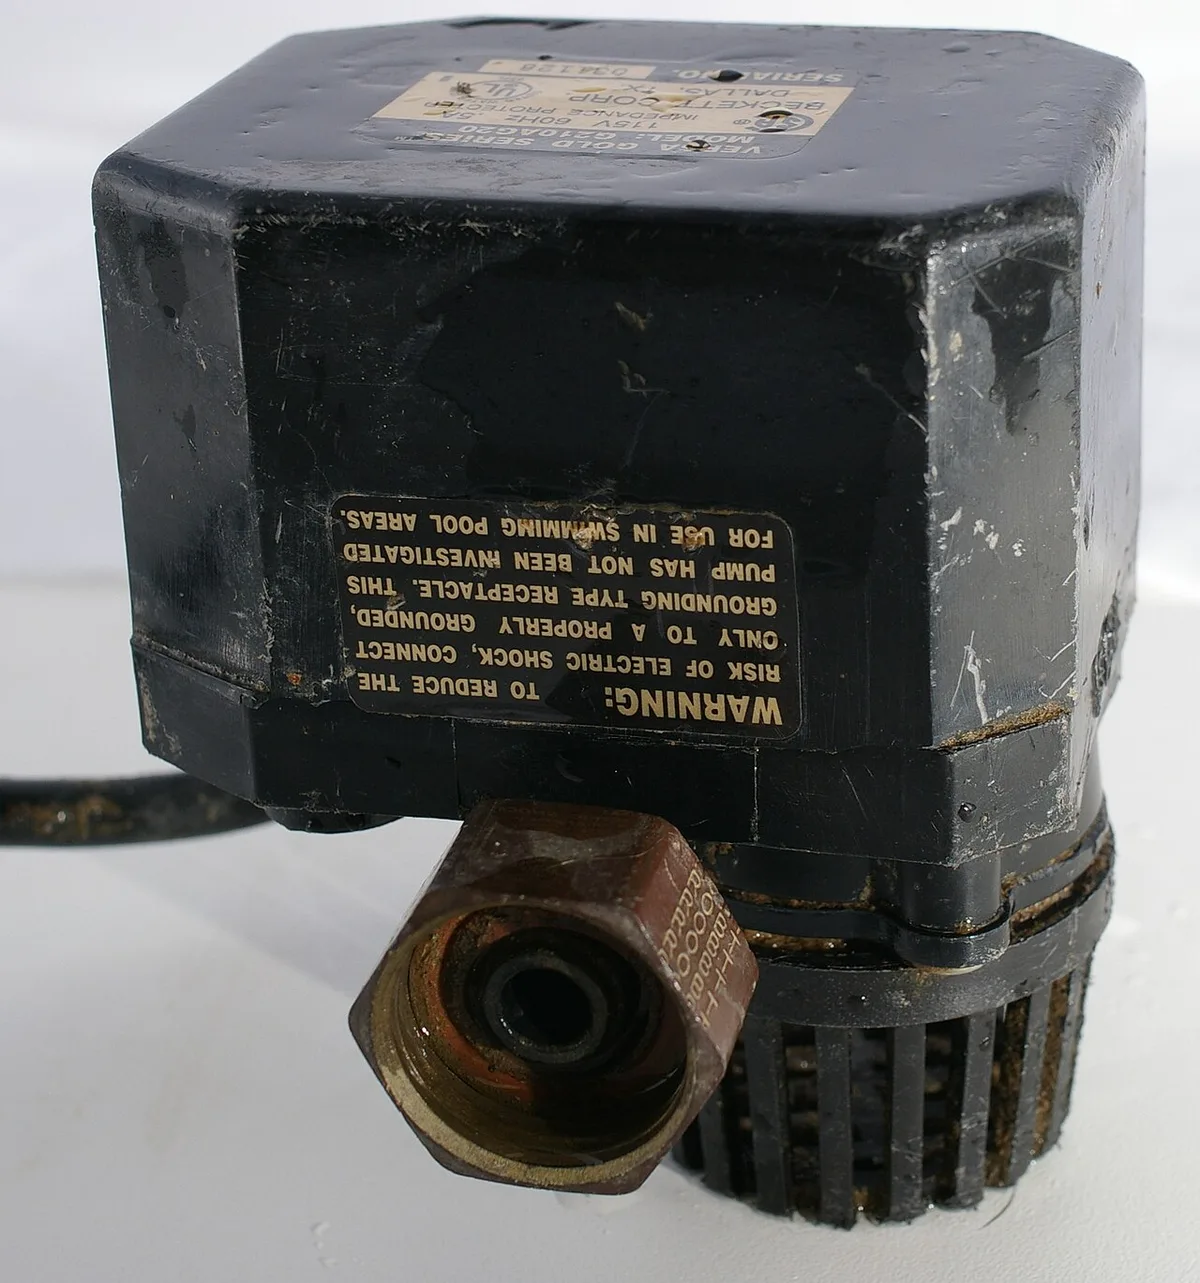
Image source: Wikimedia Commons / Hustvedt (CC BY-SA)
Making the Transition with Proper Couplings
Install a swing check valve directly above the pump discharge port. This prevents extended water column weight from pushing back into the pit. Use shielded rubber couplings like Fernco fittings to transition between dissimilar materials or absorb vibration.
Solvent-weld all PVC joints with primer and cement rated for pressure applications. Wipe excess cement immediately to avoid internal buildup that restricts flow. Allow full cure time per manufacturer specs before pressurizing the system.
Trenching and Bedding Best Practices
Dig trenches below your local frost depth to prevent ice blockage. Line the trench bottom with 2 inches of compacted gravel for stable support. Never lay pipe directly on native soil, which shifts and creates low spots over time.
Backfill with clean gravel up to 6 inches above the pipe crown. This protects against settling and provides drainage around the line. Top with landscape fabric before adding final soil to keep sediment out of the bed.
For broader context on keeping mechanical systems running reliably, our notes on routine equipment upkeep apply equally well to drainage infrastructure.
Critical Mistakes That Cause Freezing or Burnout
Most sump pump failures stem from installation errors rather than defective equipment. Ignoring hydraulic principles guarantees problems within the first year of operation. Avoid these three common pitfalls to ensure reliable long-term performance.
Ignoring Friction Loss and Undersizing Pipe
Using 1.25-inch pipe to save money creates excessive resistance. The pump works harder to move less water, generating heat that degrades seals and windings. Always match or exceed the pump outlet diameter when extending.
Long runs demand larger diameters to compensate for friction. A 100-foot extension in 1.5-inch pipe may require upsizing to 2 inches. Consult hydraulic tables rather than guessing based on visual pipe size alone.
Skipping the Check Valve Installation
Operating without a check valve forces the pump to re-lift standing water on every cycle. This wastes energy and accelerates wear on the impeller and shaft seal. Silent check valves reduce noise while providing essential backflow protection.
Install the valve vertically with the arrow pointing toward discharge. Horizontal mounting allows the flapper to sag and fail prematurely. Replace worn valves proactively during routine maintenance intervals.
Understanding how flow restriction errors manifest in other appliances reinforces why unobstructed pathways matter in any fluid system.
Improper Grading and Shallow Burial
Negative slope creates standing water that freezes and blocks flow. Even slight dips collect debris and sediment over time. Maintain consistent positive grade from pump to outlet without exception.
Shallow burial invites frost penetration regardless of pipe material. Check your regional frost depth map before trenching. In northern zones, 48 inches is often the minimum safe depth for reliable year-round operation.
Image source: Wikimedia Commons / Dietmar Rabich (CC BY-SA)
Frequently Asked Questions
Can I connect my sump pump to the sanitary sewer?
No, connecting sump pumps to sanitary sewers violates plumbing codes in most jurisdictions. Stormwater overwhelms treatment plants and causes backups. Always discharge to storm drains, dry wells, or approved daylight locations.
Check local municipal ordinances for specific discharge requirements in your area.
How far can I extend a 1/3 HP sump pump?
Most 1/3 HP pumps handle 50 to 75 feet of 1.5-inch pipe effectively. Longer runs require upsizing to 2-inch diameter to reduce friction loss. Always verify against the specific pump’s head chart rather than relying on general rules.
Exceeding rated head burns out motors prematurely.
Should I insulate an exposed discharge line?
Yes, wrap exposed pipes with foam insulation and heat tape in freezing climates. Insulation alone slows heat loss but doesn’t generate warmth. Heat trace cables maintain temperatures above freezing during extended cold snaps.
Combine both methods for reliable winter protection in unheated crawlspaces or exterior walls.
Why does my extended line keep freezing?
Freezing usually indicates insufficient burial depth or negative slope creating water traps. Standing water freezes faster than flowing water. Ensure the trench sits below local frost depth and maintains consistent grade.
Install a freeze guard valve near the exit point as secondary protection against ice dams.