
Knowing how to remove sediment from a sump pump pit prevents costly motor failures and basement flooding. The right cleaning method depends entirely on what type of material has accumulated in your basin.
Manufacturer specifications indicate most residential pumps require at least two inches of clearance below the intake screen. The National Electrical Code mandates GFCI protection for all sump outlets as of 2026. Identifying your specific sediment type determines which safe removal workflow you should follow.
How to Remove Sediment From a Sump Pump Pit
Disconnect power at the breaker before opening the basin lid. Identify whether sediment is inert silt or biological iron ochre. Use a wet vac for dry pits or manual extraction for active inflow.
Clean the pump intake and test the float switch cycle. Reassemble components only after verifying proper operation.
Identify Your Sediment Type Before You Start Cleaning
The correct removal strategy changes based on material composition. Inert silt requires mechanical extraction while biological growth needs different handling. Misidentifying sediment leads to ineffective cleaning or component damage.
Inert Silt and Clay vs Biological Iron Ochre
Inert silt feels gritty and settles as a dense layer at the pit bottom. This material comes from soil erosion through drain tiles or foundation cracks. A shop vac handles dry silt effectively during low water table periods.
Iron ochre appears as slimy orange or reddish gelatinous sludge. It forms when iron bacteria oxidize dissolved minerals in groundwater. This biofilm clogs intakes rapidly and often returns within months without treatment.
Mechanical removal alone rarely solves chronic iron ochre problems.
Gravel Debris and Construction Slurry
Pea gravel or larger stones suggest failing drain tile or improper backfill. These solids jam impellers and destroy volute housings quickly. Manual removal with a trowel is necessary since vacuums cannot handle large aggregate.
Construction slurry looks like thick gray paste and hardens over time. This residue stems from concrete work or drywall finishing near the foundation. It requires chipping tools if fully cured or aggressive vacuuming while still soft.
Addressing the source prevents recurring accumulation issues.
When Sediment Signals a Failing Drain Tile System
Excessive sand or soil indicates compromised perimeter drainage infrastructure. Our research shows sudden sediment spikes often precede total system failure. Inspect inlet pipes for cracks or root intrusion during every cleaning session.
Persistent fine clay suggests filter fabric degradation around exterior tiles. This condition worsens seasonally as freeze cycles shift soil. Professional camera inspection becomes necessary when routine cleaning yields diminishing returns.
Catching drainage system warning signs early avoids emergency excavation costs.
The Safe Removal Workflow Based on Pit Conditions
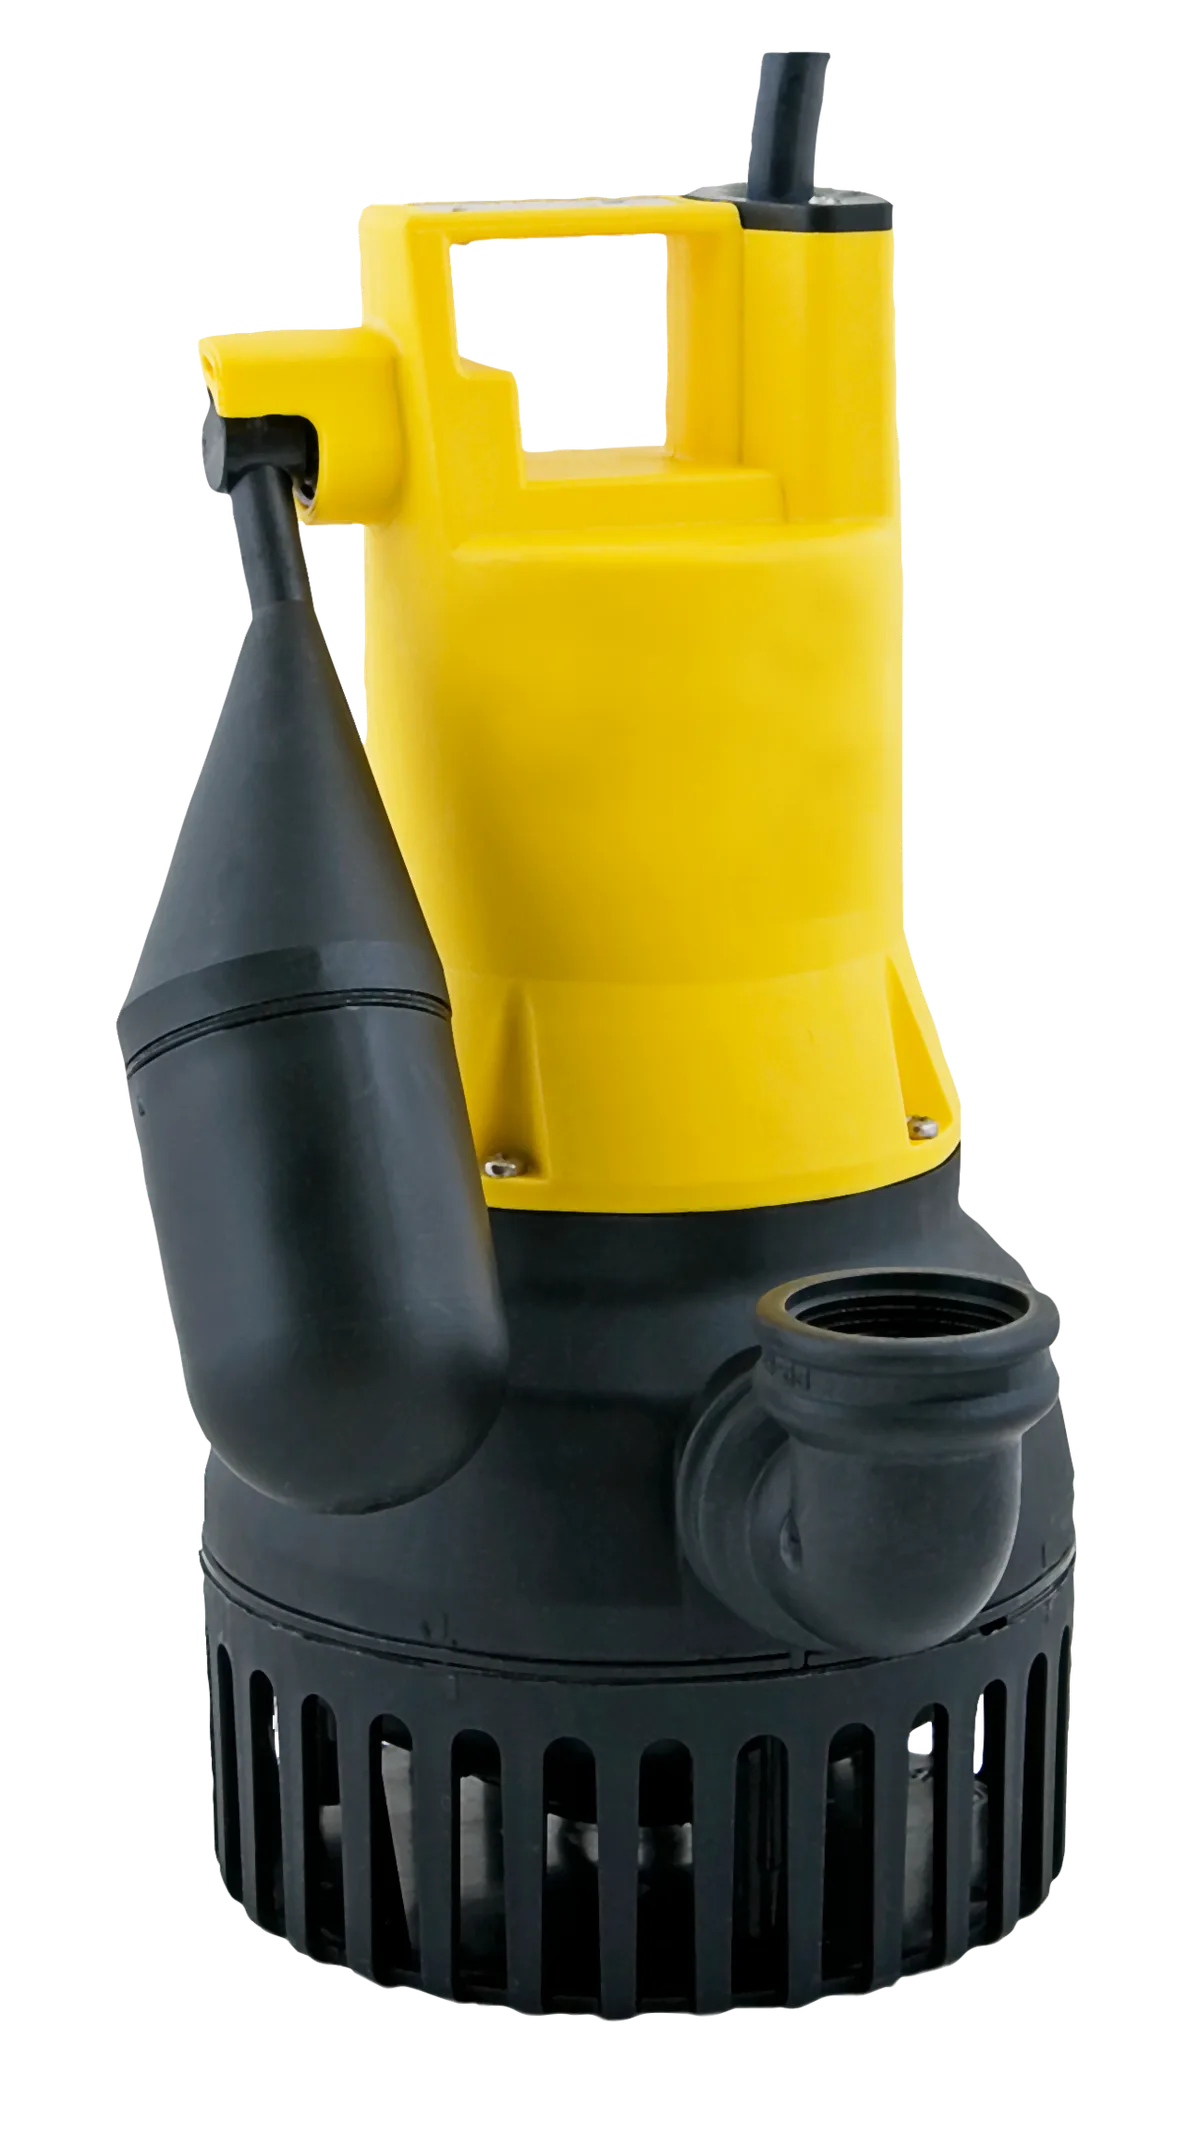
Image source: Wikimedia Commons / PumpExpert (CC BY-SA)
Your current water level dictates the entire extraction approach. Working against active inflow requires different tools than maintaining a dry basin. Always verify electrical safety before touching any submerged components.
Low Water Table Manual Scoop and Shop Vac Method
Confirm the pit is dry or holds less than one inch of standing water. Wear rubber gloves and eye protection throughout this process. Use a plastic trowel to loosen compacted sediment from basin walls.
A five horsepower wet rated shop vac extracts loosened material efficiently. Work systematically from edges toward the center to avoid missing pockets. Dispose of contaminated sediment according to local waste guidelines.
This method typically takes forty five minutes for standard eighteen inch basins.
High Water Table or Active Inflow Pump Assisted Extraction
Never reach into standing water without confirmed GFCI protection. Per NFPA 70 standards, all basement receptacles must be ground fault protected. If water rises faster than you can bail, stop immediately and call professionals.
Use a utility pump to lower levels before attempting sediment removal. Position the utility pump away from main sump intake to prevent cross contamination. Extract remaining muck manually once water drops below safe working depth.
Monitor conditions constantly since high water tables can surge unexpectedly during cleaning.
Cleaning the Pump Intake and Float Switch Assembly
Remove the submersible pump carefully without straining the discharge union. Inspect the intake screen for embedded debris or mineral scale buildup. Soak screens in white vinegar solution if calcium deposits restrict flow.
Wipe float switches clean and verify unrestricted vertical travel. Tethered floats need adequate slack to activate properly without tangling. Check weep holes on pedestal pumps to ensure they remain clear.
Refer to manufacturer manuals for model specific disassembly instructions.
Reassembly and Cycle Testing Protocol
Reinstall the pump with new gaskets if original seals show wear. Tighten discharge unions hand tight plus quarter turn to prevent leaks. Restore power only after confirming all connections are secure and dry.
Pour five gallons of water into the pit to trigger a test cycle. Watch for smooth activation and complete shutoff without short cycling. Listen for unusual grinding noises that indicate remaining debris.
Document findings to establish baseline maintenance intervals going forward.
Critical Mistakes That Damage Pumps or Cause Flooding
Rushing through cleanup creates expensive problems downstream. Most damage occurs during reassembly or testing phases rather than extraction itself. Awareness of common pitfalls protects both equipment and personal safety.
Ignoring Check Valve Backflow During Disassembly
Failing to isolate the check valve allows discharge pipe water to drain backward. This sudden influx can flood your workspace instantly and overwhelm extraction efforts. Always install a temporary cap or plug above the valve before disconnecting.
Backflow also reintroduces suspended solids you just removed. This defeats the purpose of cleaning and accelerates wear. Some systems lack accessible isolation points requiring full line drainage first.
Plan this step before pulling any fittings apart.
Damaging Float Switches and Tether Cords
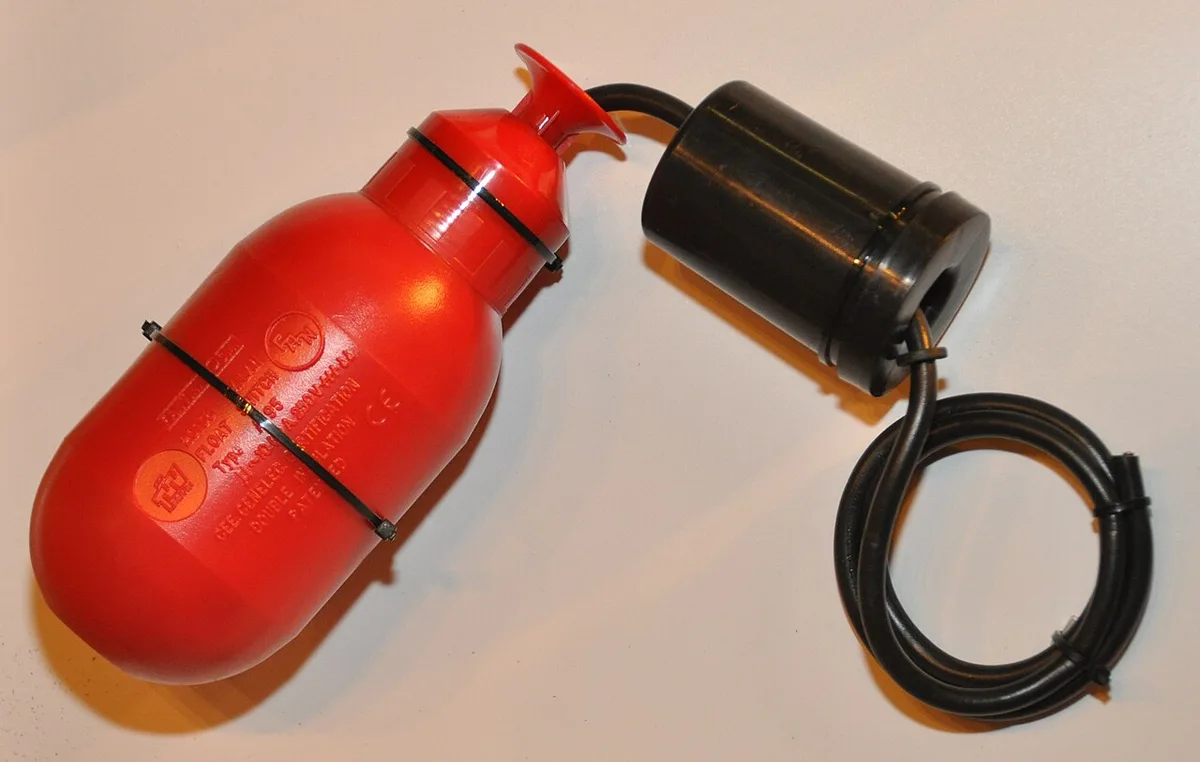
Image source: Wikimedia Commons / S.J. de Waard (CC BY)
Yanking pumps out by their cords tears internal wiring connections. Always lift units by designated handles or mounting brackets instead. Bent float arms cause continuous running or complete failure to activate.
Tethered switches need careful positioning to avoid wall contact. Pinched cords create intermittent faults that mimic other electrical problems. Inspect wire insulation for nicks before reinstalling submerged components.
Understanding appliance diagnostic codes helps distinguish mechanical from electrical failures later.
Overlooking Electrical Safety and GFCI Requirements
Water and electricity combine lethally in confined basement spaces. Test GFCI outlets monthly using the built in test button. Never bypass ground fault protection even temporarily during maintenance work.
Extension cords introduce additional shock hazards in damp environments. Use only heavy duty outdoor rated cables if absolutely necessary. Keep all connections elevated above potential splash zones.
Treat every wire as live until personally verified otherwise with a meter.
Using Chemicals That Void Warranties or Harm Components
Bleach and harsh drain cleaners degrade plastic basin liners over time. They also kill beneficial bacteria in septic connected systems. Manufacturer warranties explicitly exclude chemical corrosion damage from coverage.
Enzyme treatments work slowly but safely for organic buildup. Iron bacteria may require specialized oxidizing filters instead of pit additives. Consult pump documentation before introducing any substance into the basin.
Proper mechanical cleaning eliminates most needs for chemical intervention anyway.
Frequently Asked Questions About Sump Pit Maintenance
How Often Should You Clean a Sump Pump Pit
Annual cleaning suffices for most residential systems with normal sediment loads. Properties with iron bacteria or construction runoff need biannual attention. Inspect quarterly during wet seasons to catch problems early.
Adjust frequency based on observed accumulation rates over time.
Can You Use a Wet Dry Vac on Sump Sediment
Yes if the vacuum is specifically rated for wet use and liquids. Standard dry vacuums pose electrocution risks and motor damage hazards. Empty collection tanks frequently to maintain suction performance.
Never exceed manufacturer specified liquid capacity limits during extraction.
Why Does My Sump Pit Smell Like Rotten Eggs
Hydrogen sulfide gas indicates anaerobic bacterial activity in stagnant water. This occurs when organic matter decomposes without oxygen circulation. Regular cleaning removes the food source causing odor production.
Installing an airtight radon compliant lid contains residual smells effectively.
Is Iron Ochre Dangerous to Health or Equipment
Iron bacteria themselves are not pathogenic to humans directly. However they create corrosive acidic conditions that destroy metal components. Thick biofilms harbor other harmful organisms beneath surface layers.
Protective gear remains essential when handling any biological sediment accumulations.
What Tools Do You Need for Basic Pit Cleaning
Essential items include rubber gloves and safety glasses plus a plastic trowel. A five horsepower wet dry vac handles most residential jobs adequately. Keep spare gaskets and pipe dope handy for reassembly tasks.
Having a backup utility pump available provides insurance against unexpected inflow events.