
Figuring out how to tell if a sump pump impeller is broken starts with listening to your system. A damaged impeller typically causes humming without water movement or produces distinct grinding noises during operation.
Manufacturer specifications from the Hydraulic Institute indicate normal residential pumps draw 4 to 9 amps under load. Locked rotor conditions spike amperage significantly above rated values as of 2026. This electrical data helps confirm mechanical failure before you pull the unit from the pit.
How to Tell If a Sump Pump Impeller Is Broken
A broken sump pump impeller shows three clear signs during operation. The motor hums loudly but moves zero water through the discharge pipe. You hear gravel-like rattling or grinding from inside the volute casing.
Manual rotation feels rough or completely seized when power is disconnected.
The Humming vs. Grinding Decision Point
Humming indicates a jammed impeller or failed start capacitor rather than physical breakage. Debris wedged between vanes prevents rotation while the motor energizes fully. This condition mimics a broken part but often resolves with cleaning alone.
Grinding signals actual structural damage to the impeller or shaft assembly. Vanes cracked off their hub create unbalanced vibration and metal contact sounds. Stripped splines produce similar noise as the motor spins freely without moving water.
Both scenarios require immediate disassembly for visual confirmation.
Flow Test: When Low Output Means Mechanical Failure
Reduced discharge volume points to partial impeller damage or severe wear. Place a bucket under the outlet and time how long it takes to fill one gallon. Compare this against the manufacturer's published GPM rating at your specific head height.
Flow rates below fifty percent of spec suggest compromised vane integrity. Worn thermoplastic impellers lose efficiency gradually over seven to ten years of service. Channel-style designs clog more easily than vortex types in sandy soil conditions.
Consistent low output despite clean intake screens warrants internal inspection.
Ruling Out the Float Switch and Check Valve First
Faulty float switches cause intermittent cycling that resembles impeller problems. Manually lift the tethered float to verify smooth activation throughout its range. Sticking mechanisms prevent proper engagement even when the impeller functions perfectly.
Stuck check valves block discharge flow identically to broken internal components. Tap the valve body gently while the pump runs to detect binding. Replacing a twenty-dollar valve costs far less than unnecessary impeller work.
Always eliminate these simpler failures before assuming catastrophic internal damage.
Step-by-Step Impeller Inspection Workflow
Safe diagnosis requires systematic isolation of variables through hands-on testing. Disconnect power at the GFCI outlet before touching any wet components. This step prevents electrocution and protects sensitive multimeter equipment during amp draw measurements.
Remove the pump from the basin and place it on a dry work surface. Inspect the intake screen for roots, gravel, or debris accumulation first. Many apparent impeller failures trace back to simple clogs that take minutes to clear.
Understanding diagnostic codes in other appliances follows this same elimination logic.
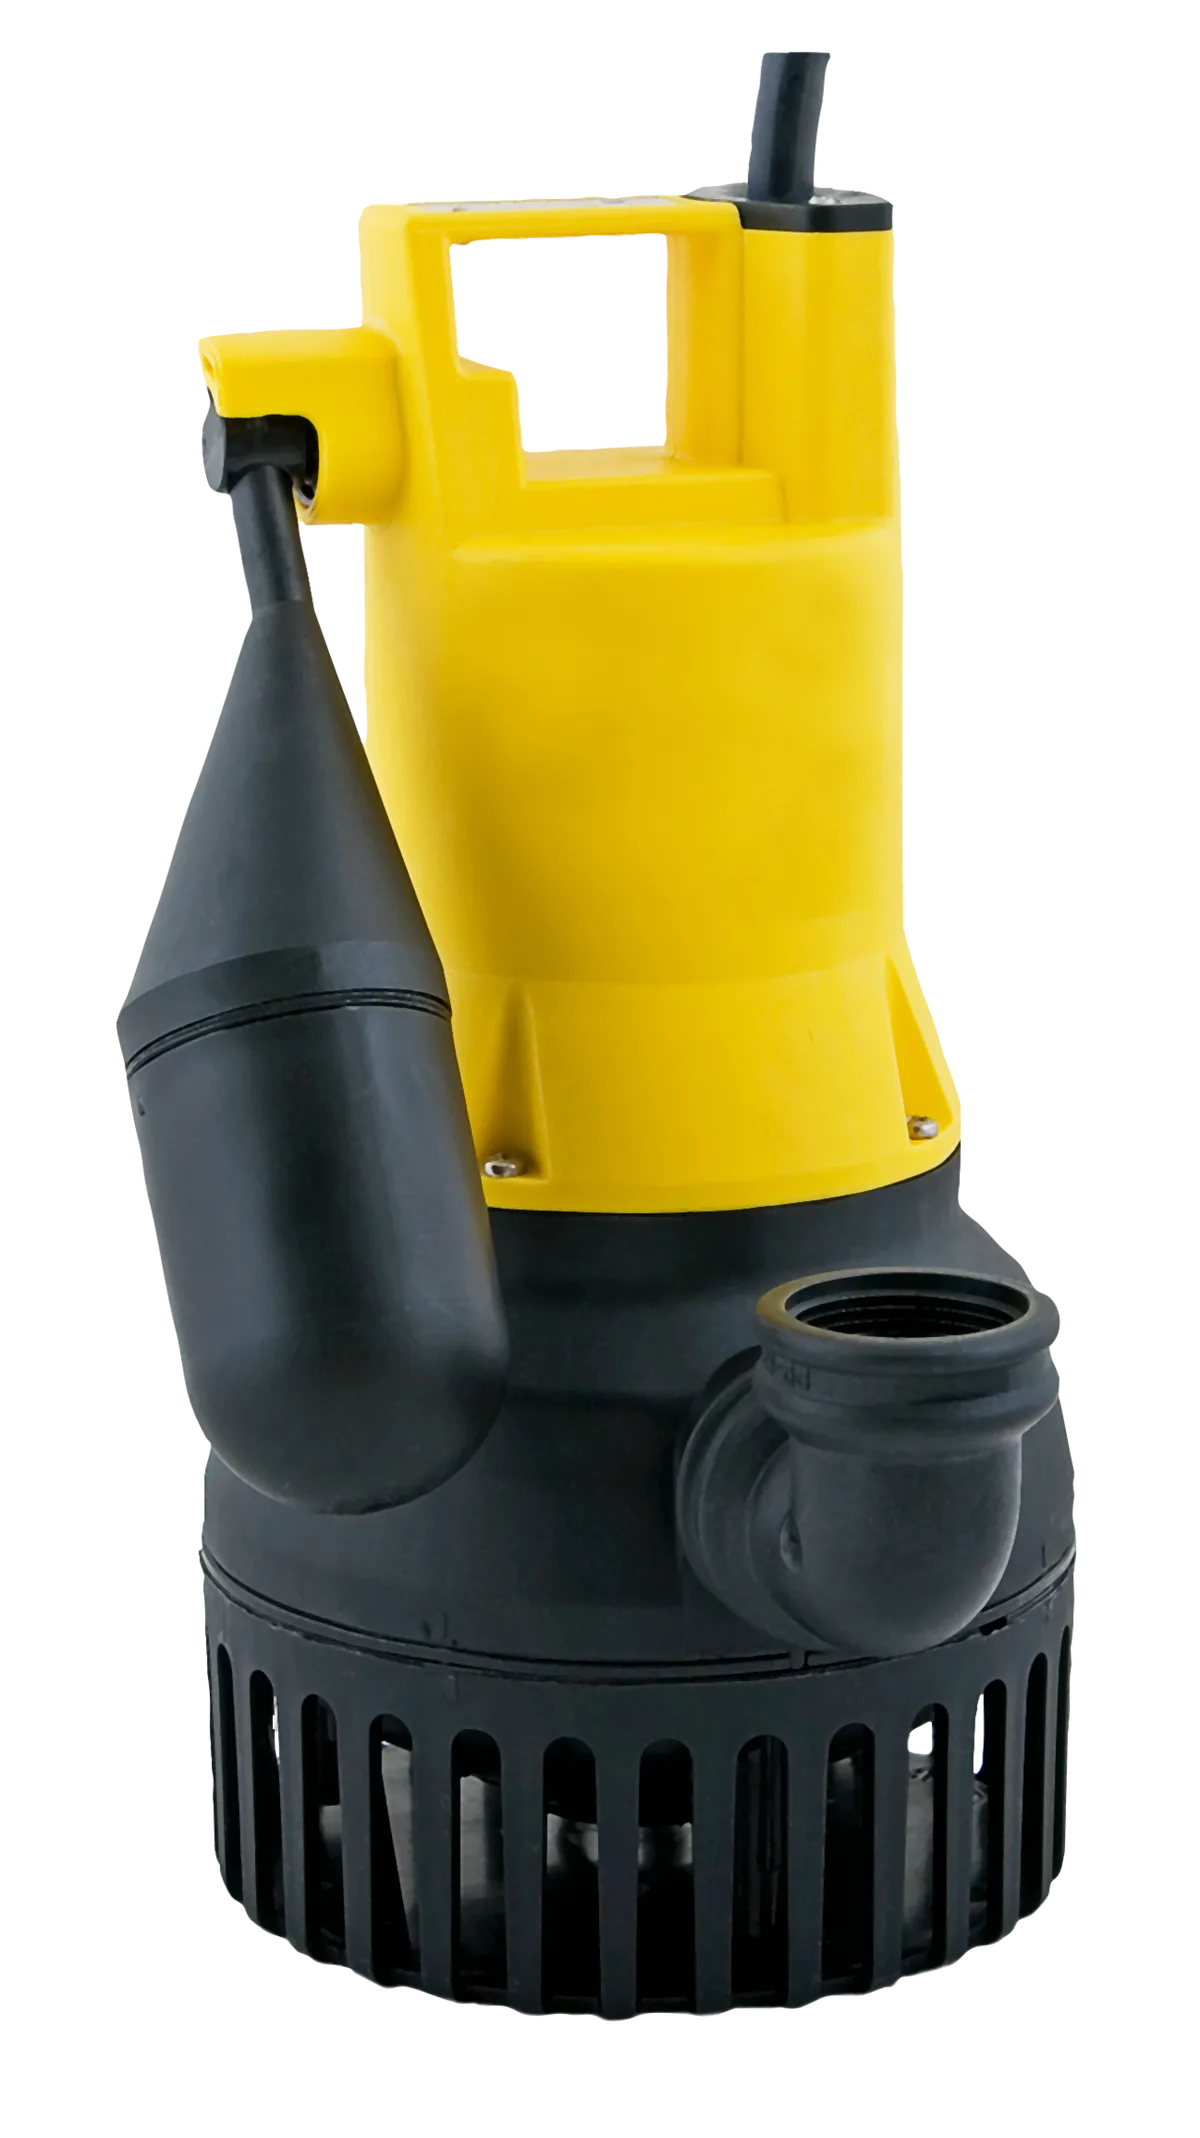
Image source: Wikimedia Commons / PumpExpert (CC BY-SA)
Safe Removal and Volute Disassembly
Unbolt the volute housing using appropriate socket sizes per manufacturer documentation. Keep track of gasket orientation for proper reassembly later. Note any corrosion patterns on bolt heads that indicate seal failure.
Pry apart stuck housings carefully to avoid cracking aged thermoplastic parts. Apply penetrating oil to stubborn fasteners and wait fifteen minutes before forcing them. Damaging the casing during disassembly turns a repairable problem into total replacement.
Patience here saves money and frustration downstream.
Visual Damage Assessment: Stripped Splines, Cracks, and Wear
Examine the impeller hub where it mates with the motor shaft. Stripped splines appear as rounded edges instead of sharp square profiles. This wear pattern means the motor spins independently of the impeller assembly.
Check each vane for stress fractures near the central hub connection point. Hairline cracks propagate quickly under centrifugal force during high-speed rotation. Missing vane sections create imbalance that damages bearings prematurely.
Document findings with photos before proceeding to functional tests.
Manual Rotation Test for Shaft and Bearing Health
Spin the impeller by hand after removing it from the shaft. Smooth resistance indicates healthy bearings and straight shaft alignment. Rough spots or binding suggest seal failure allowed water intrusion into the motor housing.
Wobble during rotation reveals bent shafts from previous jam events. Even slight deviations cause premature wear on replacement impellers. Per NFPA 70 electrical safety standards, motors showing bearing play should be replaced entirely.
Attempting to save a compromised motor risks future flooding emergencies.
Repair vs. Replace Decision Guide
Choosing between repair and replacement depends on damage extent and unit age. Replacement impeller kits cost fifteen to sixty dollars depending on brand compatibility. New submersible units run one hundred fifty to four hundred dollars installed.
Units older than seven years rarely justify individual component repairs. Cumulative wear on seals, bearings, and windings makes repeat failure likely. Investing in modern equipment provides better long-term reliability and warranty coverage.
This mirrors deciding whether clearing error codes solves underlying appliance issues.
Cost Breakdown: Impeller Kit vs. New Pump Unit
| Component | Typical Cost Range | Labor Time | Success Rate |
|---|---|---|---|
| OEM Impeller Kit | $15 to $60 | 1 to 2 hours | 70% on newer units |
| Aftermarket Impeller | $10 to $35 | 1 to 2 hours | 50% fitment issues |
| Complete Pump Replacement | $150 to $400 | 30 to 60 minutes | 99% reliability |
| Professional Service Call | $100 to $250 | Variable | Diagnosis only |
Labor costs dominate repair economics unless you perform work yourself. Professional technicians charge minimum trip fees regardless of fix complexity. DIY impeller swaps make sense only if you own basic tools and have mechanical aptitude.
Otherwise, replacement often delivers better value per dollar spent.
When Plastic Impellers Fail Faster Than Cast Iron
Thermoplastic impellers degrade faster in sandy or abrasive water conditions. Mineral deposits embed in soft surfaces creating imbalance and accelerated wear. Cast iron alternatives resist abrasion but corrode in acidic groundwater environments.
High-cycle applications wear plastic hubs through repeated thermal expansion cycles. Each start-stop event stresses the spline interface differently than continuous operation. Pumps activating hourly need metal components or premium engineered polymers.
Match material choice to your specific water chemistry and usage patterns.
Critical Safety Checks Before Reassembly
Verify GFCI protection functions correctly before restoring power to the circuit. Test buttons should trip immediately when pressed during monthly maintenance checks. Missing ground fault protection violates NEC Article 210.8 requirements for damp locations.
Inspect all wiring connections for corrosion or heat damage at terminal blocks. Loose splices create resistance points that generate dangerous heat over time. Replace compromised wire nuts with waterproof gel-filled connectors rated for burial.
Electrical safety must precede mechanical restoration every single time.
Common Sump Pump Impeller Questions
Can a clogged impeller look exactly like a broken one?
Yes, debris jams produce identical symptoms to physical impeller damage. Small stones or root fragments wedge between vanes preventing rotation entirely. The motor hums while drawing locked rotor amperage just like stripped splines would.
Only physical disassembly confirms whether cleaning or replacement solves the problem.
How often should I inspect the impeller to prevent failure?
Annual inspection during spring thaw preparation catches wear before emergency failure occurs. Remove the pump and check intake screens quarterly in high-sediment areas. Proactive maintenance extends average lifespan from five years to ten or more.
Schedule inspections alongside other seasonal home upkeep tasks for consistency.
Does running the pump dry always destroy the impeller?
Dry running generates heat that melts thermoplastic impellers within minutes. Water normally lubricates shaft seals and carries away motor waste heat. Cast iron components survive longer but still suffer seal damage without cooling fluid.
Thermal overload protectors shut down motors before catastrophic damage when functioning properly.
What tools do I need for safe impeller inspection?
Basic socket sets, screwdrivers, and needle-nose pliers handle most residential pump models. A digital multimeter verifies electrical continuity and measures operating amperage accurately. Bucket and stopwatch enable quantitative flow testing against manufacturer specifications.
Specialized pullers may be required for press-fit impellers on certain pedestal designs.