
Figuring out what direction should a sump pump check valve face prevents costly backflow issues. The answer is usually simple, but missing a subtle visual cue can flood your basement again. Getting this right protects your pump motor and keeps your discharge line functioning properly.
Manufacturer specifications confirm that most residential valves handle up to 20 PSI of head pressure as of 2026. Proper orientation ensures the internal flapper seals correctly against gravity or spring tension. Let’s look at exactly how to read those directional indicators before you glue anything in place.
what direction should a sump pump check valve face
The arrow must point away from the pump. It indicates the correct water flow path. Install it vertically with the arrow up.
Horizontal installs require specific valve ratings. Always verify orientation before solvent welding joints.
Visual Identification Guide: Reading Arrows, Bodies, and Internal Flappers
Most valves have a molded arrow on the exterior body. This physical indicator shows the intended flow path toward the discharge outlet. If the arrow points toward the sump pit, the valve is backwards.
You need to rotate it 180 degrees before installation.
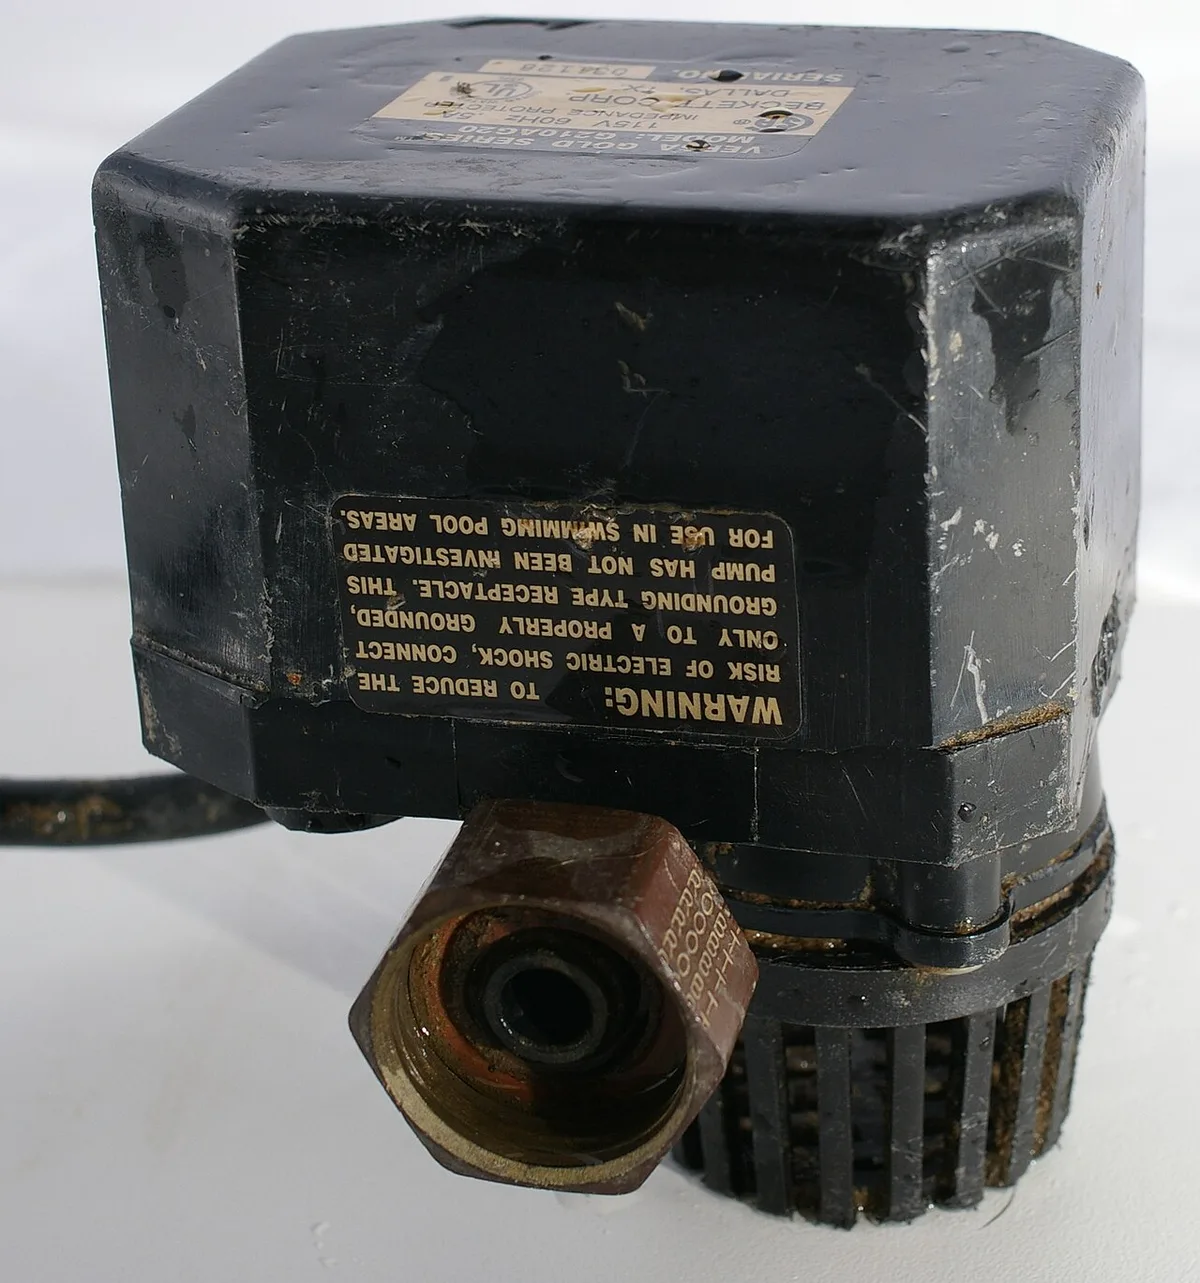
Image source: Wikimedia Commons / Hustvedt (CC BY-SA)
Some older or generic models lack external markings entirely. In these cases, you must inspect the internal mechanism to determine orientation. Gravity swing valves rely on a hinged flapper that hangs down when closed.
Water pushes the disc upward during operation, so the hinge pin must sit at the top.

Image source: Wikimedia Commons / Florida Fish and Wildlife Conservation Commission
Spring-loaded valves work differently because they function in any position. The internal spring forces the disc against the seat regardless of gravity. You can often feel resistance by pushing the flapper manually from one side.
If it moves freely both ways, the valve is likely broken or non-functional.
Clear-bodied check valves offer the easiest visual confirmation for uncertain installations. You can physically see the flapper position without disassembling the plumbing. This feature saves significant troubleshooting time during routine upkeep or emergency repairs.
Always choose clear bodies if visibility inside the discharge line matters to you.
Installation Orientation by Valve Type and Pipe Position
Vertical discharge pipes require valves installed with the arrow pointing straight up. Gravity assists the flapper closure in this configuration to prevent backflow. Swing check valves specifically depend on this vertical alignment to seal properly.
Installing them horizontally will cause the flapper to hang open permanently.
Image source: Wikimedia Commons / United States. Army. Corps of Engineers. Portland District
Horizontal pipe runs demand spring-loaded or specially rated horizontal swing valves. Standard gravity valves fail here because the flapper cannot close against its own weight. Manufacturer specs confirm that only designated horizontal models maintain a reliable seal sideways.
Verify the packaging explicitly states "horizontal installation" before proceeding.
| Valve Type | Vertical Pipe | Horizontal Pipe | Mechanism |
|---|---|---|---|
| Swing Check | Yes (Arrow Up) | No | Gravity Hinge |
| Spring Loaded | Yes | Yes | Mechanical Spring |
| Silent Check | Yes | Yes | Spring + Dampener |
| Union Style | Yes | Depends on Model | Removable Body |
Union-style valves add flexibility for future maintenance or replacement. The union nut allows removal without cutting the discharge pipe each time. This design pairs well with troubleshooting codes when diagnosing intermittent pump failures.
Just ensure the union gasket seats evenly to prevent leaks at the connection point.
Proper support below the valve prevents stress fractures over time. The weight of water-filled pipe above can crack PVC fittings eventually. Install a pipe clamp or bracket directly beneath the valve body.
This simple step aligns with diagnostic best practices for long-term system reliability.
Common Installation Mistakes That Cause Backflow or Noise
Installing the valve backwards is the most frequent and damaging error. Water flows freely out but crashes back into the pit when the pump stops. This causes rapid short cycling that burns out motors prematurely.
Always double-check the arrow direction before applying primer and cement.
Water hammer noise signals improper orientation or missing dampening. The loud banging occurs when water slams against a closed valve or pipe elbow. Silent check valves include internal springs to cushion this hydraulic shock.
Addressing this early prevents joint fatigue similar to resolving flow sense alerts before component failure.
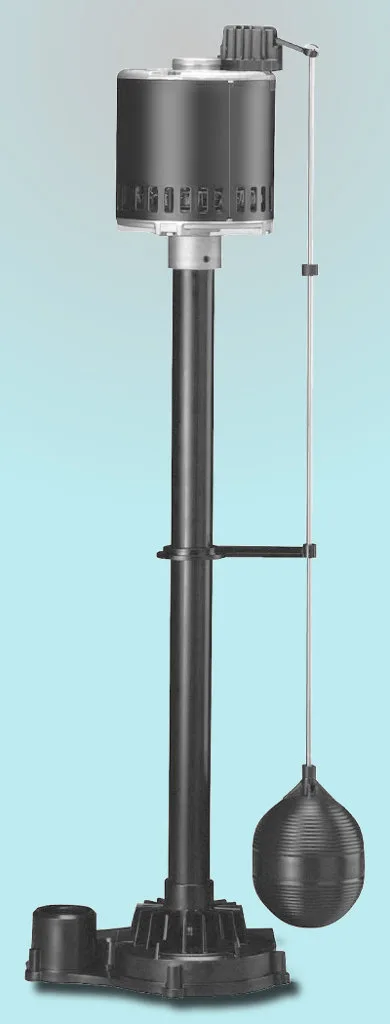
Image source: Wikimedia Commons / Own work (CC BY-SA)
Debris trapped under the flapper creates partial backflow even with correct orientation. Small rocks or sediment from the pit can wedge the disc slightly open. Regular inspection during error code diagnosis helps catch this issue before flooding occurs.
A pre-filter screen on the pump intake reduces this risk significantly.
Overtightening union nuts cracks the valve housing over time. Hand-tight plus a quarter turn is sufficient for a watertight seal. Excessive force distorts the EPDM gasket and creates leak paths.
Treat plastic fittings gently, just as you would when addressing mechanical fault indicators on sensitive appliances.
Frequently Asked Questions
Can I install a swing check valve horizontally?
No, standard swing check valves require vertical installation with the arrow pointing up. Gravity needs to pull the flapper closed against the seat. Horizontal positions leave the disc hanging open permanently.
Use only spring-loaded valves specifically rated for horizontal discharge lines to ensure proper sealing.
Why does my check valve make a loud banging sound?
That noise is water hammer caused by sudden flow reversal slamming the flapper shut. Standard swing valves are notorious for this in high-head applications. Switching to a silent or spring-loaded check valve cushions the closure.
Adding a water hammer arrestor near the valve also absorbs the hydraulic shock effectively.
How do I know if my check valve is failing?
Listen for water rushing back into the sump pit immediately after the pump shuts off. Rapid restart cycles within seconds also indicate backflow through a worn valve. Visible leaks around the union or body suggest structural failure.
Replace the valve promptly to prevent motor burnout from excessive cycling.
Does the check valve go above or below the shutoff valve?
Install the check valve between the pump and the shutoff valve. This placement allows you to isolate the pump for service without draining the entire discharge line. Placing it above the shutoff valve traps pressurized water during maintenance.
Always follow this sequence for safer and cleaner repairs.