
If you've ever stood in a basement during a heavy storm wondering whether your sump pump will actually keep up, you already know the real question isn't "what tools are needed to install a sump pump", it's whether you have the right ones before water starts rising. Installing a sump pump properly means more than just dropping in a unit. You need specific plumbing and electrical tools, plus enough understanding of basic household systems to route discharge safely and meet code requirements.
The core toolkit includes pipe cutters or hacksaws for PVC, a drill with masonry bits for concrete floors, a level, and basic hand tools like wrenches and screwdrivers. You'll also need plumbing supplies such as PVC cement and primer, a check valve, and possibly a union fitting for easy maintenance access. Electrical safety is critical, so if your setup requires a new outlet, it must include GFCI protection per National Electrical Code standards.
Let's break down exactly what you need and how each piece fits into the installation process.
what tools are needed to install a sump pump
You need basic plumbing and electrical tools. A drill, wrench set, PVC cutter, and level cover most steps. Safety gear includes gloves and eye protection.
Most installations also use PVC primer and cement. A check valve prevents backflow. If adding a new circuit breaker, hire a licensed electrician.
Essential Tools for the Job
Here's what you'll want ready before starting:
| Tool | Purpose | Notes |
|---|---|---|
| Cordless drill | Drilling into concrete or framing | Masonry bits required for concrete |
| Adjustable wrench set | Tightening fittings and bolts | Metric/imperial combo ideal |
| PVC pipe cutter or hacksaw | Cutting discharge piping | Clean cuts prevent leaks |
| Level | Ensuring pump sits flat | Critical for proper float operation |
| Measuring tape | Checking pit dimensions and clearances | At least 25 feet long |
| Safety glasses and gloves | Protecting eyes and hands | Non-negotiable for debris |
Plumbing Supplies
Beyond tools, these materials are essential for a watertight connection:
- PVC Schedule 40 pipe, Standard for sump pump discharge lines
- Check valve, Stops water from flowing back into the pit
- PVC primer and cement, Creates secure, leak-free joints
- Ball or gate valve, Allows manual shutoff for maintenance
- Discharge hose or rigid piping, Routes water away from foundation
If connecting to existing plumbing, bring a threaded bulkhead fitting to bridge metal and PVC pipes cleanly.
Step-by-Step Installation Process
Image source: Wikimedia Commons / MTA Capital Construction Mega Projects (CC BY)
Start by turning off power at the breaker panel. Remove any existing pump carefully, checking the pit for cracks or buildup that might interfere with the new unit. Measure the depth and width of the basin.
This determines your pipe routing options.
Place the new sump pump in the bottom of the pit. Ensure it sits level. Most submersible units rest directly on the base without additional support, but pedestal models require careful alignment to avoid vibration noise.
Next, assemble the vertical discharge pipe. Attach the check valve within 6 inches above the pump outlet. This prevents backflow that causes rapid cycling, which wears out the motor quickly.
Use PVC primer before applying cement to all threaded or slip-fit connections.
Run the discharge line horizontally out through the basement wall or floor. Drill a hole slightly larger than your pipe diameter. Seal around it with hydraulic cement or expanding foam to keep water and air out.
Finally, reconnect electricity via a GFCI-protected outlet. Never plug a sump pump into a standard receptacle. Manufacturers like Zoeller and Liberty Pumps specify operating temperatures between 32°F and 100°F, so verify compatibility with your climate zone.
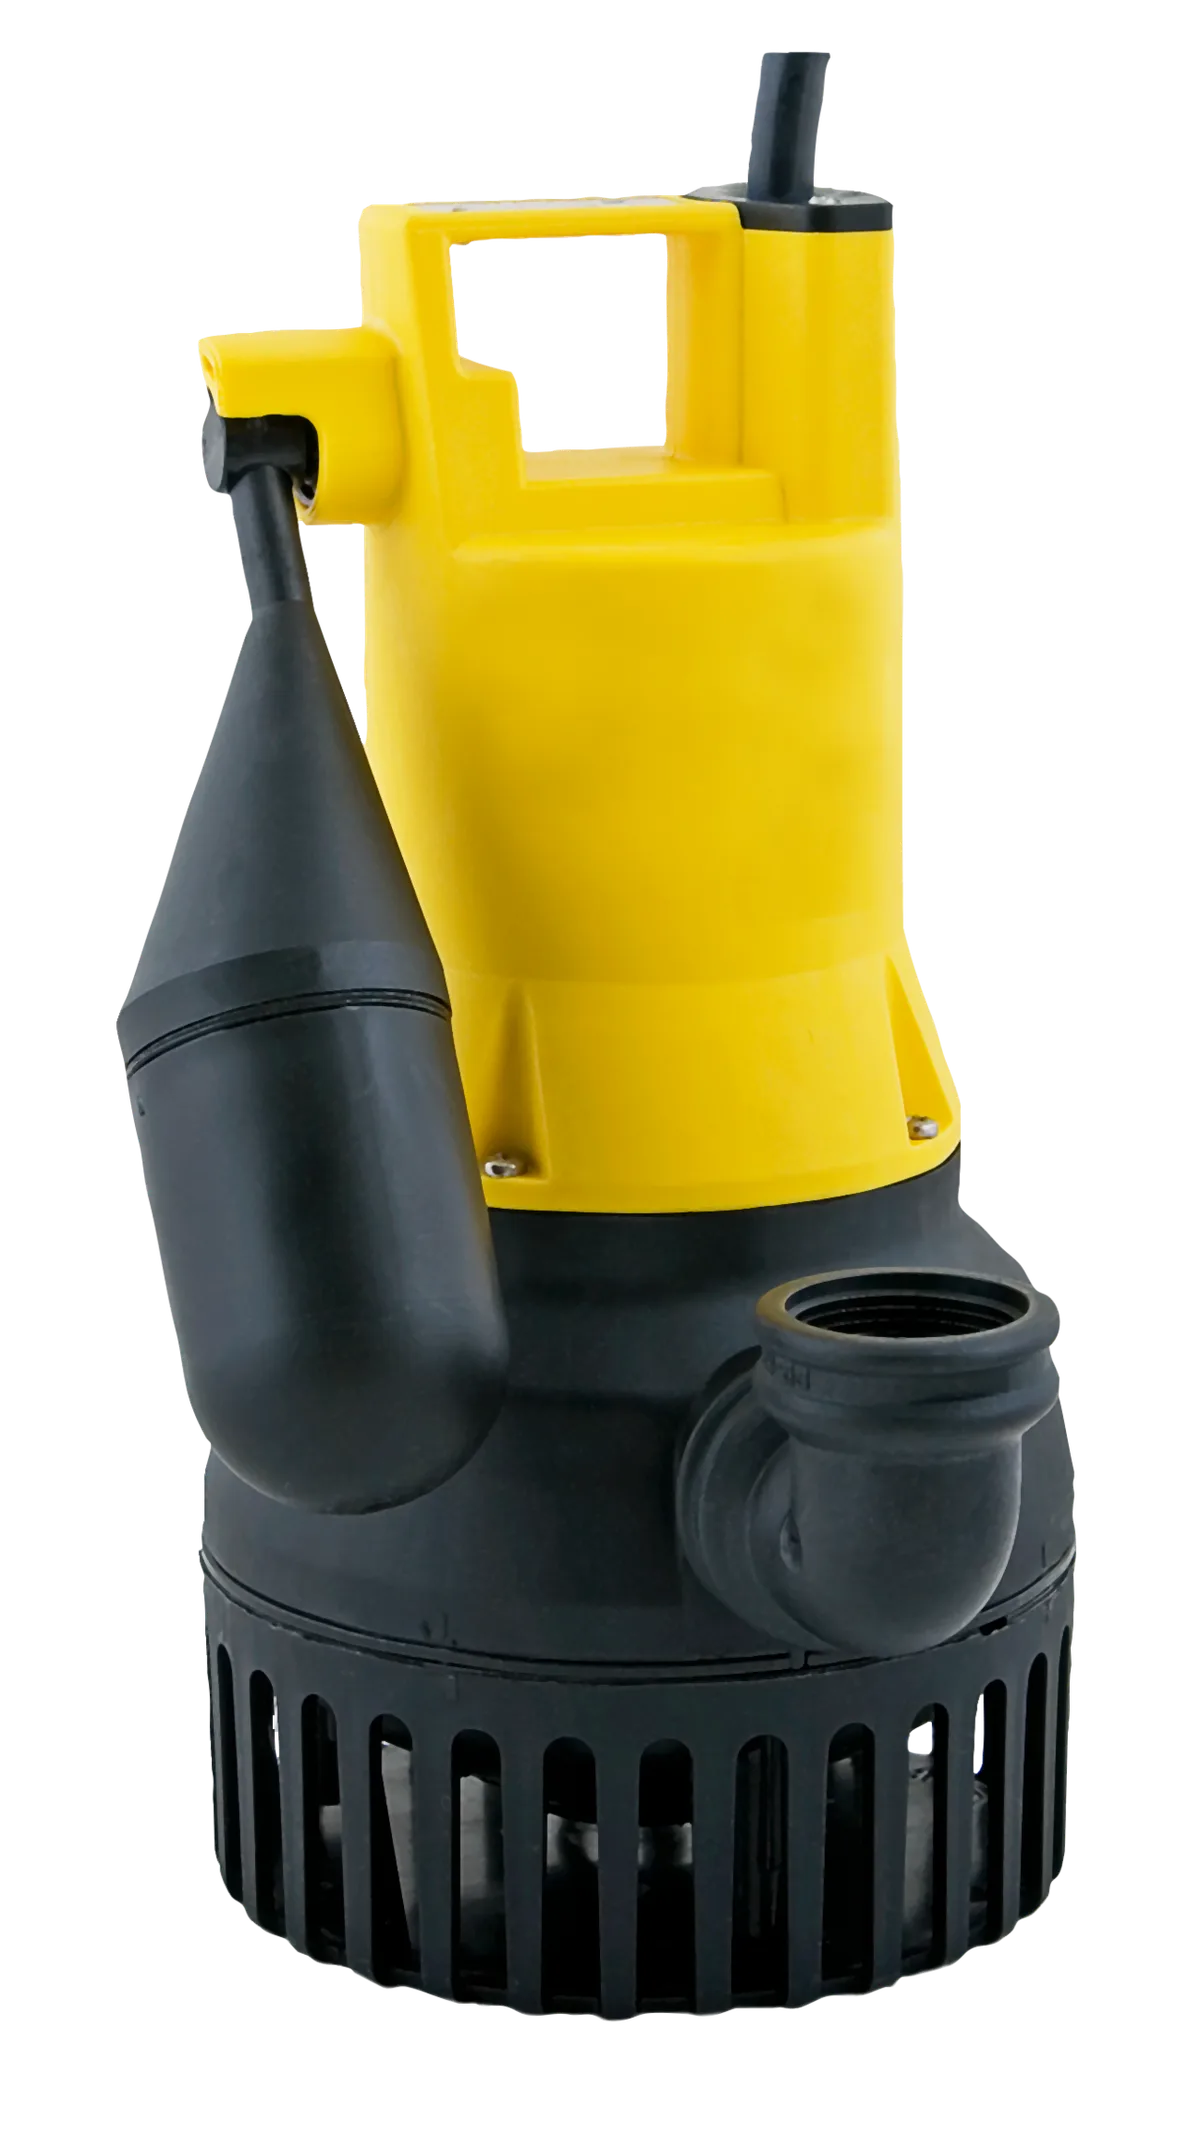
Image source: Wikimedia Commons / PumpExpert (CC BY-SA)
Common Installation Mistakes to Avoid
Image source: Wikimedia Commons / Hustvedt (CC BY-SA)
Installing without a check valve leads to constant on-off cycles. Water drains back down the pipe after shutdown. The pump restarts unnecessarily, shortening its lifespan dramatically.
Always position the valve vertically with the arrow pointing upward toward the discharge side.
Routing discharge too close to the foundation invites trouble. Water pooling near footings can seep back inside. Extend piping at least 10 feet from the structure.
In colder climates, bury lines below frost line depth or install freeze-proof sill cocks to prevent ice blockages.
Overloading circuits causes tripped breakers during storms. Never share an outlet between the pump and other appliances. Dedicated 15-amp GFCI circuits protect both equipment and users from electrical hazards near standing water.
Skipping pit preparation wastes time later. Debris clogs intake screens easily. Clean the basin thoroughly before placing the pump.
Add a layer of coarse gravel underneath to improve drainage flow beneath the unit.
Image source: Wikimedia Commons / PumpExpert (CC BY-SA)
Safety, Code Compliance, and Final Checks
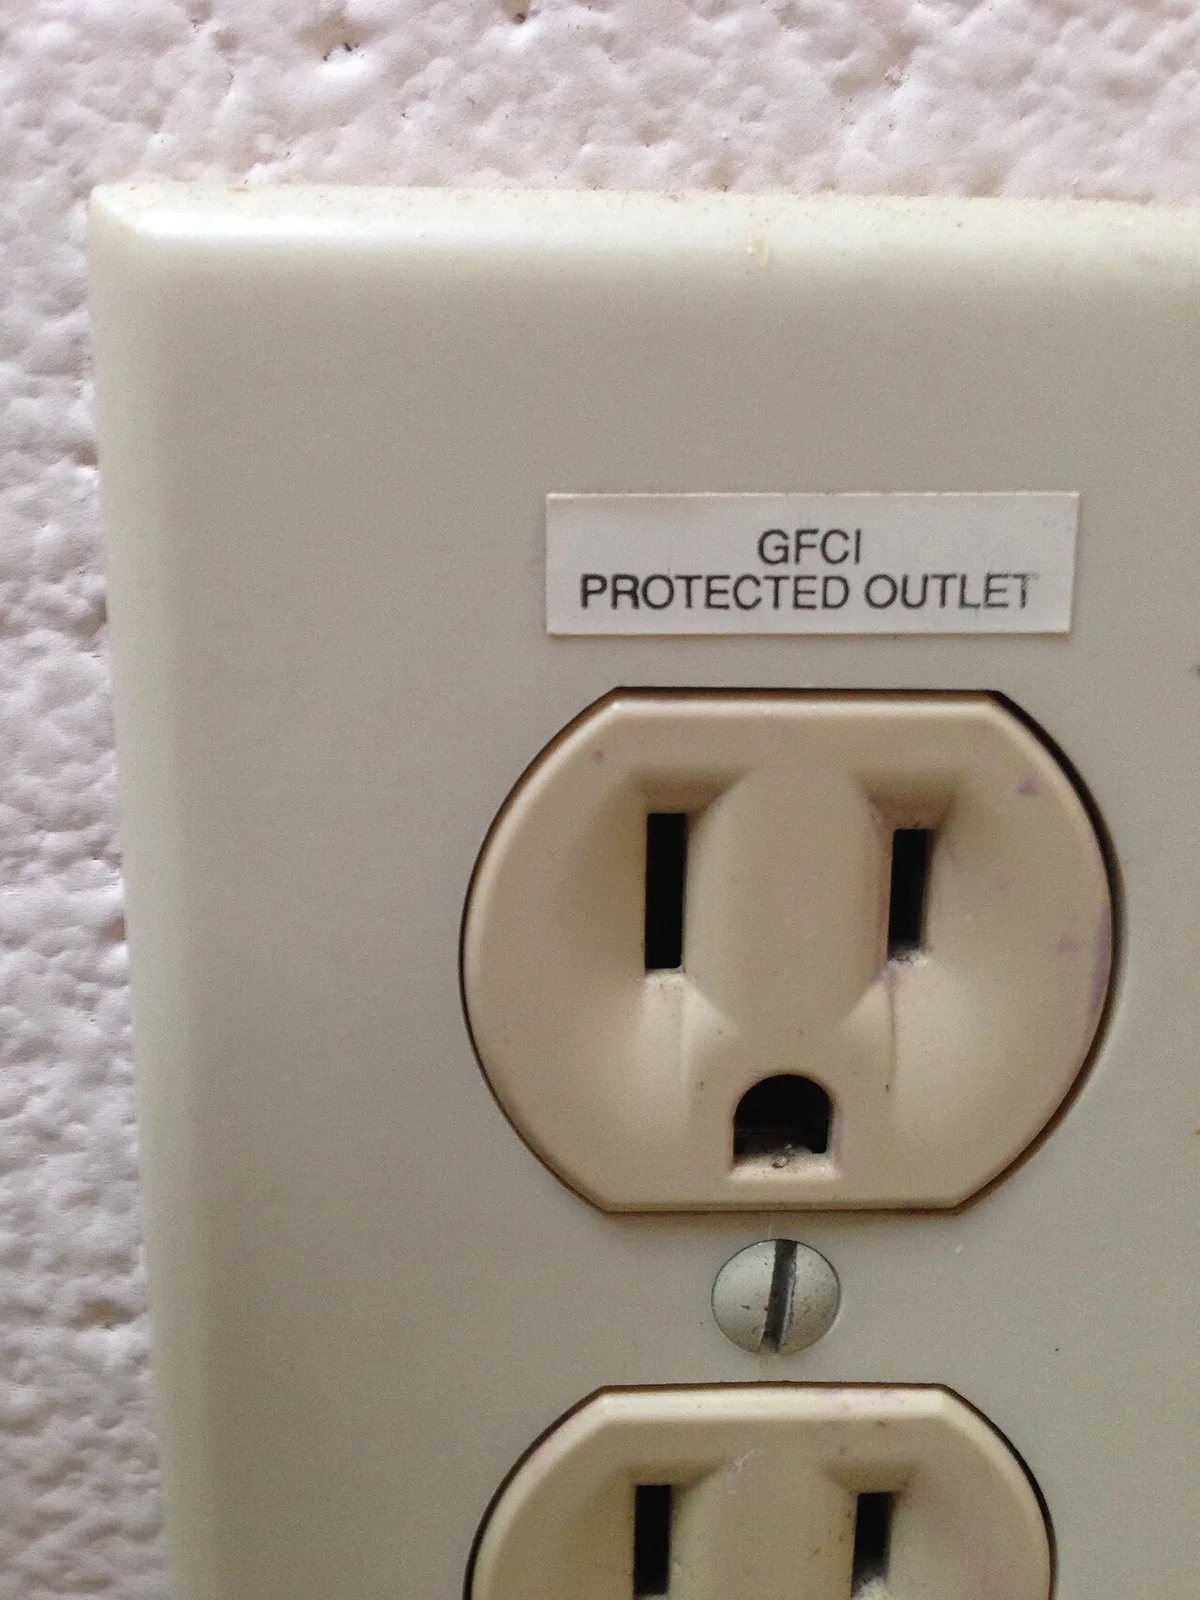
Image source: Wikimedia Commons / dankeck
Always disconnect electricity before handling wires or working near water. Test GFCI outlets monthly using the built-in test button. Replace any unit showing signs of wear immediately.
Local building codes vary widely. Some municipalities require permits for electrical work involving sump pumps. Others mandate specific pipe materials or discharge locations.
Contact your city inspector before beginning work to confirm compliance requirements.
For complex setups involving new electrical circuits, hire a licensed electrician. Improper grounding poses serious shock risks. Professional installers also verify load calculations match your home’s service panel capacity.
After installation, simulate power failure conditions by unplugging the pump briefly. Confirm automatic restart functions correctly. Listen for unusual vibrations or grinding sounds during operation.
These often indicate misalignment or foreign objects caught in the impeller housing.
Frequently Asked Questions
Can I install a sump pump myself?
Yes, if you understand basic plumbing and electrical safety. However, any new wiring must follow National Electrical Code standards. Consulting a professional electrician ensures long-term reliability and legal compliance in many jurisdictions.
What size sump pump do I need?
Pump size depends on expected water volume and total dynamic head. Residential basements typically use 1/3 HP to 3/4 HP units. Larger homes or those in flood zones may require higher-capacity commercial-grade models rated for continuous duty cycles.
Do I need a check valve on my sump pump?
Absolutely. Without one, water flows backward down the discharge pipe after shutdown. This triggers repeated start cycles that strain the motor and waste energy unnecessarily.
Install vertically with arrow pointing upward.
How far should the discharge pipe extend from the house?
At minimum, extend discharge at least 10 feet from your foundation. Some local codes mandate greater distances depending on soil permeability and proximity to neighboring properties. Always direct flow away from walkways and landscaping Features.