
Learning how to replace a sump pump check valve starts with identifying the specific failure symptom. A loud thud usually means you need a silent spring-loaded model rather than a standard swing valve. Manufacturer specifications indicate most residential discharge lines use 1-1/4 inch or 1-1/2 inch PVC piping as of 2026.
Getting the size and type right prevents immediate rework after installation.
Diagnosing a Failed Check Valve Before You Cut Pipe
A failed check valve typically shows three distinct warning signs before total failure occurs. Loud banging noises indicate water hammer from a worn swing flapper slamming shut against gravity. Rapid pump cycling happens when backflow drains into the pit and triggers the float switch repeatedly.
Visible leaking at joints suggests cracked housing or degraded rubber seals that no longer hold pressure.
You must confirm the valve is actually the problem before cutting any pipe. Disconnect power and pour water directly into the discharge line above the valve to test backflow prevention. If water flows backward into the pit, the internal mechanism has failed completely.
This simple test rules out float switch issues or clogged weep holes that mimic valve failure.
Inspect the existing setup for physical damage or improper orientation during diagnosis. Vertical installations require valves rated specifically for upright flow to prevent flapper sagging. Horizontal runs need adequate straight pipe sections before and after the valve per plumbing codes.
Identifying these constraints now ensures your replacement fits correctly without modifying surrounding pipework later.
Choosing the Right Replacement Valve and Connection Type
Selecting the correct valve depends entirely on your current pipe material and clearance space. Slip-fit PVC valves work best for standard plastic discharge lines with enough room for solvent welding. Threaded models suit older iron pipes or situations where glue fumes are problematic in confined pits.
Flexible rubber couplings offer the easiest retrofit when existing pipe ends are damaged or uneven.
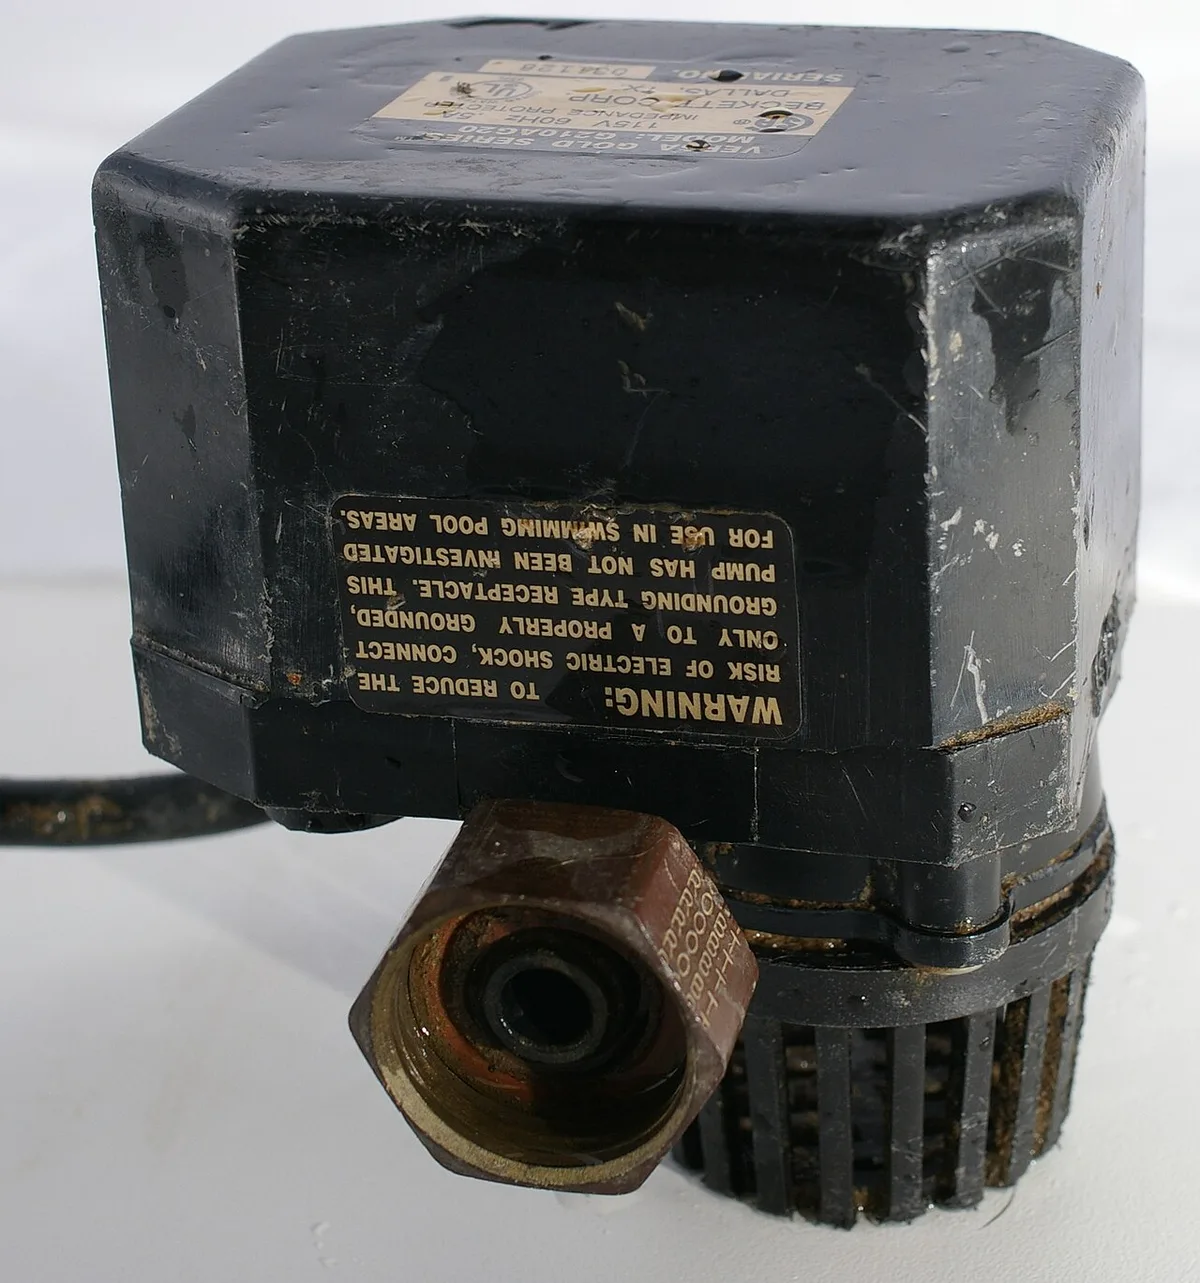
Image source: Wikimedia Commons / Hustvedt (CC BY-SA)
Union-style valves provide significant long-term advantages over permanently glued alternatives for future maintenance. The threaded union nut allows hand-tight removal without cutting pipe during next service interval. Standard slip valves require sawing out the entire section every time replacement becomes necessary.
We recommend union designs whenever vertical clearance permits their slightly longer body length.
Spring-loaded silent check valves eliminate water hammer better than traditional gravity-swing models in most homes. The internal spring closes the flapper gradually before reverse flow builds momentum that causes shock waves. Swing valves rely solely on gravity and often slam shut violently against high-head pressure.
Aggregate reviews consistently report quieter basement operation after upgrading to spring-assisted mechanisms.
| Valve Type | Best For | Installation Difficulty | Noise Level |
|---|---|---|---|
| Swing Check | Low head pressure, budget repairs | Moderate | Loud thud common |
| Spring-Loaded Silent | High head, noise-sensitive areas | Moderate | Nearly silent |
| Union Style | Future serviceability, tight spaces | Easy | Varies by mechanism |
| Flexible Coupling | Damaged pipes, quick retrofits | Very Easy | Depends on insert |
Step-by-Step Visual Guide to Removing and Installing the Valve
Safety comes first so always disconnect power at the breaker panel before touching any components. Water and electricity create lethal hazards in damp sump pits even with GFCI protection present. Drain residual water from the discharge line by opening a downstream cleanout or using a wet vacuum.
Supporting the vertical pipe weight prevents stress fractures while you work on connections below.
Cut out the old valve section carefully using a hacksaw or reciprocating saw with fine teeth. Make straight cuts perpendicular to the pipe axis to ensure proper seating for new fittings. Deburr both cut ends thoroughly with sandpaper or a deburring tool to remove plastic ridges.
Clean surfaces with PVC cleaner until no residue remains on either mating surface.
Dry-fit the new assembly first to verify alignment and adequate clearance within the pit. Apply purple primer followed by medium-body cement to both pipe and fitting surfaces evenly. Push fittings together with a quarter-turn twist and hold firmly for thirty seconds to prevent push-out.
Align the flow direction arrow precisely with discharge path before cement sets permanently.
Allow solvent welds to cure fully before testing under pressure according to manufacturer timelines. Most cements achieve handling strength in fifteen minutes but need two hours for full pressure rating. Run several pump cycles while watching joints closely for drips or seepage at connections.
Secure all vertical piping with metal strapping every four feet to reduce vibration stress on new joints.
Proper support matters just as much as the seal itself when troubleshooting appliance error codes or mechanical failures elsewhere in your home. Unsupported pipe weight transfers stress directly to valve joints causing premature cracks or leaks. This principle applies across many household systems where vibration meets rigid connections.
Taking time to strap pipes correctly extends component life significantly beyond minimum code requirements.
Avoiding Common Installation Mistakes That Cause Leaks or Noise
Installing the valve backwards is the most frequent and costly error DIYers make during replacement. Flow arrows must point away from the pump toward the exterior discharge outlet without exception. Reverse installation blocks all water flow and can burn out the motor within minutes of operation.
Double-check orientation before applying any cement since corrections require cutting out the entire assembly again.
Insufficient pipe support causes vibration-induced failures that appear weeks after seemingly perfect installation. Vertical discharge lines exert substantial downward force that stresses glued joints over time. Metal hangers or plastic straps should anchor piping to foundation walls at regular intervals throughout its run.
Neglecting this step voids many manufacturer warranties and guarantees callback repairs down the road.
Using wrong cement types or skipping primer creates weak bonds that fail under cyclic pressure loads. Medium-body PVC cement fills gaps better than thin formulations for transition fittings and valves. Primer softens plastic chemically to enable molecular fusion rather than simple surface adhesion alone.
Joints made without primer may pass initial pressure tests but develop slow leaks months later.
Overtightening threaded connections cracks valve bodies just as easily as undertightening causes leaks. Hand-tighten union nuts plus one-quarter turn maximum using channel lock pliers gently. Teflon tape or pipe dope should lubricate threads not compensate for excessive torque forces.
Cracked housings from overtightening often go unnoticed until water damage appears on basement floors.
Understanding mechanical limits helps whether you're fixing a sump system or resolving an LG dryer CL code wont start situation. Force solves nothing in precision assemblies and breaks more than it repairs. Patience during installation pays dividends through decades of reliable leak-free operation.
Frequently Asked Questions
How often should sump pump check valves be replaced?
Most check valves last five to seven years under normal residential cycling conditions. Annual testing during spring maintenance reveals wear before catastrophic failure occurs. Replace immediately if you hear loud banging or notice rapid pump cycling.
Proactive replacement costs far less than emergency flood damage repairs.
Can I install a check valve horizontally instead of vertically?
Some valves are rated for horizontal installation but many swing-type models are not. Always verify manufacturer specifications for orientation ratings before purchasing or installing. Horizontal mounts require spring-loaded designs that don't rely on gravity for closure.
Incorrect orientation causes premature failure regardless of valve quality or brand reputation.
Why does my new check valve still make noise?
Persistent noise usually indicates incorrect valve type selection or inadequate pipe support. Swing valves inherently bang shut while spring-loaded silent models close gradually without impact. Loose piping amplifies normal operational sounds through structural transmission to floor joists.
Adding pipe straps and upgrading to silent valves resolves most post-installation noise complaints effectively.
Do I need to prime PVC before gluing check valves?
Primer is absolutely essential for pressure-rated sump discharge applications per plumbing codes. It chemically prepares surfaces for molecular bonding that raw cement alone cannot achieve. Skipping primer creates joints that may pass initial tests but fail under cyclic loading later.
Always use matching primer and cement systems from reputable manufacturers for reliable seals.