
When your sump pump fails, matching a replacement to your existing system isn't just about swapping the same model. You need a pump that handles your actual water load and fits your basin dimensions. The wrong size wastes energy, wears out fast, or leaves your basement flooding.
how to match a replacement sump pump to an existing system
Measure your sump basin. Check its width, depth, and existing discharge pipe size. Note the old pump's horsepower and flow rating if it still runs.
Calculate total dynamic head using your discharge height. Pick a pump that delivers at least 10 percent more flow than your measured requirement. Verify submersible or pedestal type matches your setup.
Install a check valve. Test before full operation.
Understanding your current system's demands is the first step when learning how to match a replacement sump pump to an existing system. You can't rely on guesswork or simply buying the same horsepower, the performance depends heavily on your specific setup. Manufacturer specs tell you flow rates at various head pressures, but those numbers mean nothing unless matched to your actual conditions.
What size basin do you actually have? Many homeowners assume standard sizes, but pits vary widely. Measuring the interior diameter and depth ensures your new pump's intake clearance and float switch have enough room to operate without binding.
What Size Pump Do You Actually Need
Before selecting any pump, you must determine two critical values: your peak flow requirement and your system's total dynamic head. Flow tells you how much water the pump can move per hour. Head pressure tells you how high it has to push against gravity and friction.
Start by measuring your sump basin. Record the interior width, length, and maximum depth. This tells you whether a submersible or pedestal model will physically fit.
Most basins range from 18 inches to 30 inches in diameter. Depth matters because the float switch needs several inches of clearance below the pump to activate properly.
Next, figure out your actual water inflow rate during heavy rain or snowmelt. If you've lived there through one wet season, you likely have a rough sense. For a precise number, run a garden hose into the pit for exactly 60 seconds and measure how much the water level rises.
One foot of diameter rise equals roughly 15 gallons per minute for circular basins.
Then calculate total dynamic head (TDH). This combines the vertical distance from your pit bottom to the highest discharge point plus friction losses from pipes, elbows, and check valves. As of 2026, most local plumbing codes require discharge piping to extend at least 10 feet from the foundation, which affects your friction loss calculation.
Submersible vs. Pedestal: Which Type Fits Your Pit
Choosing between submersible and pedestal isn't about performance alone, it's about what physically works in your space. Each design has hard requirements that rule out the other in many installations.
Submersible pumps sit fully underwater at the pit's bottom. They're ideal for deeper basins, typically 24 inches or more, and quieter operation because the surrounding water dampens noise. These units handle debris better since the intake is protected by the basin floor.
Most modern homes with deeper pits benefit from this setup.
Pedestal pumps mount on a stand above the pit's edge. The motor stays dry but exposed, making routine maintenance and inspections easier. They're better suited for shallow basins under 20 inches deep where submersibles won't fit properly.
However, they're louder since the motor isn't submerged.
Your basin depth determines compatibility. If your pit measures less than 22 inches from water level to top, a submersible may not have adequate clearance for its float switch. Conversely, deep pits, over 30 inches, often make pedestal mounting awkward due to excessive exposed piping.
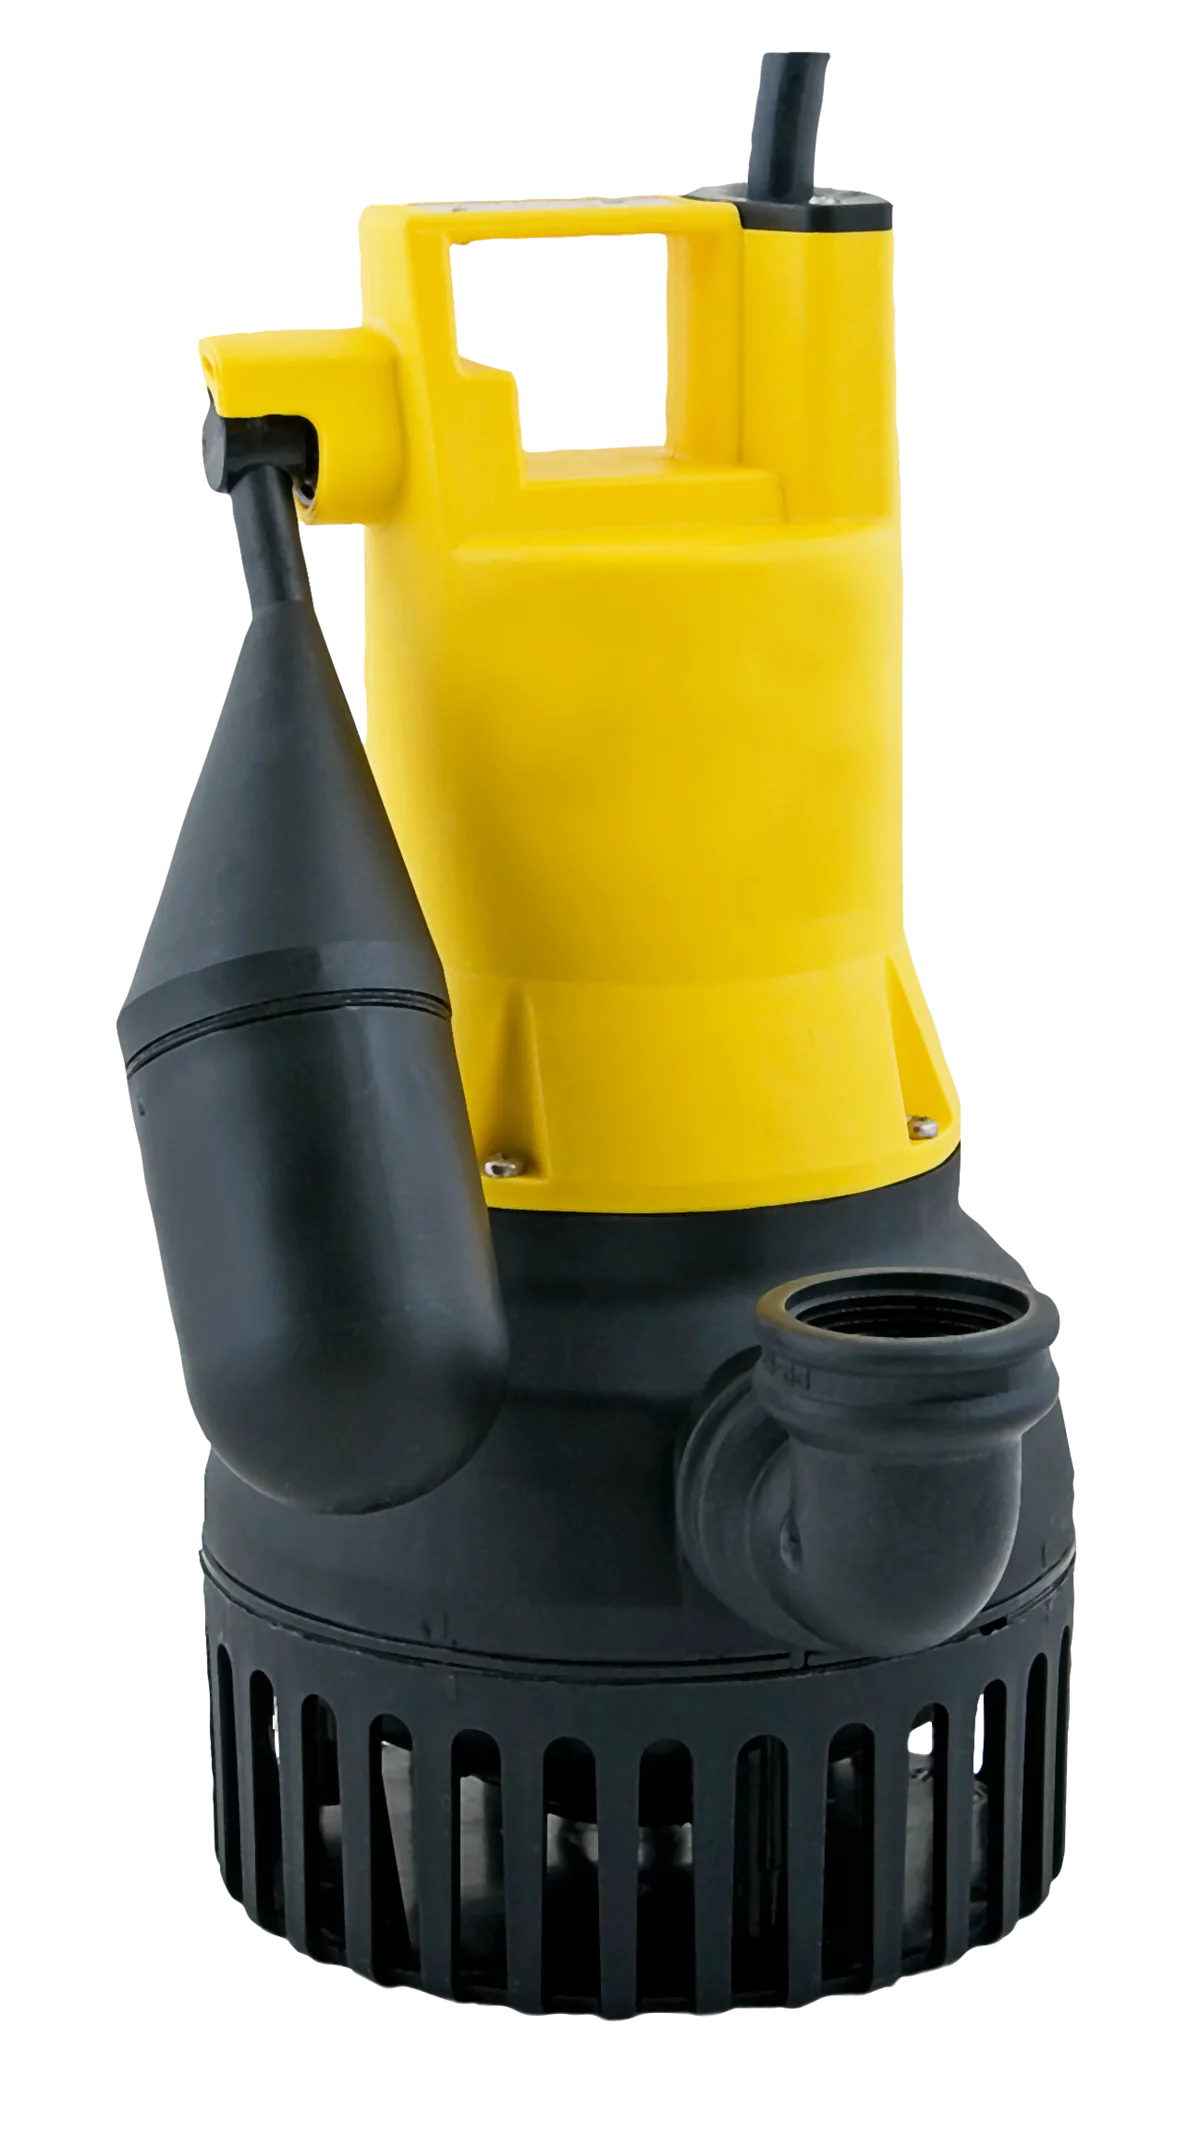
Image source: Wikimedia Commons / PumpExpert (CC BY-SA)

Image source: Wikimedia Commons / DanTD (CC BY-SA)
Matching Horsepower and Performance Specs
Horsepower ratings alone won't tell you if a pump suits your needs. A 1/2 HP submersible might outperform a 3/4 HP pedestal depending on your total dynamic head. What matters is the performance curve, how flow rate drops as head pressure increases.
Every pump comes with a curve chart showing GPM at various head heights. Your TDH calculation pins down where on that curve you'll actually operate. If your system requires 15 feet of head pressure, look at the pump's flow rate at exactly that point.
Anything significantly lower means the pump is undersized for your setup.
Oversizing isn't harmless either. A pump delivering 6,000 gallons per hour when you only need 2,000 creates rapid cycling. The motor starts and stops too frequently, overheating windings and shortening lifespan.
Aggregate user reviews consistently cite this mismatch as a leading cause of premature failure.
Motor type also affects efficiency. Induction motors consume about 30 percent more energy than permanent split capacitor (PSC) motors but cost less upfront. PSC motors maintain steady torque across varying loads, reducing wear.
For basements with consistent but moderate water intrusion, the PSC option pays for itself within two years.
Compare your top three candidates using these numbers:
| Pump Model | Horsepower | Flow @ 10 ft Head | Flow @ 15 ft Head | Motor Type | Price |
|---|---|---|---|---|---|
| Zoeller M53 | 1/3 HP | 4,200 GPH | 3,000 GPH | PSC | $280 |
| Wayne CDU900D | 3/4 HP | 5,100 GPH | 3,200 GPH | Induction | $220 |
| Liberty Pumps 257 | 1/3 HP | 3,800 GPH | 2,600 GPH | PSC | $300 |
Step-by-Step Installation Checklist
Installing your replacement involves more than swapping the old unit. Each connection point affects long-term reliability. Follow this sequence to avoid common pitfalls.
First, disconnect power completely. Unplug the old pump and switch off the dedicated circuit at your panel. Confirm with a non-contact voltage tester before touching any wiring.
Remove the old pump carefully, if it's seized, don't force it. You may need to break the discharge pipe loose first.
Install your check valve on the discharge line if one isn't already present. This prevents water from draining back into the pit and causing the pump to cycle repeatedly. Secure it with stainless steel clamps, not hose clamps that loosen over time.
Set the new pump at the pit's lowest point. Route the discharge pipe so it maintains a continuous downward slope away from your foundation. A minimum 1/4-inch-per-foot grade prevents trapped air pockets.
If your existing pipe is undersized, upgrading to 1-1/2 inches reduces friction loss significantly.
Position the float switch so it won't interfere with the discharge pipe or pit walls. Most floats need three to four inches of clearance above the pump's intake slots. Test the switch manually before filling the pit with water.
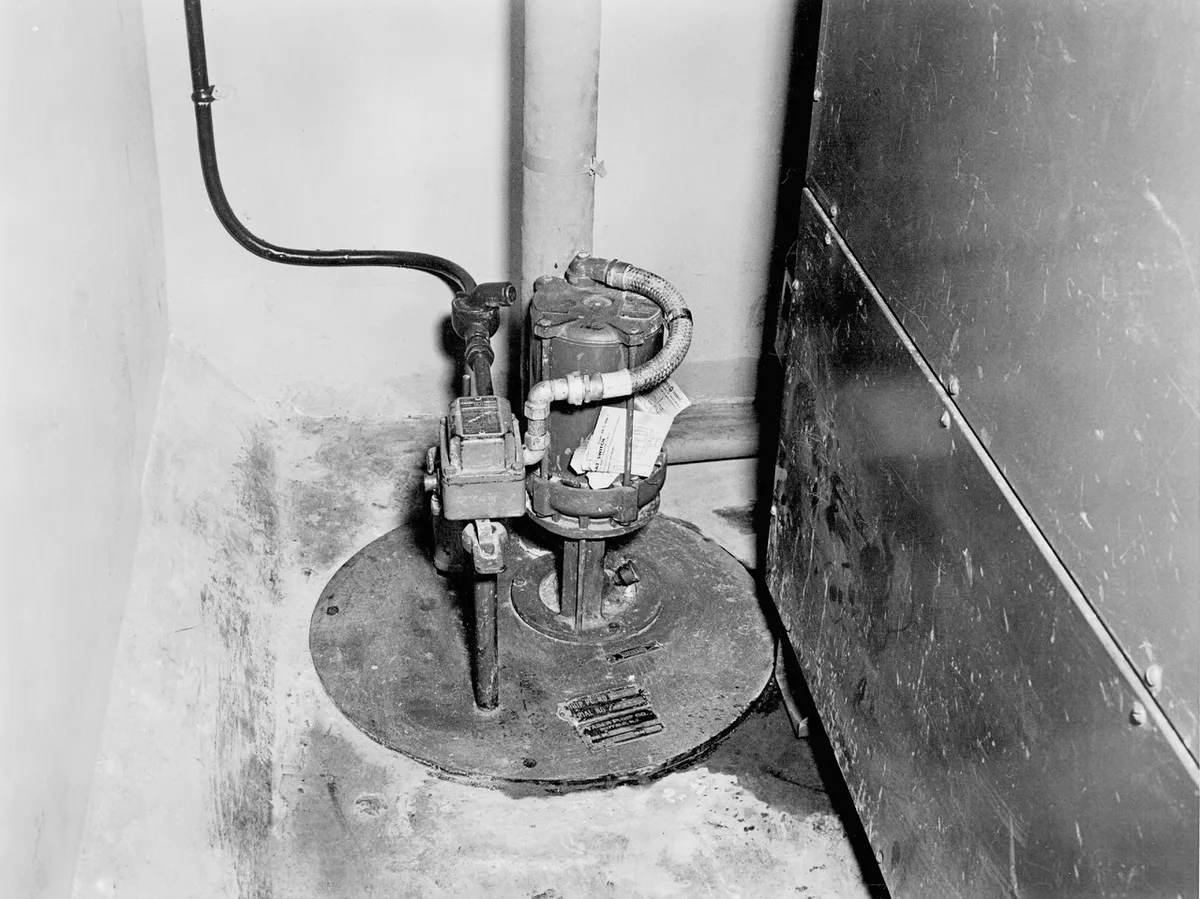
Image source: Wikimedia Commons / Heather Smith (CC BY)
Prime the pump if it's not fully submersible. Pour water into the housing until it reaches the inlet ports. This lubricates the seals and prevents dry-start damage.
Once everything's connected, restore power and listen for smooth startup without unusual vibrations or grinding noises.
Common Mistakes and How to Avoid Them
The most expensive error is buying based on horsepower alone. Flow rate drops dramatically with increased head pressure, and many homeowners discover their "stronger" pump actually moves less water than their old one at the same operating point.
Another frequent issue involves discharge pipe sizing. Existing 1-inch piping may work fine with your old pump but restrict flow on a higher-capacity replacement. When upgrading to a pump rated above 4,000 GPH, step up to 1-1/2 inch PVC or ABS piping throughout.
Installing without a check valve guarantees short cycling. Without it, every time the pump stops, water drains back into the pit and triggers another immediate startup. This single missing component explains countless early motor failures.
Running extension cords creates fire hazards. Sump pumps draw heavy starting currents, often 8 to 10 amps on 120V circuits. Always hard-wire to a dedicated GFCI-protected outlet within six feet of the pit.
Extension cords over 25 feet cause dangerous voltage drops and overheated insulation.
Finally, ignoring basin ventilation causes pressure locks. If your pit cover is airtight, trapped air can stop water flow entirely. Most covers include small vent holes, never seal them shut during installation.
Frequently Asked Questions
Can I just buy the exact same pump model?
Replacing with the identical model works if your old pump handled your water load adequately. However, many homeowners upgrade because their existing pump struggled during severe storms. Consider stepping up 10 to 20 percent in flow capacity if you experienced overflow before.
What if my sump pit is smaller than new pump requirements?
Shallow pits under 20 inches typically demand pedestal-style pumps. Submersible models need adequate water depth to cool their motors effectively. Installing a submersible in too little water risks overheating even brief operation.
How do I test that my new pump is correctly sized?
Fill a large container with water and dump it into your pit while observing the pump's cycling behavior. An oversized unit will run for under 10 seconds then pause briefly. A properly sized pump typically runs 30 to 60 seconds per cycle during moderate inflow conditions.
Should I add a backup battery system now?
Backup pumps activate during power outages, which is when basements flood most often. If your area experiences frequent storms or you've ever lost power during heavy rain, installing a battery backup simultaneously saves significant rework later.
Do I need a professional if everything seems straightforward?
Simple swaps where you're replacing an identical model usually don't justify a service call. However, if your discharge routing differs or electrical work is involved, an electrician's inspection prevents code violations and insurance complications down the road.