
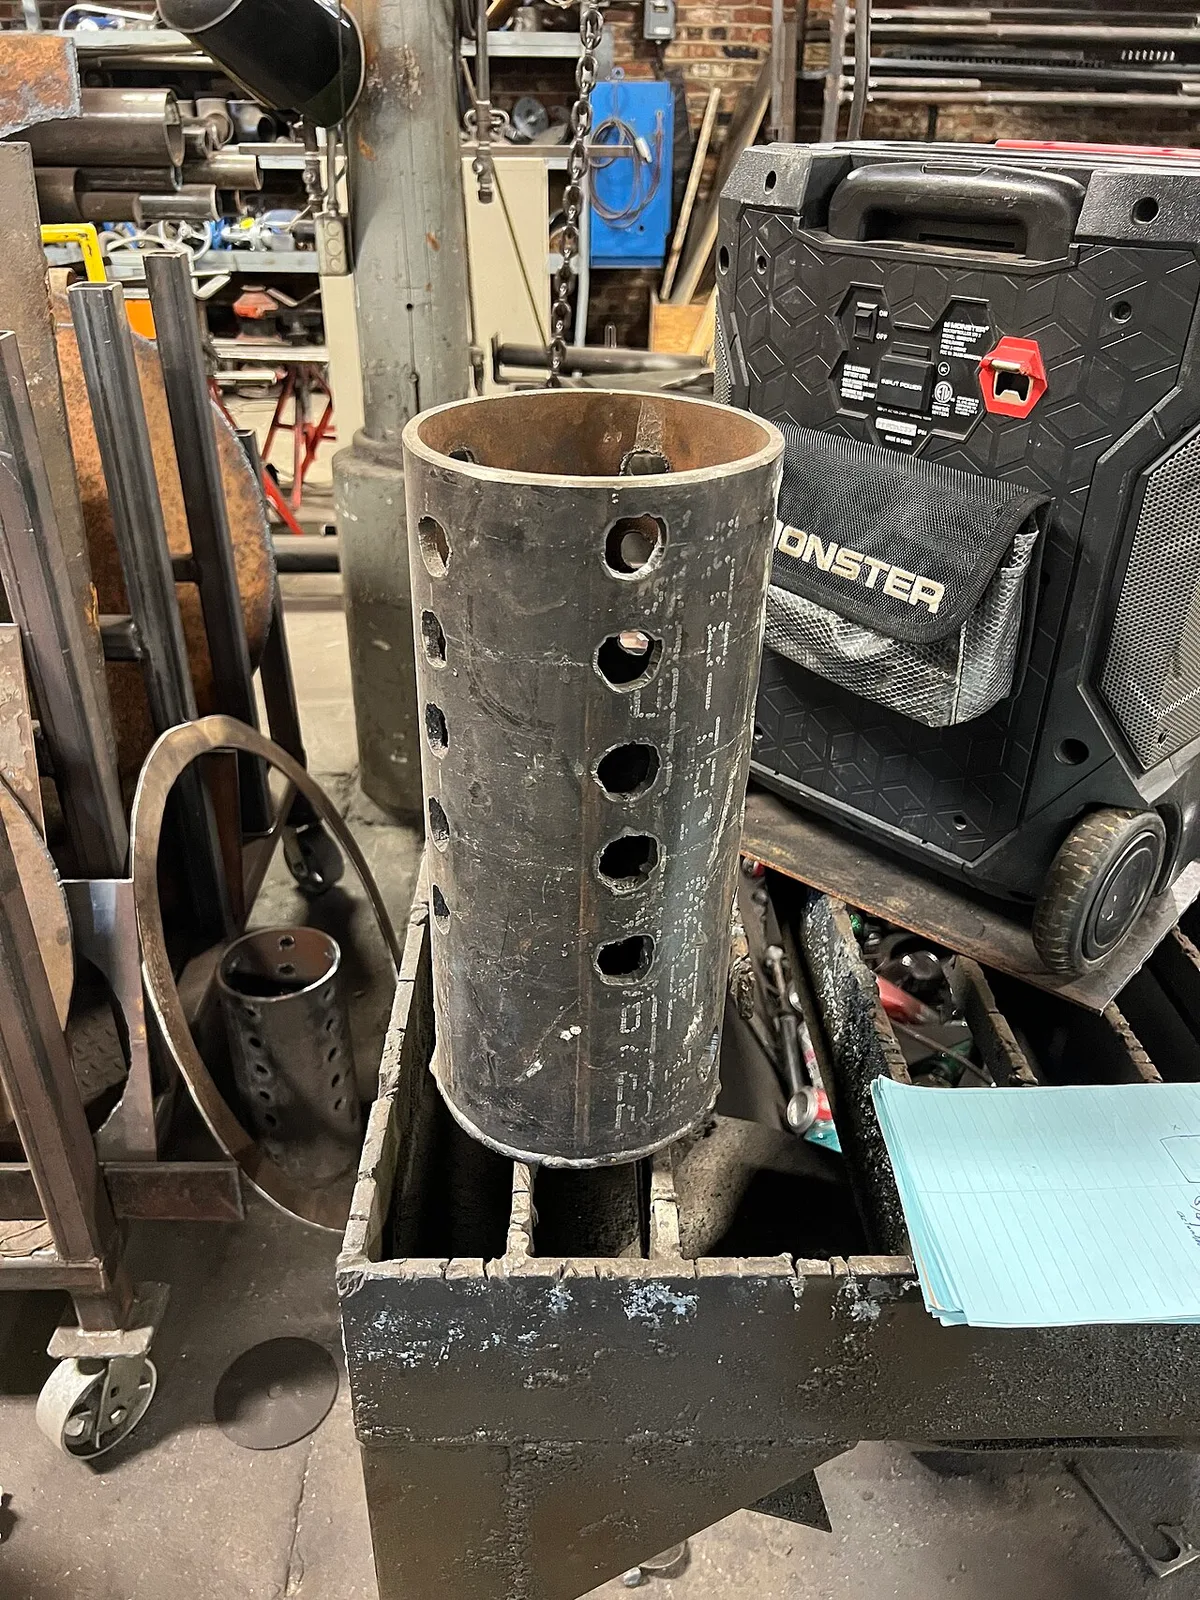
About 20 to 30 holes, spaced evenly around the sides, about 2 to 4 inches from the bottom.
Use ⅜-inch holes for standard residential basements.
Drill holes only in the lower half of the basin.
The exact number depends on your soil and water pressure.
Too few holes can starve the pump.
Too many weaken the basin or let in debris.
A sump pump basin collects groundwater that seeps through your foundation.
Holes let water flow in from the surrounding soil, typically through a gravel-filled trench called a French drain.
Without enough holes, the pump may run dry or fail to keep up during heavy rain.
As of 2026, most building codes require at least two holes for proper drainage, though the ideal number varies based on local conditions.
Why Sump Basin Hole Count Matters
Getting the hole count wrong can cost you thousands in water damage.
Too few holes mean the pump struggles to pull water in, leading to constant cycling or burnout.
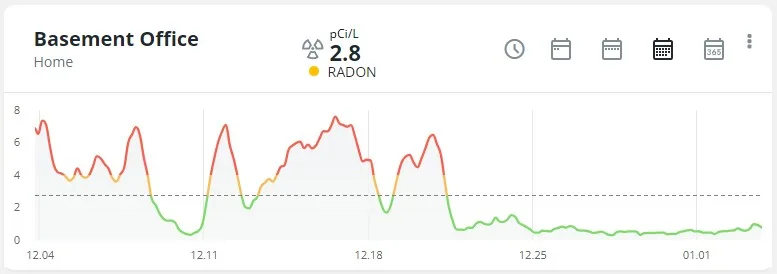
Too many holes invite sediment, debris, and even radon gas into your basement air.
Each misplaced or poorly sized hole introduces a risk that compounds over time.
Common problems from incorrect hole placement include:
- Sediment clogging the pump impeller
- Structural weakening of the basin
- Dry-running pumps burning out prematurely
- Radon infiltration in untested basements
- Inconsistent water levels affecting float switches
If you've ever wondered why your basement still gets damp despite having a sump pump, the basin's hole configuration might be the culprit.
Let's look at how to size and place those holes correctly.
Core Facts: How Many Holes & Where
The standard recommendation for residential sump basins is between 20 and 30 weep holes.
These holes should be drilled into the lower portion of the basin, roughly 2 to 4 inches above the bottom edge.
Each hole typically measures ⅜ inch in diameter, though ½ inch works better in sandy or rocky soils.
Here's what manufacturer specifications and plumbing experts suggest:
| Factor | Hole Count | Hole Size | Placement |
|---|---|---|---|
| Standard Basement | 20-25 | ⅜" | 2-3" from bottom |
| High Water Table | 25-30+ | ½" | 3-4" from bottom |
| Clay Soil | 20-25 | ⅜" | 2-3" from bottom |
| Sandy/Rocky Soil | 25-30 | ½" | 3-4" from bottom |
Spacing matters as much as quantity.
Distribute holes evenly around the circumference rather than clustering them in one area.
Staggered vertical rows prevent stress concentration points that could crack the basin.
Pre-drilled basins usually come with factory holes already punched in place.
For retrofitting older basins or upgrading existing systems, verify hole alignment with your discharge setup.
Misaligned holes can reduce efficiency and force unnecessary modifications later.
Risks of Wrong Hole Placement
Poorly placed holes are silent saboteurs of effective sump pump operation.
Drilling holes too low invites silt and debris, clogging the pump within weeks.
Holes positioned too high leave pockets of trapped water that never reach the intake zone.
Over-drilling compromises structural integrity, especially in polyethylene basins that flex under pressure.
Major risks include:
- Sediment Intrusion: Unfiltered gaps allow soil particles to enter the basin, wearing down impellers and reducing pump lifespan.
- Structural Failure: Excess holes weaken the basin walls, potentially causing cracks or collapse under hydrostatic pressure.
- Dry Pump Cavitation: Insufficient intake leads to vapor lock and mechanical strain when water levels drop.
- Radon Exposure: Improper sealing around holes can permit radioactive gas entry, violating EPA safety thresholds.
Some jurisdictions mandate radon-resistant construction in high-risk zones.
Check local building codes before modifying your basin configuration.
When in doubt, consult a certified waterproofing contractor rather than guessing.
Safe Practices: Installing or Upgrading
Before drilling new holes, shut off power to the sump pump and disconnect the battery backup.
Mark hole locations with a pencil, ensuring even spacing around the basin perimeter.
Start with fewer holes, you can always add more after observing performance during wet seasons.
Step-by-step installation tips:
- Turn off electricity at the circuit breaker
- Remove the basin lid and clean out debris
- Measure and mark hole positions every 6, 8 inches apart
- Use a ⅜" or ½" spade bit to drill downward-angled holes
- Wrap each hole with filter fabric to block sediment
- Reinstall the lid with a watertight seal
Always wear safety glasses and gloves when drilling into plastic or concrete.
After installation, test the system by pouring water into the basin slowly.
Monitor for leaks, unusual noises, or delayed pump response.
Frequently Asked Questions
Can I add extra holes to an existing sump basin?
Yes, but only if the basin material allows it.
Polyethylene basins accept additional holes easily, while concrete models may require specialized tools.
Seal all penetrations with silicone caulk to maintain structural integrity.
Should holes be angled upward or downward?
Angle holes slightly downward to encourage water flow into the basin.
Upward-facing holes tend to trap air and slow inflow.
Ensure no sharp burrs remain after drilling to protect internal components.
What happens if I drill holes too close to the bottom?
Bottom-proximal holes draw in sediment, debris, and small stones from the gravel bed.
This accelerates pump wear and increases maintenance frequency.
Maintain at least 2 inches of clearance between the lowest hole and basin floor.
Do pre-drilled basins eliminate the need for additional holes?
Most pre-drilled basins meet code minimums but aren't optimized for every situation.
In areas with heavy clay or fluctuating water tables, supplementary holes often improve performance.
Evaluate your specific conditions rather than relying solely on factory defaults.