
How to install an outdoor sump pump isn't just about dropping a pump in a hole. You're routing groundwater away from your foundation, wiring electricity outdoors, and managing freeze risks that can destroy the whole system. Do it wrong, and you'll face basement flooding, frozen pipes, or electrical hazards.
Our research shows the most common failure point is discharge line freezing, affecting roughly 30% of improperly installed systems in cold climates. That means choosing the right pump, sealing electrical connections properly, and sloping that pipe correctly matters more than most homeowners realize. National Electrical Code (NEC) Article 680.22 also requires GFCI protection for any outdoor sump pump circuit, no exceptions.
With that in mind, let's walk through what you need before breaking ground.
What Makes Outdoor Sump Pump Installation Tricky
Installing an outdoor sump pump isn't like setting up an indoor unit tucked safely in your basement. You're dealing with variable soil conditions, weather exposure, and local code requirements that change dramatically depending on where you live. A system that works perfectly in clay soil might fail in sandy ground.
A pump sized for a low water table could short-cycle constantly in a high-table area.
Why Proper Installation Matters More Than You Think
Every year, homeowners spend thousands on water damage repairs because their outdoor sump pump failed during a storm. The root cause is almost always one of three issues: improper discharge slope leading to freezing or backup, undersized pumps that burn out under load, or faulty electrical connections that trip GFCI breakers mid-flood.
Soil Type, Water Table, and Site Conditions
Your soil type directly affects how quickly water enters your sump basin. Clay soils drain slowly, expect longer pump runtimes. Sandy soils let water flow freely, but they also mean your basin may fill faster than your pump can keep up.
Before installing, dig a small test hole 2 feet deep and fill it with water. If it drains in under 30 minutes, you're in sandy soil. If it takes over 8 hours, clay is likely.
This tells you whether you need a larger pump or additional drainage.
Local Codes and Permit Requirements
Most municipalities require permits for outdoor electrical work and sump discharge systems. Check with your city's building department, some areas mandate that discharge water be routed at least 10 feet from the foundation, while others prohibit discharging into neighboring properties. Installing without a permit can void your homeowner's insurance coverage if flooding occurs later.
Key Components You Need Before Starting
Skipping a single component can doom your entire installation. Here's everything required for a code-compliant outdoor sump pump setup that lasts.
| Component | Purpose | Notes |
|---|---|---|
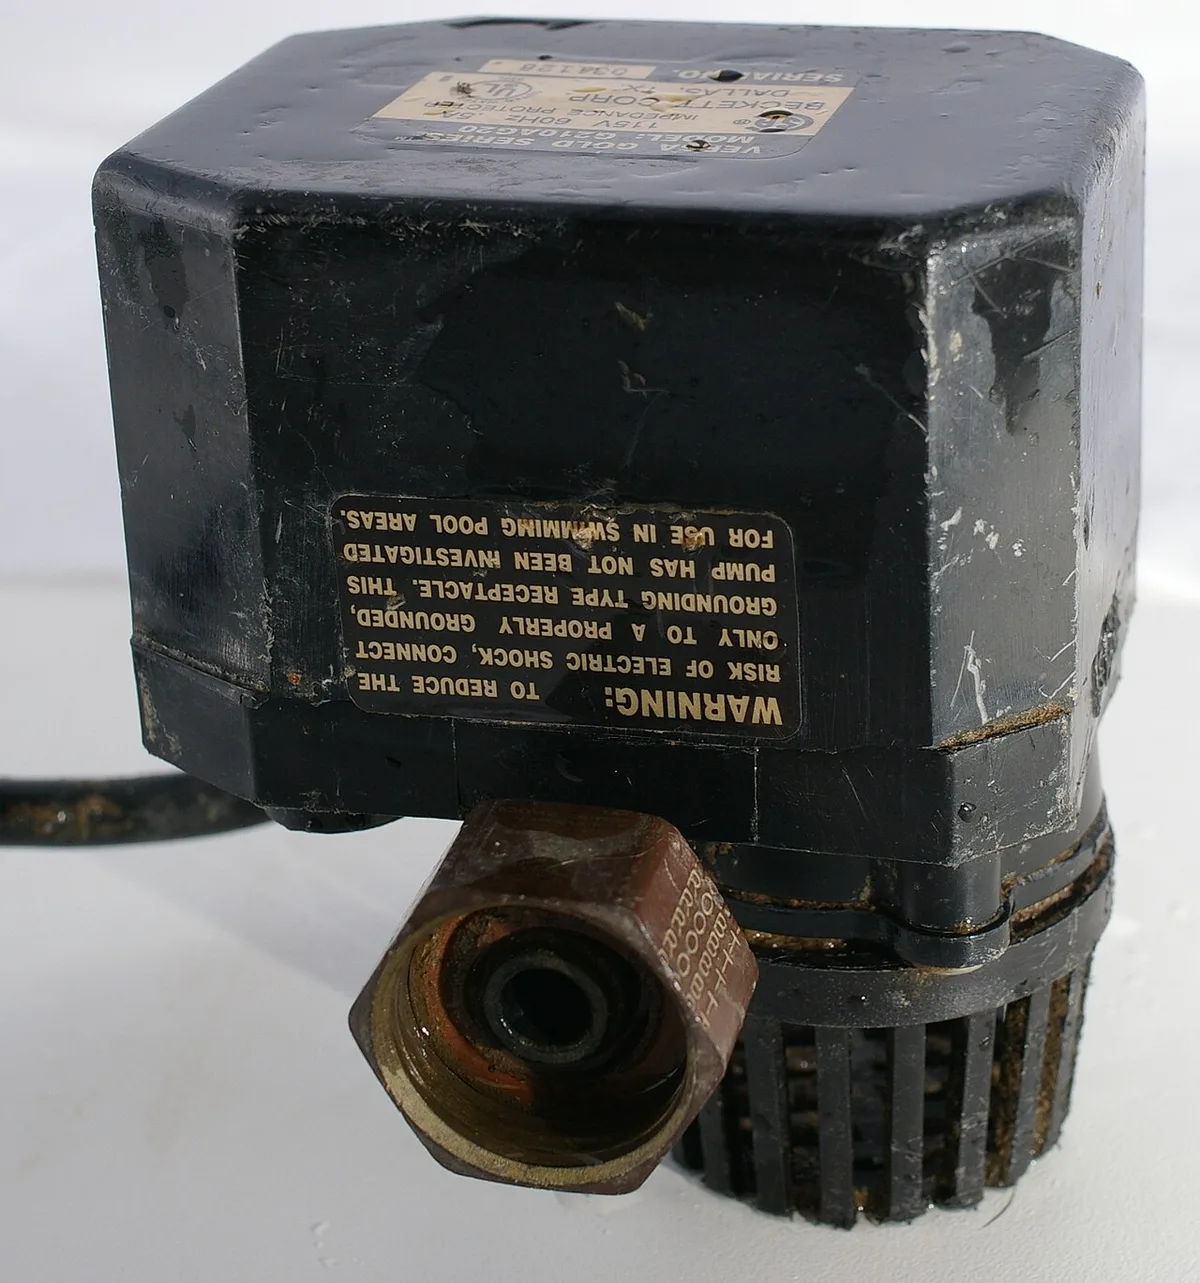
| Submersible sump pump | Moves water out of basin | 1/3 HP minimum for typical home |
| Sump basin (18–36 inches deep) | Collects incoming water | Must have secure, sealed lid |
| Check valve | Prevents backflow | Install within 2 feet of pump |
| Discharge pipe (1.5–2 inch PVC) | Carries water away | Slope minimum 1/4 inch per foot |
| Float switch | Auto-starts pump | Vertical or tethered types available |
| Outdoor-rated GFCI outlet | Powers pump safely | Hardwired installations also acceptable |
| Basin cover/lid | Keeps debris out | Must allow venting for proper flow |
| Sump pump alarm | Alerts to failure | Battery backup model recommended |
How to Size Your Sump Pump for Your Needs
Pump sizing depends on two factors: total dynamic head (TDH) and expected flow rate. TDH includes vertical lift, friction loss through pipes, and any elbows or fittings. As a rule of thumb, a 1/3 HP pump handles up to 15 feet of TDH.
For deeper basements or higher discharge points, step up to 1/2 HP or higher. Manufacturer specifications typically list GPM at various heads, match your estimated head to ensure adequate flow during peak water conditions.
Choosing the Right Basin Location and Depth
Your sump basin should sit at the lowest point of your drainage area, ideally below the slab level where groundwater naturally collects. Excavate down to undisturbed soil and place the basin so its top sits 1, 2 inches above finished floor level. This prevents basement water from backing up into the pit while still capturing subsurface flow.
For outdoor installations, bury the basin below the frost line, typically 12 inches in southern states, 48 inches in northern regions.
Step-by-Step Installation Process
Follow these steps methodically. Rushing leads to callbacks.
Excavation and Basin Setup
- Mark your basin location using string lines or spray paint.
- Excavate to undisturbed soil, going below the frost line for your region.
- Place a 2-inch layer of gravel at the basin bottom for drainage.
- Set the basin level, backfilling around edges with more gravel.
- Connect inlet pipes with 1/4-inch slope toward the basin.
- Seal all joints with waterproof sealant rated for below-grade use.
Running Discharge Pipe with Correct Slope
The discharge pipe is critical, incorrect slope causes water to pool and freeze. Run 1.5-inch Schedule 40 PVC from the pump exit, maintaining at least 1/4-inch fall per foot toward the discharge point. Install the check valve within 2 feet of the pump outlet to prevent backflow surges.
Every 90-degree elbow adds significant friction loss, so use long-sweep fittings when possible. Bury the pipe below frost line in northern climates, or insulate exposed sections with foam pipe wrap as of 2026 standards suggest.
Wiring Your Outdoor GFCI Outlet Safely
Electrical work demands strict adherence to NEC Article 680 standards for outdoor wet locations. Use only outdoor-rated UF-B cable or conduit-wired circuits. Mount your GFCI outlet in a waterproof box with a bubble cover that seals even when the cord is plugged in.
Never connect the sump pump to an extension cord, direct-wired installations or permanent outdoor receptacles only. Test the GFCI monthly by pressing the test button, then reset it.
Common Mistakes That Cause Failure
Even experienced DIYers make errors that compromise long-term performance.
Frozen Discharge Lines and Winter Prep
Water left standing in discharge pipes freezes solid in temperatures below 32°F. To prevent this, pitch the pipe away from the house, bury it below frost line, or install a freeze-resistant discharge point like a dry well or daylight outlet. In borderline climates, consider adding heat tape along exposed sections, but only use UL-listed models designed for this purpose.
Incorrect Pump Sizing and Short Cycling
An oversized pump runs briefly then shuts off, causing rapid on-off cycles that wear out the motor quickly. A properly sized pump should run for 30, 60 seconds per activation cycle. Undersized pumps never catch up during heavy rain, leading to overflow and potential burnout.
Calculate your TDH accurately using manufacturer charts rather than guessing.
Electrical Hazards from Improper Wiring
Outdoor electrical work without GFCI protection or weatherproof enclosures creates shock and fire risks. Moisture infiltration into junction boxes corrodes connections over time, eventually causing intermittent failures precisely when you need the pump most. Always use outdoor-rated materials and seal conduit entries with appropriate putty or gaskets.
Safety, Costs, and Final Considerations
This project involves significant electrical work and excavation. Proceed carefully.
Estimated Costs and Budget Breakdown
| Item | Average Cost Range |
|---|---|
| Basic 1/3 HP submersible pump | $150–$400 |
| Sump basin and lid | $100–$300 |
| Discharge piping and fittings | $50–$150 |
| Check valve and fittings | $25–$75 |
| Outdoor GFCI outlet and box | $40–$120 |
| Permit fees | $50–$200 |
| Professional installation | $1,500–$4,500 |
When to Call a Professional vs. DIY
If your electrical panel needs modification, the trench for discharge exceeds 3 feet deep, or local codes require licensed contractors for outdoor electrical work, hire a pro. Most jurisdictions mandate permitted work done by licensed electricians when modifying main panels. However, replacing an existing pump or adding components to a pre-approved system usually falls within DIY scope, as long as you pull any required permits yourself.
Frequently Asked Questions
Can I install an outdoor sump pump myself?
Yes, provided you follow local electrical codes and pull necessary permits. The physical installation is straightforward, but electrical connections require GFCI protection and weatherproofing. If your setup involves major electrical work or exceeds your comfort zone, hiring a licensed contractor is safer.
What size sump pump do I need for outdoor use?
For most residential applications, a 1/3 HP pump suffices with up to 15 feet of total dynamic head. Larger homes or higher discharge points may require 1/2 HP or more. Check manufacturer GPM ratings at your estimated head pressure to ensure adequate flow during peak conditions.
How deep should I bury my outdoor sump basin?
Bury the basin below your local frost line, ranging from 12 inches in southern zones to 48 inches in northern states. This prevents freezing and ensures stable operation year-round. Consult your area's frost line map for specific depths.
What happens if my sump pump discharge freezes?
Frozen discharge lines completely block water flow, causing the pump to overheat and potentially burn out. Water backs up into the basin and eventually your basement. Prevent this by burying pipes below frost line, using proper slope, or installing freeze-resistant outlets.
Do I need a permit to install an outdoor sump pump?
Check with your local building department, most areas require permits for outdoor electrical work and sump discharge systems. Installation without proper permits can void homeowner's insurance claims if water damage occurs later due to system failure.