
To repair a Kenmore Dryer Model 110, start by checking the power supply and circuit breaker. Then, inspect the door switch and thermal fuse for any damage.
Having a malfunctioning Kenmore dryer can be frustrating, especially when you have a pile of laundry to tackle. But fear not, as troubleshooting and repairing a Kenmore Dryer Model 110 can be a relatively straightforward process. By following a few simple steps and conducting some basic checks, you may be able to get your dryer up and running again in no time.
We will guide you through the necessary steps to identify and fix common issues that may be causing your Kenmore Dryer Model 110 to malfunction. So, let’s dive in and get your dryer back on track.
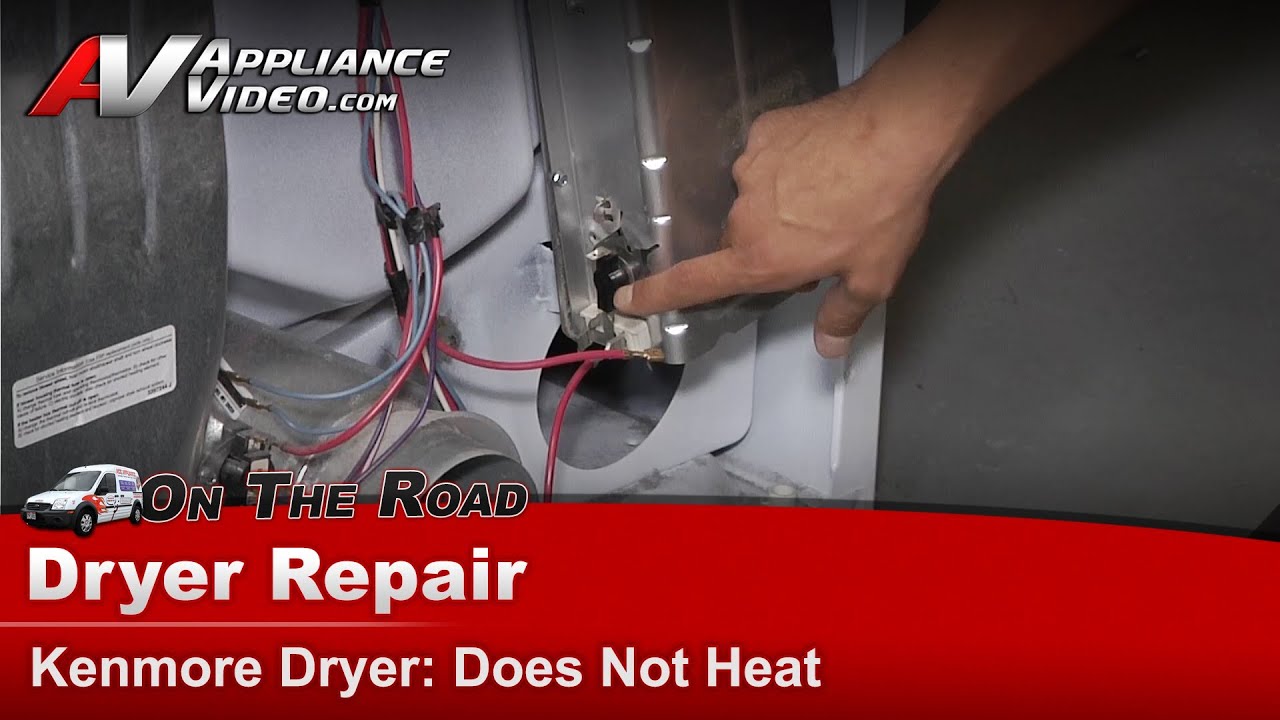
Credit: m.youtube.com
Identifying The Problem
When your Kenmore Dryer Model 110 is not functioning properly, it’s important to identify the specific problem before attempting any repairs. This will help you save time and money by focusing on the root cause and avoiding unnecessary guesswork. In this section, we will discuss the three most common issues you may encounter with your Kenmore Dryer Model 110 and how to identify them:
No Power
If your Kenmore Dryer Model 110 is not turning on at all, the problem likely lies with the power supply. Here are a few steps to help you identify the issue:
- Check if the dryer is plugged into a functioning power outlet.
- Ensure that the dryer’s power cord is securely plugged into the outlet.
- Inspect the circuit breaker or fuse box to see if any switches have tripped or fuses have blown. If so, reset the breaker or replace the fuse.
- Consider using a multimeter to test the outlet and verify if it is delivering the correct voltage.
No Heat
If your Kenmore Dryer Model 110 is running but not producing any heat, the heating element may be the cause. Follow these steps to determine if this is the issue:
- Start by checking if the dryer’s settings are correctly adjusted for heat. Make sure the temperature settings are not set to “Air Only” or “Cool Down.”
- Clean the lint trap and inspect the vent system to ensure proper airflow, as a clogged vent can prevent the dryer from heating up.
- Confirm that the heating element itself is not faulty by visually inspecting it for any signs of damage or breakage. If necessary, you can use a multimeter to test the element’s continuity.
Noisy Operation
If your Kenmore Dryer Model 110 is making excessive noise during operation, it could indicate a mechanical issue. Here’s how you can identify the source of the noise:
- Check for any loose items or foreign objects inside the drum, such as coins or buttons, which can create noise when the dryer is in use.
- Inspect the drum seals for signs of wear or damage. Damaged seals can cause friction and result in noise during operation.
- Examine the dryer’s rollers, bearings, and pulleys for wear or damage. These components can become worn over time and produce noise when they malfunction.
By following these steps to identify the problem with your Kenmore Dryer Model 110, you’ll be able to narrow down the root cause and take appropriate action to repair it. Remember to exercise caution when working with electrical appliances and consider seeking professional assistance if you’re uncertain or uncomfortable with performing the repairs yourself.
Gathering Tools And Parts
Before you begin to repair your Kenmore Dryer Model 110, it is important to gather all the necessary tools and parts. This will ensure a smooth and efficient repair process, saving you time and frustration. In this section, we will discuss the required tools and common replacement parts you will need.
Required Tools
Having the right tools will make the repair process much easier. Here are the tools you will need to repair your Kenmore Dryer Model 110:
- A multimeter to check for electrical continuity.
- A screwdriver set with various sizes and types of screwdrivers.
- A nut driver set to remove and replace nuts and bolts.
- A socket set to loosen and tighten screws.
- A pair of pliers to grip and manipulate small parts.
Common Replacement Parts
In addition to the tools, you will also need to gather the common replacement parts that are often needed for repairing your Kenmore Dryer Model 110. These replacement parts can vary depending on the specific issue you are facing, but here are some commonly needed parts:
| Part | Description |
|---|---|
| Heating Element | A heating element that produces heat to dry the clothes. |
| Thermal Fuse | A safety device that shuts off the dryers heating element if it becomes too hot. |
| Drive Belt | A belt that connects the dryer’s motor to the drum, allowing it to spin. |
| Door Switch | A switch that activates when the dryer door is opened or closed. |
| Idler Pulley | A pulley that maintains tension on the drive belt, allowing the drum to spin smoothly. |
By gathering these required tools and common replacement parts, you will be well-prepared to repair your Kenmore Dryer Model 110. This will ensure a successful repair and get your dryer running smoothly again. In the next section, we will guide you through the step-by-step process of repairing your Kenmore Dryer Model 110.
Safety Precautions
When it comes to repairing your Kenmore Dryer Model 110, safety should always be your top priority. Following the right safety precautions will not only protect you from potential accidents but also ensure that the repair process goes smoothly. In this section, we will discuss the essential safety measures you should take before starting any repairs.
Unplugging The Dryer
Before you begin any repair work, it is crucial to unplug your Kenmore Dryer Model 110 from the power source. This will prevent any potential electric shocks or other electrical accidents during the repair process. Always remember to disconnect the power cord and avoid working on the dryer while it is still connected to the electricity.
Wearing Protective Gear
Wearing appropriate protective gear is vital to safeguard yourself from any potential hazards while working on your Kenmore Dryer Model 110. Make sure to wear sturdy work gloves to protect your hands from sharp edges or any moving parts that may cause injury. Additionally, wearing safety goggles can prevent any debris or particles from getting into your eyes during the repair process.
Working In A Well-ventilated Area
When repairing your Kenmore Dryer Model 110, it is essential to work in a well-ventilated area. This will help dissipate any harmful fumes or gases that may be released during the repair process. If you are working indoors, make sure to open windows or doors to allow fresh air circulation. If you are working in a confined space, consider using a portable fan or wearing a respirator to ensure proper ventilation.
Step-by-step Repair Process
Repairing your Kenmore dryer model 110 can save you time and money. Instead of calling a professional, you can follow a step-by-step repair process to fix common issues. In this guide, we will walk you through troubleshooting the power issue, checking and replacing heating elements, repairing or replacing drum bearings, and replacing the drive belt.
Troubleshooting The Power Issue
If your Kenmore dryer is not starting or has no power, there are a few simple steps you can take to troubleshoot the issue:
- Make sure the dryer is plugged into a working power outlet.
- Check the circuit breaker and replace any blown fuses.
- Inspect the power cord for any visible damage or loose connections.
- Test the power supply using a multimeter to ensure it is delivering the correct voltage.
Checking And Replacing Heating Elements
If your dryer is not producing enough heat or is taking longer than usual to dry clothes, it may have a faulty heating element. Here’s how you can check and replace it:
- Unplug the dryer and locate the heating element assembly, usually located at the back of the drum.
- Remove the screws or clips securing the assembly and carefully disconnect the wires.
- Using a multimeter, check the continuity of the heating element. If there is no continuity, it needs to be replaced.
- Install the new heating element by connecting the wires and securing it in place with screws or clips.
Repairing Or Replacing Drum Bearings
If your dryer is making a loud noise or the drum is not spinning smoothly, the drum bearings may be worn out. Follow these steps to repair or replace them:
- Unplug the dryer and remove the front or rear panel to access the drum.
- Locate the drum bearings and inspect them for signs of wear or damage.
- If they are damaged, remove the old bearings and replace them with new ones.
- Apply a thin layer of high-temperature grease to ensure smooth rotation.
- Reassemble the dryer, making sure all parts are properly secured.
Replacing The Drive Belt
If the drum is not rotating at all, the drive belt may be broken or worn out. Here’s how to replace it:
- Unplug the dryer and remove the front or rear panel to access the drum.
- Find the drive belt around the drum and motor pulley.
- Release the tension on the belt by moving the idler pulley or motor.
- Remove the old belt and replace it with a new one, making sure it is properly aligned.
- Restore tension to the belt and ensure it is snug around the drum and motor pulley.
- Reassemble the dryer and test if the drum rotates smoothly.
By following this step-by-step repair process, you can restore your Kenmore dryer model 110 to its optimal performance without the need for a costly professional repair. Remember to always prioritize safety by unplugging the dryer before starting any repair work.
Final Checks And Testing
Ensuring All Connections Are Secure
Before completing the repair process, it’s essential to double-check that all the connections in your Kenmore Dryer Model 110 are secure. Loose connections can lead to further damage and may even cause safety hazards. Follow these simple steps to ensure that everything is properly connected:
- Unplug the dryer: Before checking the connections, it’s important to unplug the appliance to avoid any electrical accidents.
- Remove the back panel: Carefully remove the back panel of the dryer, exposing the internal components and connections.
- Tighten the electrical connections: Inspect the wires and connectors for any signs of looseness. If you find any, use a screwdriver or pliers to tighten them securely.
- Check the vent hose: Ensure that the vent hose is securely attached to both the dryer and the vent opening in your home. Any gaps or loose connections can restrict airflow and affect the drying performance.
Testing The Dryer
Once you’ve ensured that all the connections are secure, it’s time to test the Kenmore Dryer Model 110 to ensure it’s working properly. Follow these steps for a successful test:
- Plug in the dryer: Connect the power cord back into the electrical outlet.
- Select a test cycle: Choose a test cycle on your dryer’s control panel. Use a cycle that simulates a load of laundry to assess the dryer’s functionality effectively.
- Start the test cycle: Press the start button to initiate the test cycle and let the dryer run for a few minutes.
- Monitor performance: Observe the dryer during the test cycle for any unusual noises, vibrations, or error codes. Pay attention to how well the dryer is drying the imaginary load.
- Ensure proper ventilation: Check for adequate airflow by feeling the air exhaust from the vent. Insufficient airflow can lead to poor drying results and potential safety issues.
By following these simple final checks and carrying out a thorough test, you can have confidence in the repair work you’ve done on your Kenmore Dryer Model 110. Remember to reassemble any parts you removed and clean the dryer before putting it back into regular use.

Credit: www.ifixit.com

Credit: www.amazon.com
Frequently Asked Questions For How To Repair Kenmore Dryer Model 110
Can I Repair My Kenmore Dryer Model 110 On My Own?
Yes, you can repair your Kenmore Dryer Model 110 on your own by following some simple steps and using the right tools.
What Are The Common Issues With Kenmore Dryer Model 110?
Some common issues with Kenmore Dryer Model 110 include overheating, drum not spinning, no heat, strange noises, and faulty control panel.
How Can I Troubleshoot Overheating In My Kenmore Dryer Model 110?
To troubleshoot overheating in your Kenmore Dryer Model 110, you can check the vent, clean the lint filter, and ensure proper airflow.
What Should I Do If My Kenmore Dryer Model 110 Drum Is Not Spinning?
If the drum of your Kenmore Dryer Model 110 is not spinning, you should check the drive belt, motor, and pulley for any faults or obstructions.
How Can I Fix The Issue Of No Heat In My Kenmore Dryer Model 110?
To fix the issue of no heat in your Kenmore Dryer Model 110, you can check the heating element, thermostat, and thermal fuse for any damage or malfunction.
Conclusion
Repairing your Kenmore Dryer Model 110 doesn’t have to be a daunting task. By following the step-by-step instructions provided in this blog post, you’ll be able to troubleshoot and fix common issues with ease. Remember to disconnect the power before beginning any repairs, and always consult the manufacturer’s manual for specific instructions.
With a little patience and the right tools, you can have your Kenmore Dryer Model 110 running smoothly again in no time. Happy repairing!