
Learning how to add a sump pump to an existing pit requires verifying electrical safety and structural integrity before buying equipment. Older basins often lack modern code compliance or proper sealing for radon mitigation.
The National Electrical Code mandates GFCI protection for all basement receptacles as of 2026 to prevent shock hazards in damp environments. Skipping this verification step risks equipment failure or personal injury during installation.
Critical Safety Checks Before Touching an Existing Sump Pit
You must confirm power safety and pit condition before starting any work. Old pits frequently harbor hidden electrical faults or structural cracks that compromise new equipment. Ignoring these baseline checks turns a simple retrofit into a liability.
Electrical and Radon Risks You Can’t Ignore
Verify the outlet is GFCI protected using a tester before plugging anything in. Water and electricity are a deadly combination in basement environments. Non-compliant wiring causes numerous residential injuries annually according to NFPA safety standards.
Check for radon entry points around the pit rim or liner gaps. Open sumps act as direct conduits for soil gas infiltration. Sealing the lid with mastic is mandatory if your home has a mitigation system.
Assessing Pit Condition and Code Compliance
Measure the internal diameter and depth to ensure compatibility with modern submersible units. Most current pumps require at least 18 inches width and 22 inches depth. Shallow pits cause premature motor burnout from frequent cycling.
Inspect the liner for cracks, shifting, or collapsed sections that need repair first. A compromised basin undermines drainage performance regardless of pump quality. Address structural defects before proceeding with mechanical installation steps.
Choosing the Right Pump and Components for Your Specific Pit
Selecting compatible equipment prevents immediate operational failures after installation. Mismatched horsepower or discharge sizing creates chronic issues like short-cycling or insufficient flow. Proper component selection matters more than brand preference for long-term reliability.
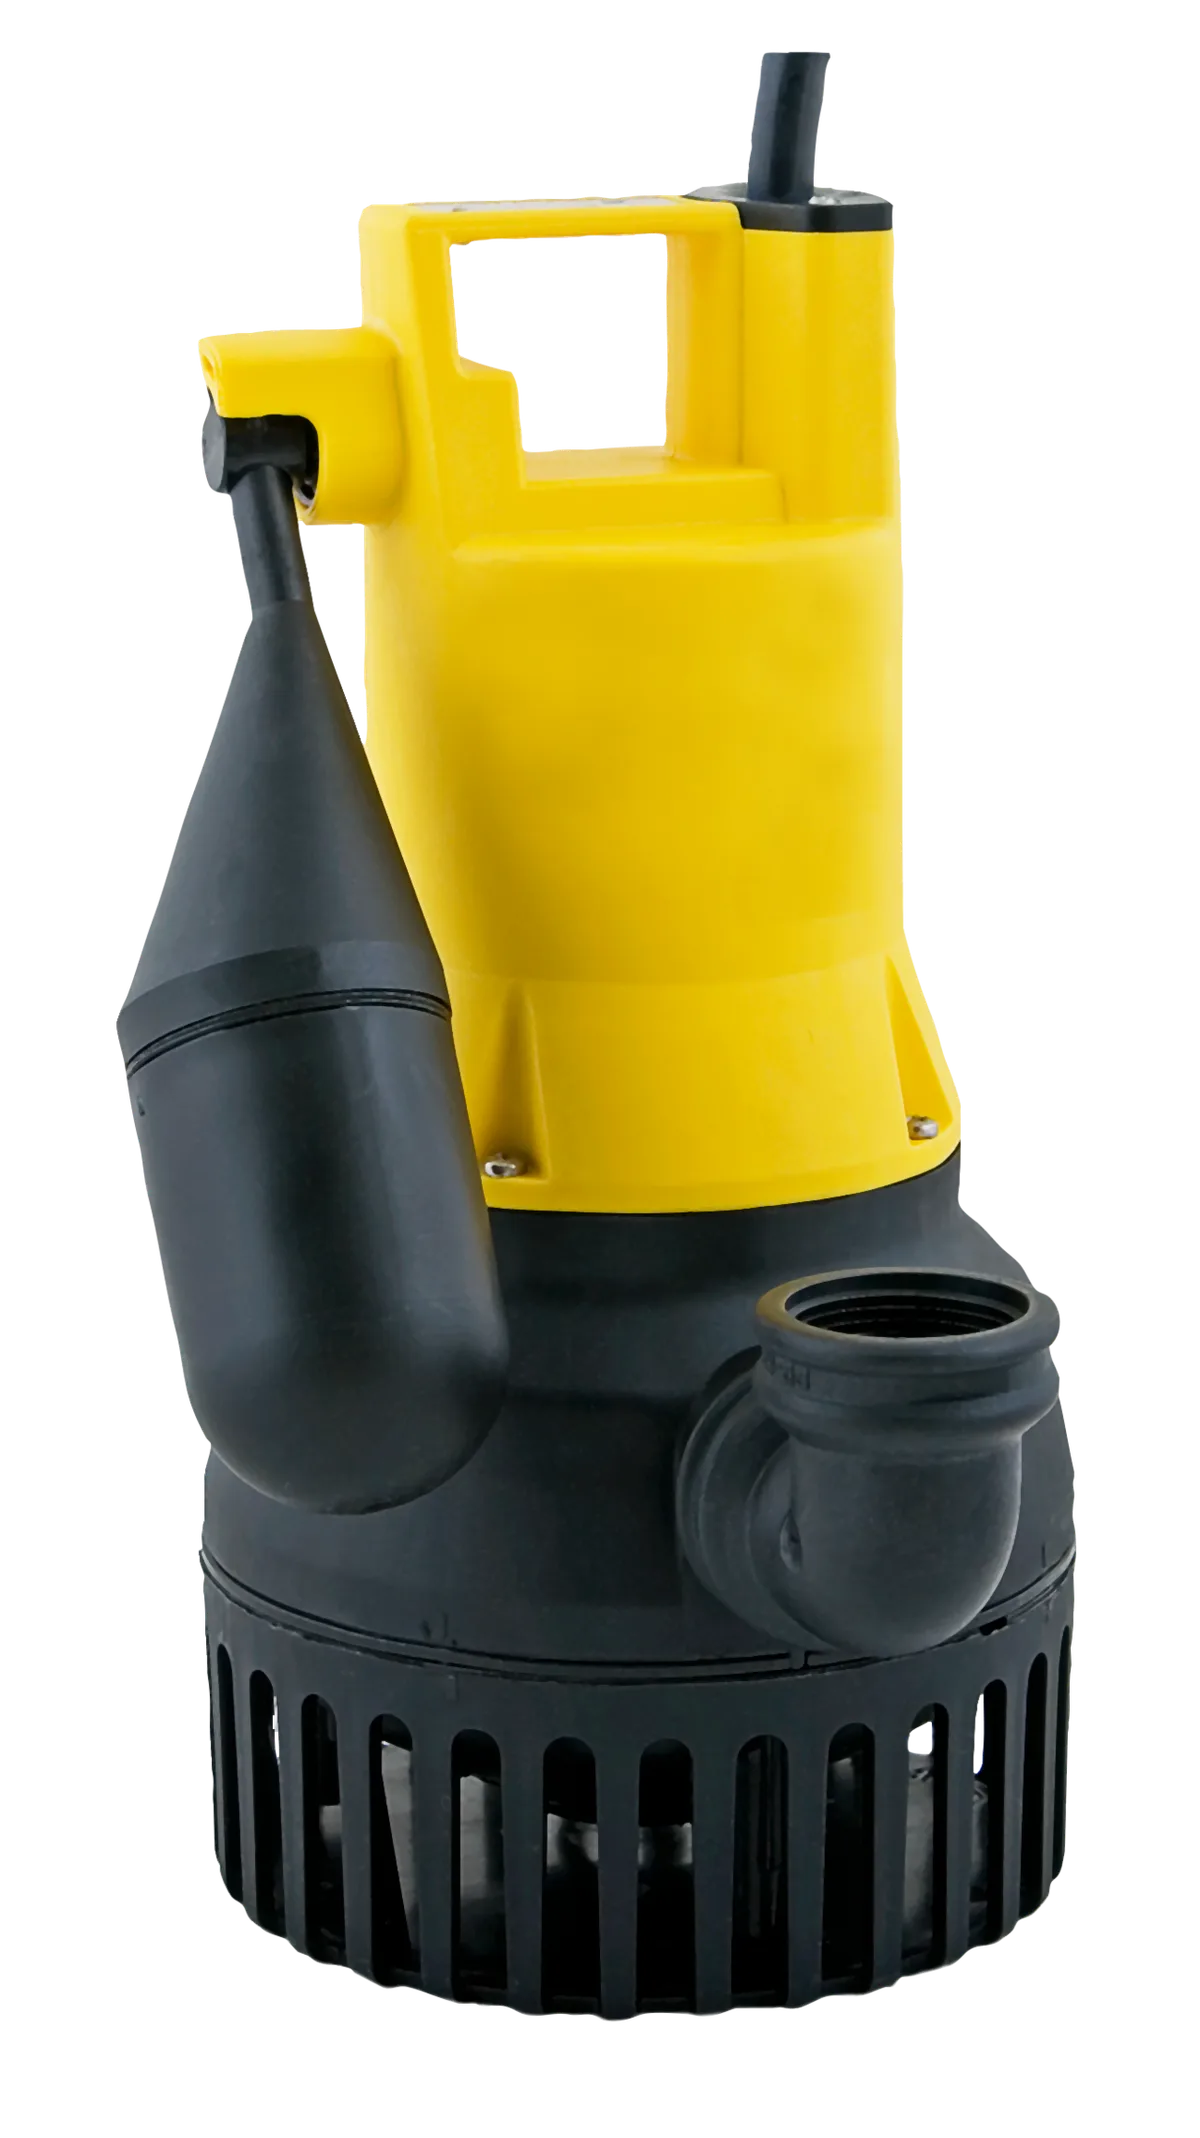
Image source: Wikimedia Commons / PumpExpert (CC BY-SA)
Matching Horsepower and Head Pressure to Your Setup
Calculate total vertical lift plus horizontal pipe run to determine required head pressure. Manufacturer specs indicate most residential retrofits need 1/3 HP to 1/2 HP units. Oversized pumps waste energy while undersized ones fail during heavy inflow events.
Match discharge port diameter to your existing piping to avoid adapters that restrict flow. Standard residential sizes are 1-1/4 inch or 1-1/2 inch PVC. Reducing pipe diameter artificially increases head pressure and reduces effective capacity.
Essential Parts: Check Valves, Sealed Lids, and GFCI Protection
Install a swing-type check valve directly above the pump discharge port. This prevents water hammer and backflow that damages impellers over time. Always drill a 3/16-inch weep hole below the valve to prevent air locking.
Use an airtight sealed lid with gasket to block moisture and radon gas. Standard plastic covers do not meet current building codes for finished basements. Proper sealing also reduces noise transmission to living spaces above.
Safe Installation Workflow for Retrofitting an Existing Basin
Systematic preparation prevents costly rework and ensures reliable operation from day one. Rushing through debris removal or alignment checks causes preventable failures later. Follow each phase completely before moving to the next step.
Pre-Install Prep and Debris Removal
Disconnect power at the breaker panel and verify zero voltage with a multimeter. Never assume an outlet is dead based on switch position alone. Remove all standing water and sediment from the pit bottom using a wet vac.
Clear gravel, roots, and construction debris that could clog the intake screen. Inspect the perimeter drain tile inlet for obstructions while the pit is empty. Clean surfaces ensure proper pump seating and accurate float switch movement.
Mechanical Assembly and Discharge Line Routing
Lower the pump gently onto a flat brick or paver base inside the pit. Direct contact with sediment accelerates wear and voids warranties. Attach discharge piping with primer and cement, ensuring correct slope away from foundation.
Route exterior discharge line below frost line to prevent winter freezing. Verify local codes regarding termination distance from property lines and foundations. Improper routing causes ice dams that destroy pumps during cold weather.
Testing, Sealing, and Final Verification
Restore power and observe three complete on-off cycles to confirm proper float adjustment. Listen for unusual vibration or grinding noises indicating misalignment. Check all pipe joints for leaks under full operating pressure.
Apply silicone sealant around the lid rim and cord pass-through grommet. Test the GFCI outlet monthly thereafter to maintain protection integrity. Document installation date and model number for future maintenance reference.
Common Retrofit Mistakes and Maintenance Essentials
Avoiding predictable errors extends equipment life significantly beyond average expectations. Most premature failures stem from installation shortcuts rather than product defects. Regular inspection catches small problems before they become emergencies.
Avoiding Short-Cycling, Air Locks, and Freeze Damage
Adjust float tether length to provide adequate off-time between cycles. Rapid switching burns out capacitors and overheats motors within months. If cycling persists, the pit may be too shallow for the selected pump model.
Insulate exposed exterior discharge pipe with foam sleeves rated for burial. Heat tape provides additional protection in extreme climates where frost penetrates deeply. Frozen lines create backpressure that splits housings or shears shafts.
Annual Inspection Checklist for Long-Term Reliability
Test backup battery systems quarterly and replace batteries every two years minimum. Corroded terminals render backups useless during power outages when needed most. Clean intake screens and check valve mechanisms during each inspection cycle.
Verify discharge line remains clear by running water through it annually. Rodents and insects frequently nest in unused pipes during warm seasons. Proactive cleaning prevents surprise flooding during the first major storm.
Frequently Asked Questions About Adding a Pump to an Old Pit
Can I install a sump pump without professional help?
DIY installation is possible if you have basic plumbing and electrical skills. However, code compliance and safety verification require specialized knowledge many homeowners lack. Hiring licensed professionals ensures warranty validity and insurance coverage for water damage claims.
How deep should my existing pit be for a submersible pump?
Most manufacturers specify 22 inches minimum depth for reliable submersible operation. Shallower pits cause short-cycling that destroys motors prematurely. Consider pedestal models or pit enlargement if your basin measures less than this threshold.
Do I need a permit to add a sump pump?
Many jurisdictions require permits for electrical work or plumbing modifications in basements. Check local building department requirements before starting any retrofit project. Unpermitted work can complicate future home sales and insurance claims.
Why does my new pump keep turning on and off?
Short-cycling usually indicates incorrect float adjustment or insufficient pit volume. The pump empties water faster than inflow replenishes it. Adjusting tether length or upgrading to a lower-capacity unit typically resolves this issue.