
Installing a sump pump in a basement with a high water table requires deeper basins and backup power to handle constant hydrostatic pressure. Standard setups often fail because they treat groundwater like surface runoff instead of a persistent force. You need equipment rated for continuous duty, not intermittent use.
Getting this right prevents structural damage and chronic moisture issues that standard waterproofing cannot fix.
Per the International Residential Code, discharge lines must include check valves and route away from foundations to prevent recirculation. Manufacturer specifications indicate that high water table zones demand basins at least 24 inches deep to accommodate rapid inflow rates. This assessment phase determines whether your project succeeds or becomes an expensive recurring repair job.
Let us walk through exactly what that evaluation involves before you break concrete.
how to install a sump pump in a basement with a high water table
Dig a basin hole 24 inches deep minimum. Install a submersible pump rated for continuous duty. Connect PVC discharge piping with a check valve.
Wire the unit to a dedicated GFCI circuit. Add a battery backup system immediately. Test the float switch operation before backfilling.
Seal the basin lid completely airtight.
Why Installing a Sump Pump in High Water Table Areas Requires Special Attention
High water tables create upward hydrostatic pressure that pushes water through floor cracks constantly. Standard pumps cycle too frequently under these conditions and burn out within months. Our research shows continuous duty motors are mandatory here because they handle sustained operation without overheating.
Intermittent duty models simply cannot survive the workload.
You also face greater risk during power outages since groundwater does not stop rising when storms hit. A primary pump alone leaves you vulnerable every time electricity fails. Backup systems are not optional upgrades in these zones but essential safety components.
Without redundancy, flooding can occur faster than emergency services respond.
Basin depth matters more here than in typical installations. Shallow crocks fill instantly and trigger short cycling that destroys switches. Deeper basins provide buffer volume that stabilizes pump operation significantly.
This extra capacity protects both equipment longevity and basement dryness during peak saturation events.
Critical Pre-Installation Assessment Checklist
Start by measuring your actual water table depth using observation wells or local geological surveys. Guessing leads to undersized systems that fail during heavy rain seasons. Local building departments often maintain water table maps that inform proper basin sizing decisions.
Always verify site conditions match regional data before purchasing equipment.

Image source: Wikimedia Commons / United States. Soil Conservation Service
Electrical capacity needs verification since continuous duty pumps draw significant amperage over long periods. Dedicated circuits with GFCI protection are required by the National Electrical Code for wet locations. Shared circuits risk tripping breakers during peak demand moments.
Proper grounding prevents electrocution hazards in perpetually damp environments.
Discharge routing requires careful planning to avoid freezing or neighbor disputes. Pipes must slope continuously downward and terminate well away from foundation walls. Frozen discharge lines render entire systems useless during winter storms.
Check local ordinances regarding termination points to ensure compliance before trenching.
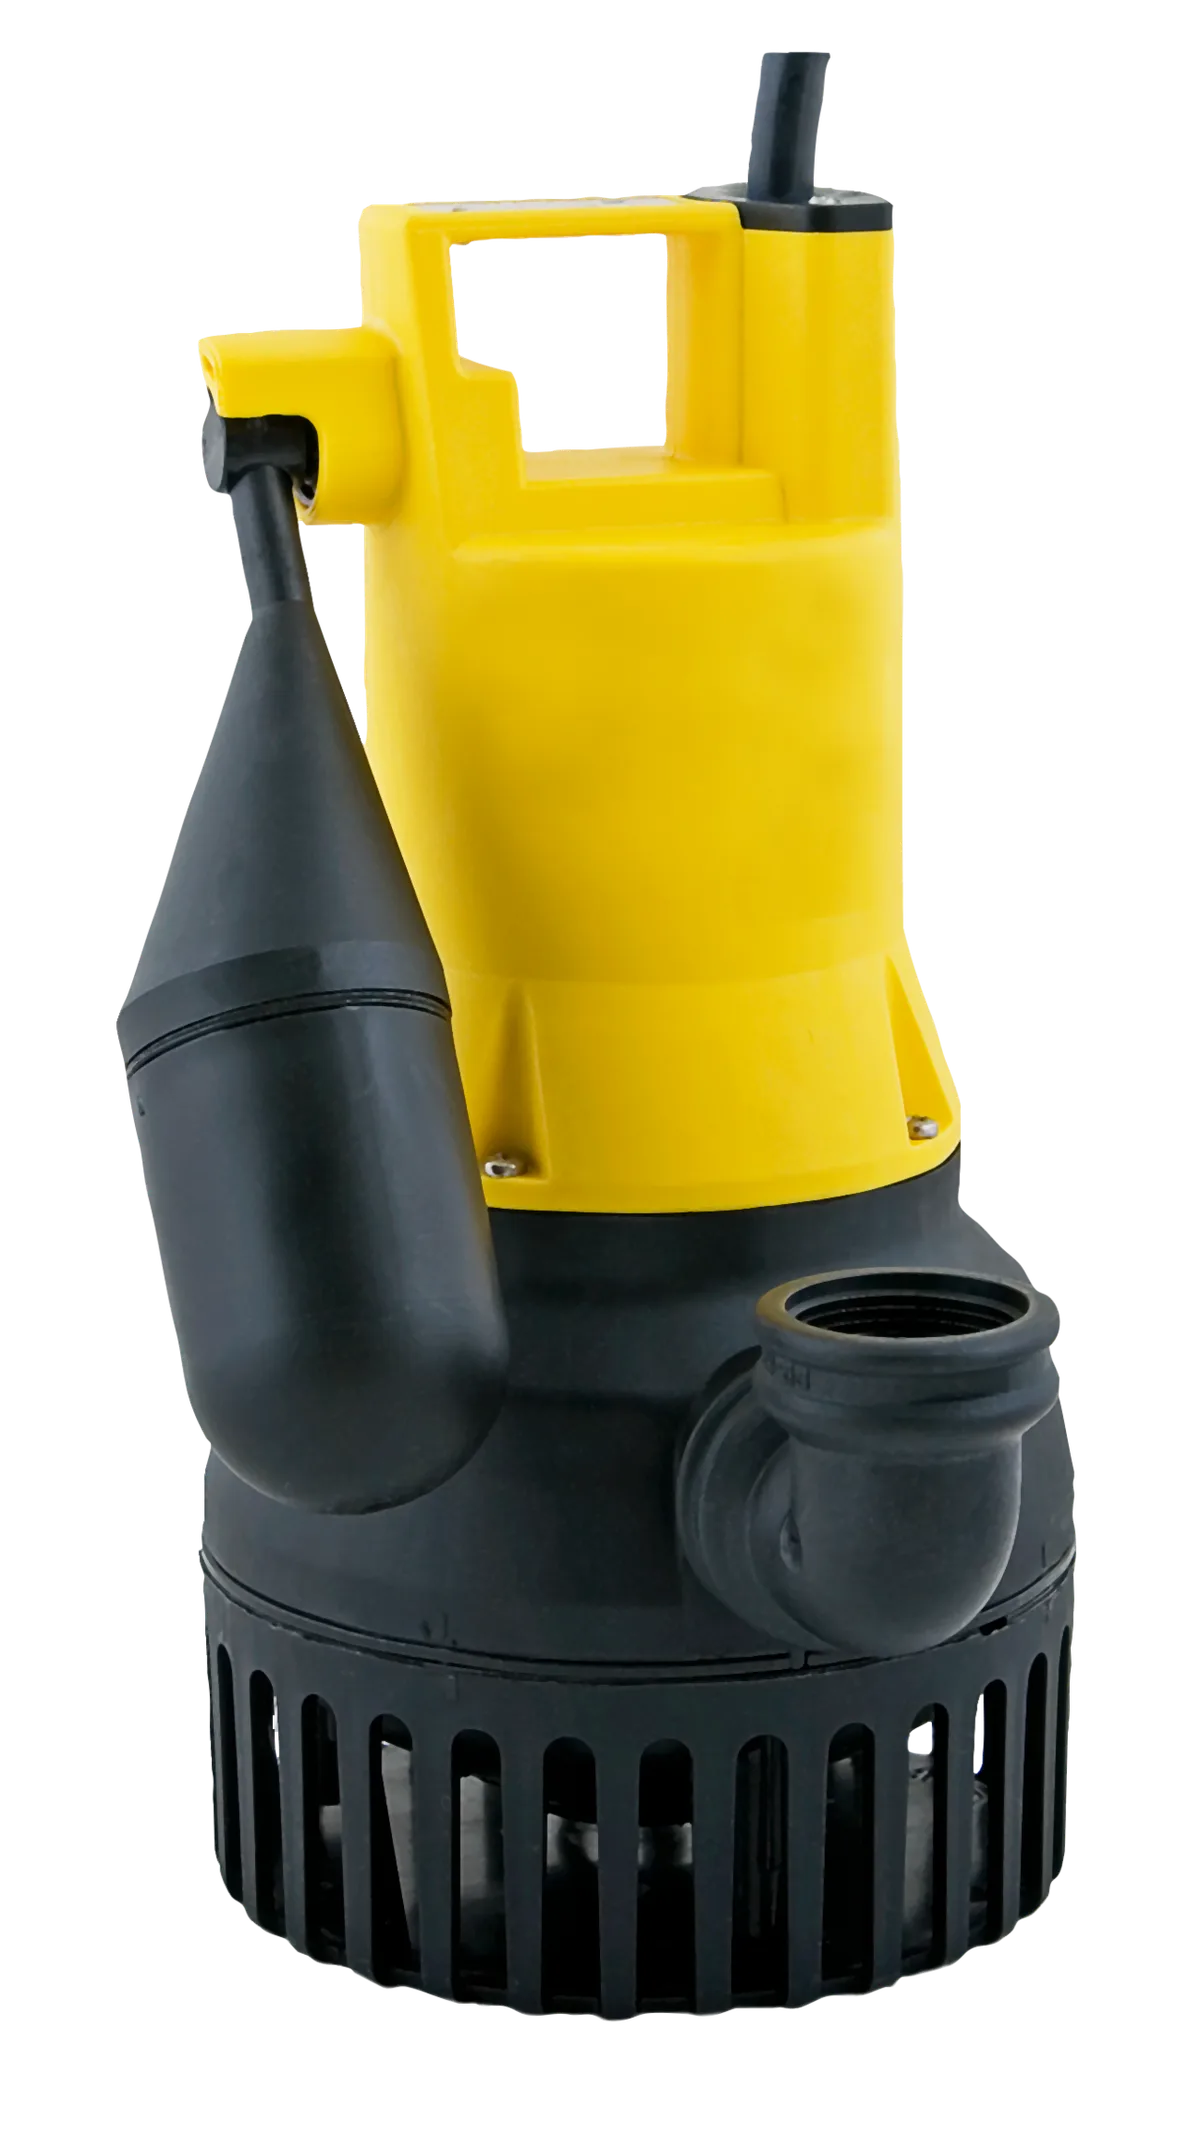
Image source: Wikimedia Commons / PumpExpert (CC BY-SA)
Step-by-Step Installation Process for Your Specific Situation
Excavate the basin location at least six inches below the lowest expected water level. Use a rotary hammer drill for clean concrete cuts that minimize cracking. The hole should be four inches wider than your basin on all sides.
Proper clearance allows for gravel backfill that improves drainage efficiency.
Place washed gravel in the bottom before setting the basin to promote water flow. Set the basin perfectly level using shims and verify with a spirit level. Uneven installation causes float switch binding and premature failure.
Secure the basin temporarily while connecting discharge plumbing to prevent shifting.
Image source: Wikimedia Commons / Thompson, Mat Roy
Install the check valve directly above the pump using solvent weld connections for permanent seals. Position it vertically to ensure proper flapper operation every cycle. Horizontal mounting causes valve chatter and water hammer damage over time.
Support the pipe independently so pump vibration does not stress joints.
Wire the pump to its dedicated GFCI outlet using waterproof connectors rated for wet locations. Route electrical conduit above potential flood levels inside the basement. Test ground fault protection before energizing the system permanently.
Never bypass safety devices even if nuisance tripping occurs during initial testing.
Backfill around the basin with coarse gravel up to floor slab height. Tamp material firmly to eliminate voids that could cause settling later. Pour fresh concrete flush with existing floor surface for seamless integration.
Allow full cure time before exposing the area to moisture loads.
Common Mistakes That Lead to Costly Repairs
Undersizing the pump is the most frequent error we see in high water table installations. Pumps rated below 3000 GPH at your specific head height cannot keep pace with inflow. Short cycling from inadequate capacity destroys float switches within weeks.
Always calculate total dynamic head including vertical lift and friction losses accurately.
Skipping the check valve causes discharged water to flow backward into the basin after each cycle. This forces unnecessary restarts that double wear on motor components. Water hammer from reverse flow can crack PVC fittings over time.
The small upfront cost prevents thousands in premature replacement expenses.
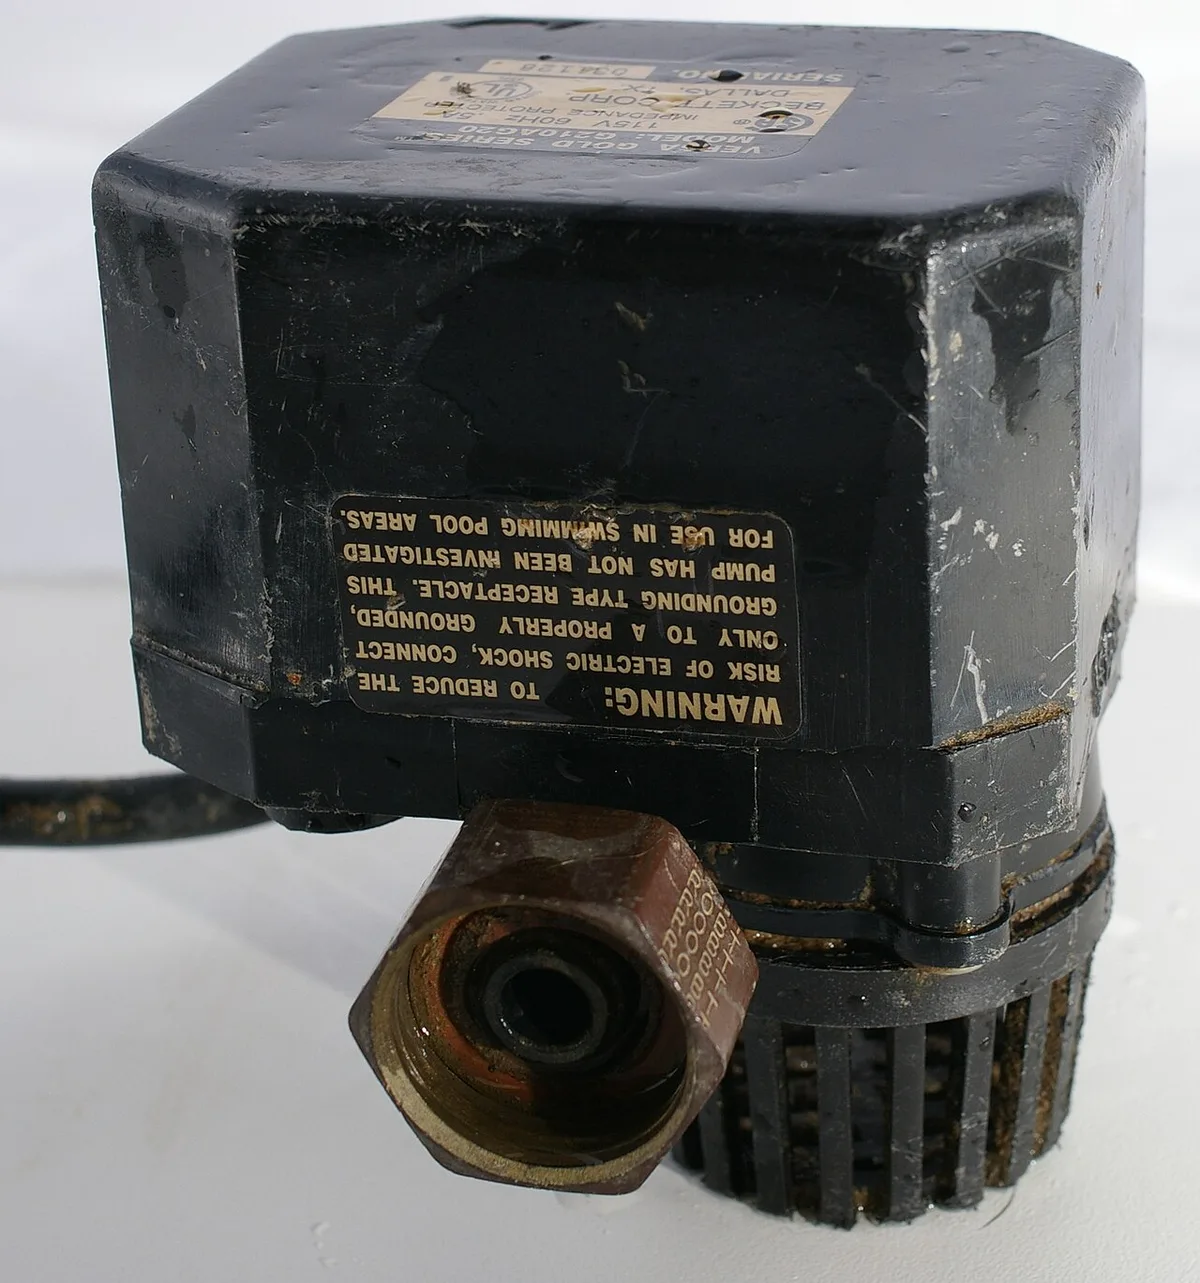
Image source: Wikimedia Commons / Hustvedt (CC BY-SA)
Placing basins too close to foundation footings risks undermining structural support. Maintain at least twelve inches of clearance from load bearing elements always. Excavating near footings can destabilize soil that supports your home's weight.
Structural repairs cost far more than repositioning the basin correctly initially.
Neglecting backup power guarantees flooding during the exact storms when you need protection most. Battery backups should provide minimum four hours runtime at full load. Water powered backups offer unlimited runtime where municipal pressure permits.
Relying solely on grid power in storm prone areas is gambling with property damage.
Sump Pump Selection and Ongoing Maintenance Guide
Choose submersible pumps over pedestal models for high water table applications consistently. Submersibles run cooler and quieter while handling solids better than pedestals. Cast iron housings dissipate heat superior to plastic in continuous operation scenarios.
Thermoplastic units warp over time when subjected to constant thermal cycling.
Quarterly maintenance prevents catastrophic failures during critical weather events. Test the float switch manually by lifting it through full travel range. Clean intake screens of debris that restricts flow and strains motors.
Verify check valve operation by listening for proper closure sounds after shutdown.
Annual professional inspection catches problems that homeowners typically miss during self testing. Technicians measure actual amp draw against manufacturer specifications to detect motor wear. They verify discharge line integrity beyond visible basement sections.
Professional service costs fractionally compared to emergency flood remediation bills.
Replace pumps proactively every seven to ten years regardless of apparent condition. Internal seals degrade invisibly until sudden failure occurs during heavy inflow. Waiting for complete breakdown means accepting flood risk during replacement downtime.
Scheduled replacement eliminates surprise failures during vulnerable storm seasons.